Advertisement

INSTALLATION INSTRUCTIONS
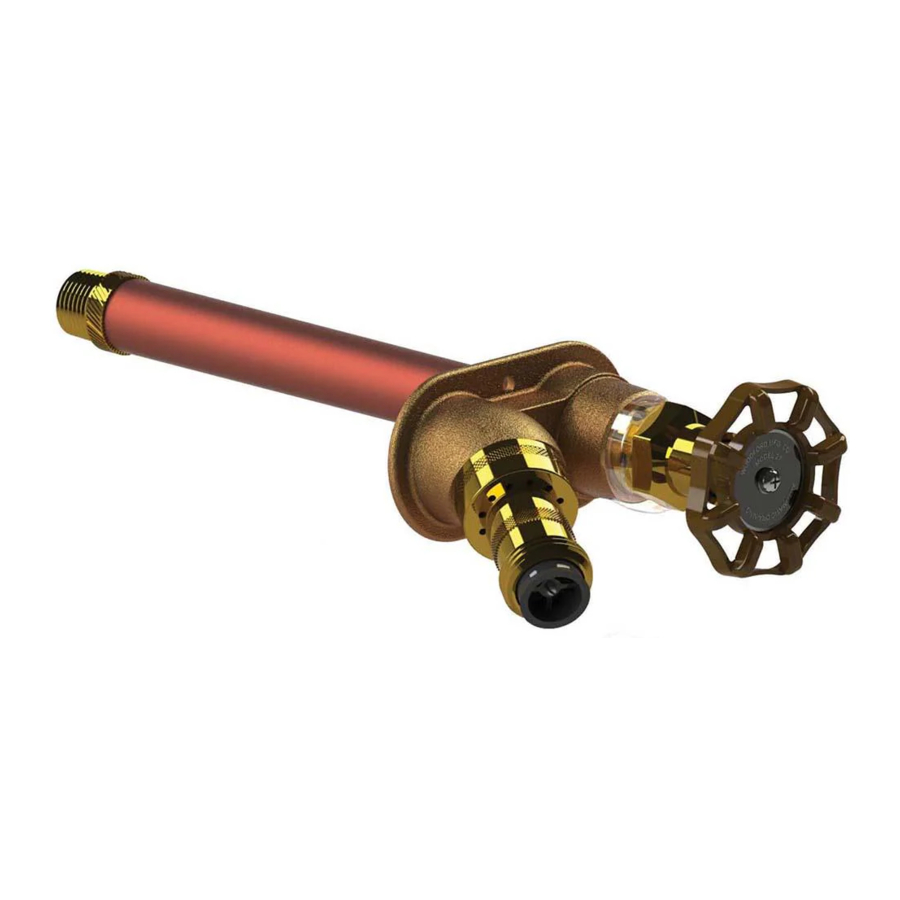
Wall faucets must be properly installed and operated to insure drainage. Improperly installed or operated wall faucets may freeze and burst in freezing weather.
- Before installation, flush supply line to remove any debris.
- Drill a 1-1/8" diameter hole through the wall in the desired location and insert the faucet from the outside.
![Woodford - 25 - Installation - Step 1 Installation - Step 1]()
The proper pitch is built into the flange when mounted flush on a vertical wall. - Install top of head in the horizontal position and level.
![Woodford - 25 - Installation - Step 2 Installation - Step 2]()
- From inside the building, the alignment mark on the tube can be used to correctly align the faucet when the mark is pointed down. FIGURE 1
- The tube must have a slight downward pitch for proper drainage. The proper pitch is built into the flange when mounted flush on a vertical wall. FIGURE 1
- For solder connection, open faucet to full open position before soldering. Excessive heat can damage valve seat rubber and factory solder joint.
- Secure faucet to the wall using appropriate fasteners installed through the holes in the flange. FIGURE 2
OPERATING INSTRUCTIONS
To OPEN, turn handle counter-clockwise
To CLOSE and DRAIN, turn handle clockwise until seated and water drains out the drain holes behind handle
The Model 25 and 27 drain automatically when fully shut off, even with a hose attached.
TROUBLESHOOTING & MAINTENANCE
NOTE: Older faucets with a plastic head nut and handle should be upgraded with the RK-25 Repair Kit, which will repair most common problems and upgrade the faucet to the current design. Faucets with a brass head nut may be repaired with the RK-25 Repair Kit or individual parts may be replaced per the instructions below.
Note to installer: Do not lubricate any part of the RK-25 repair kit or faucet. Lubrication can cause accelerated deterioration of the rubber parts or cause abnormal operation of the faucet.

- Water leaks from the drain holes, behind the handle, when the faucet is full on and flowing water from the nozzle.
![]()
The Drain Valve (35280) is damaged and needs to be replaced. Follow instructions below on how to remove the operating rod and replace the drain valve.
![Woodford - 25 - Troubleshooting & Maintenance - Step 1 Troubleshooting & Maintenance - Step 1]()
- Water leaks from the drain holes, behind the handle, when the faucet is only partially open with either a trickle of water from the nozzle or before water flows from the nozzle. (Fig 2)
The Plunger (30230) is undersize or damaged. Follow instructions below on how to remove the rod and replace the plunger. (Fig 4) - Faucet makes a loud squealing noise when the faucet is on.
Caused by excessive water pressure from the supply line (125 PSI or greater). A new Plunger (30230) (Fig 4) may solve the problem, but a pressure regulator on the supply line may be required. - Faucet will not drain when shut off.
Make sure Handle is turned off completely and tight. If it still does not drain, the tube or rod may be short or long. - Faucet leaks from the nozzle or leaks from the drain holes when the faucet is off. (Fig 2)
If it's a new installation, most likely caused by debris or obstruction in the seat. Follow instructions below on how to remove the operating rod and inspect plunger for damage and flush the casing before reassembling. - Operating rod removal.
![Woodford - 25 - Troubleshooting & Maintenance - Step 2 Troubleshooting & Maintenance - Step 2]()
To remove the Operating Rod from the faucet, shut off the water supply to the faucet and turn the Handle counterclockwise to the full open position. Remove the Head Nut with a wrench by turning clockwise (left hand threads). Pull the operating rod assembly out of the faucet. The plunger and drain valve are threaded on the rod. A couple pairs of vise grips will remove the parts from the rod. When reassembling the parts on the rod, do not over tighten or the rod may break at the threads.
For more information contact...
WOODFORD MANUFACTURING COMPANY
2121 Waynoka Road, Colorado Springs, Colorado 80915
Phone: (800) 621-6032
Fax: (800) 765-4115
To view our complete product line visit: www.woodfordmfg.com or email: sales@woodfordmfg.com
Documents / Resources
References
Download manual
Here you can download full pdf version of manual, it may contain additional safety instructions, warranty information, FCC rules, etc.
Advertisement


Need help?
Do you have a question about the 25 and is the answer not in the manual?
Questions and answers