Advertisement

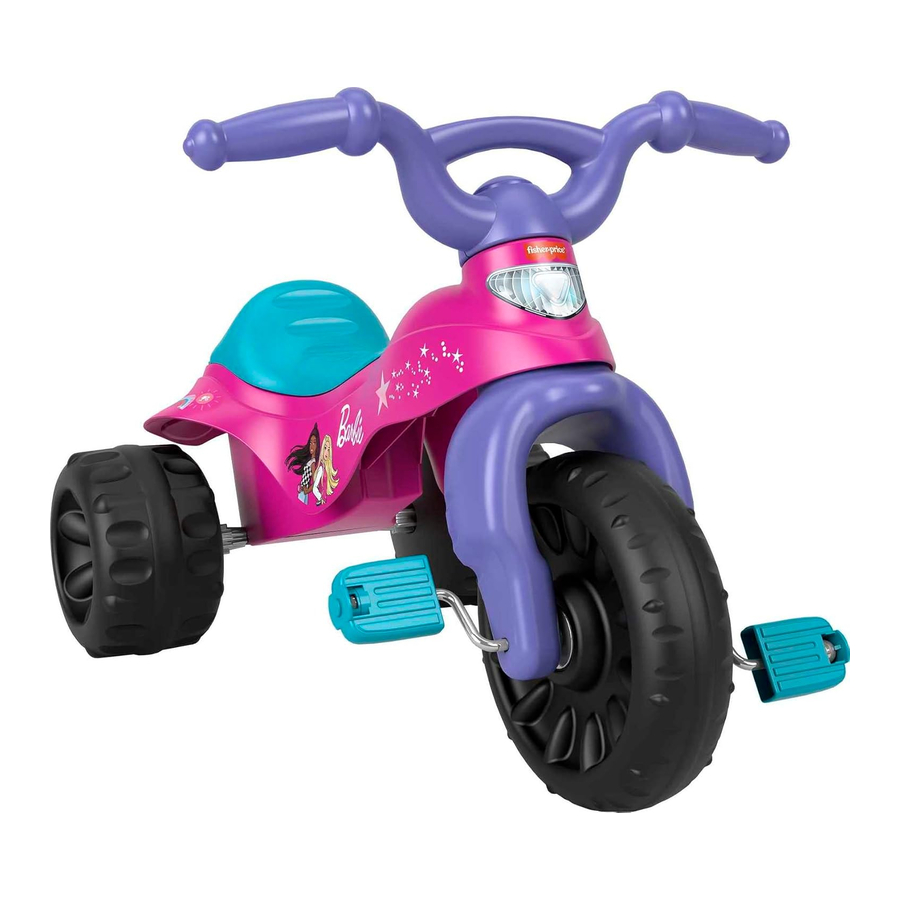
Parts
- Tighten assembled screws with a Phillips screwdriver. Do not over-tighten the screws.
- Please save all packaging material until assembly is complete to ensure that no parts are discarded. Wipe each part with a clean, dry cloth before assembly.
- Label sheet is not shown.

Assembly
This product contains small parts in its unassembled state. Adult assembly is required.

- Fit the seat onto the frame. Push firmly near the back end of the seat to "snap" it into place.

- Place one end of the straight axle into a.354" (0,9 cm) cap nut. Tap the end of the straight axle with a hammer. Pull on the cap nut to be sure it is securely attached to the straight axle.
- Slide a wheel hub, flat side down, onto the straight axle.
- Slide a rear wheel, indented side down, onto the straight axle.
- Slide a bushing, grooved side down, onto the straight axle.

- Turn the frame upside down.
- Insert the straight axle assembly through the holes in the rear of the frame.

- Turn the assembly upright.
- Slide a bushing, smooth side first, onto the end of the straight axle.
- Slide a wheel, flat side first, onto the end of the straight axle.
- Slide a wheel hub, pointed end first, onto the end of the straight axle.

- Fit a.354" (0,9 cm) cap nut on the end of the straight axle.
Hint: You may need the help of another adult to hold the other end of the straight axle in place. - Tap the cap nut with a hammer. Gently pull the rear wheel to be sure the cap nut is securely attached to the straight axle.

- Fit the tabs on the wheel cap into the slots in the wheel hub. Push to "snap" the wheel cap in place.
- Repeat this procedure to attach the other wheel cap to the other wheel hub.

- Fit two pedal hubs onto the pedal axle tabs. Make sure the tabs fit into the slot in each pedal hub.
- Press the pedal hubs into the center of the front wheel until they are flush with the surface of the front wheel.
- Repeat this procedure on the other side of the front wheel assembly to assemble the other two pedal hubs.

- Place the front wheel assembly between the fork arms. Make sure the pedal axle fits into the groove at the bottom of each fork arm.
- Place a fork cover over the pedal axle on one fork arm.
- Insert two #8 x ¾" (1,9 cm) screws into the fork cover and tighten.
- Repeat this procedure to attach the other fork cover to the other fork arm.

- With the fork covers facing the rear wheels, insert the fork post up through the hole in the neck of the frame.

- Fit the handlebar front to the fork post.
Hint: The handlebar front is designed to assemble to the fork post one way. - Fit the handlebar back to the fork post and handlebar front. Hold them together firmly.
- First, insert the remaining #8 x ¾" (1,9 cm) screws through the outer holes in the handlebar back and tighten.
- Then, insert the #8 x 2¼" (5,7 cm) screw through the center hole in the handlebar back and tighten.
Decoration
- Before applying the decorative labels, wipe the surface of the trike with a clean, dry cloth to remove any dust or oils.
- Refer to the color photos located on the package flaps to apply the labels.
- For best results, avoid repositioning labels once applied.
Consumer Information
- Periodically, check the plastic parts and if broken or cracked, dispose of them properly.
- Periodically, check all fasteners regularly to be sure they are tight. If the fasteners are not tight, tighten them as necessary.
- To clean, use a mild soap and water solution and a clean cloth. Rinse clean with water to remove soap residue.
CONSUMER ASSISTANCE
1-800-432-5437 (US & Canada)
1300 135 312 (Australia)
Fisher-Price, Inc., 636 Girard Avenue, East Aurora, NY 14052. Hearing-impaired consumers: 1-800-382-7470.
Outside the United States:
Canada: Mattel Canada Inc., 6155 Freemont Blvd., Mississauga, Ontario L5R 3W2; www.service.mattel.com.
Great Britain: Mattel UK Ltd, Vanwall Business Park, Maidenhead SL6 4UB. Helpline: 01628 500303. www.service.mattel.com/uk
Mattel Europa, B.V., Gondel 1, 1186 MJ Amstelveen, Nederland.
Australia: Mattel Australia Pty. Ltd., 658 Church Street, Locked Bag #870, Richmond, Victoria 3121 Australia.
New Zealand: 16-18 William Pickering Drive, Albany 1331, Auckland.
Fisher-Price, Inc., a subsidiary of Mattel, Inc., East Aurora, NY 14052 U.S.A.
TO AVOID SERIOUS INJURY
- Adult supervision is required.
- Never use near cars and other motor vehicles, near streets, steps, sloped driveways, hills, roadways, alleys, swimming pools or other bodies of water.
- Always wear shoes.
- Never allow more than one rider.
It is a good practice to start training children very young regarding the importance of helmet use. When children are older and riding bicycles and faster vehicles, it is important that they use a helmet each and every time they ride. For this reason, even while riding a tricycle, it is a good idea to familiarize your child with helmet use, so that it becomes a habit for life. Choose a helmet that complies with requirements of the applicable certifying agency for bicycle helmets.
Documents / Resources
References
![www.service.mattel.com]() Mattel and Fisher-Price Customer Service - Contact Us
Mattel and Fisher-Price Customer Service - Contact UsMattel and Fisher-Price Customer Center
![shop.mattel.com]() Fisher Price Toys & Baby Gear | Mattel Shop
Fisher Price Toys & Baby Gear | Mattel Shop
Download manual
Here you can download full pdf version of manual, it may contain additional safety instructions, warranty information, FCC rules, etc.
Advertisement


Need help?
Do you have a question about the Barbie Tough Trike and is the answer not in the manual?
Questions and answers