Price Pfister Pfirst Series, G135 Manual
- Manual (9 pages) ,
- Instruction sheets (5 pages) ,
- Manual (7 pages)
Advertisement
- 1 OVERVIEW
- 2 INSTALLATION TIME
- 3 BEFORE PROCEEDING
- 4 SHUT OFF WATER SUPPLY
- 5 TOOLS RECOMMENDED
- 6 CONNECTING HOSE GUIDE
- 7 SIDE SPRAY INSTALLATION
- 8 FAUCET INSTALLATION
- 9 SECURING FAUCET
- 10 WATER SUPPLY CONNECTIONS
- 11 UNIT START UP
- 12 FLUSHING
- 13 HANDLE REMOVAL
- 14 TROUBLE SHOOTING THE VALVES
- 15 Documents / Resources
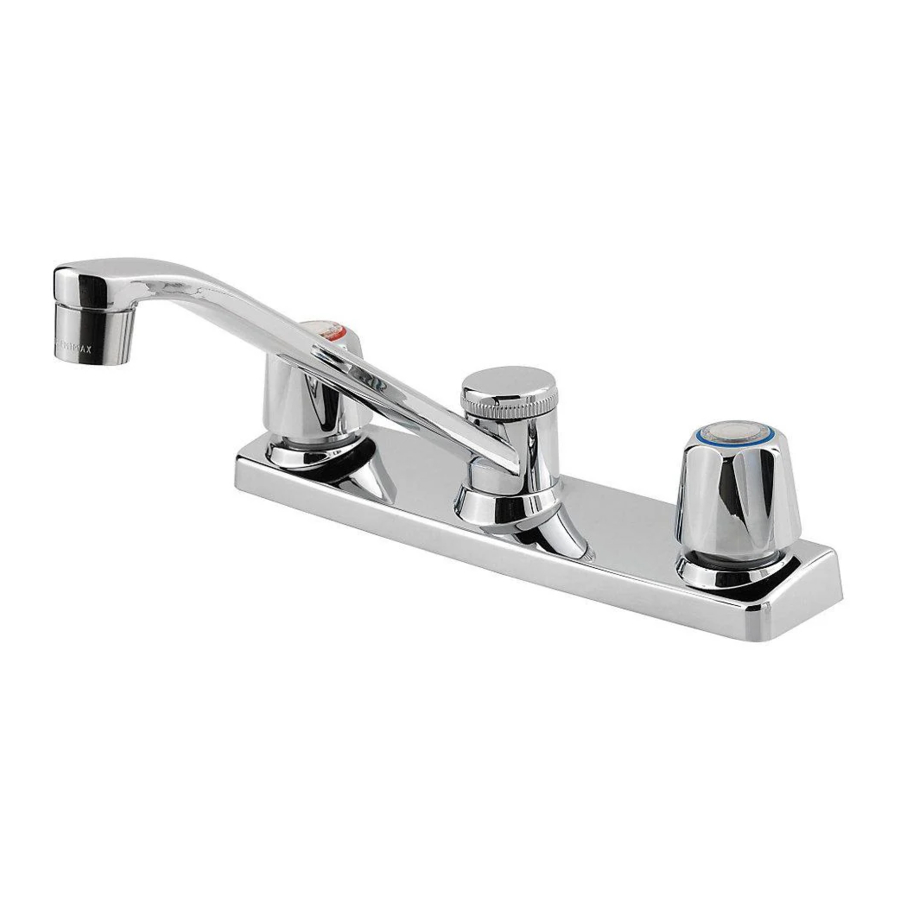
OVERVIEW
Thank you for purchasing this Price Pfister product. All Price Pfister products are carefully engineered, and factory tested to provide long trouble-free use under normal conditions. This faucet is easy to install using basic tools and our easy to follow illustrated instructions. If you have any questions regarding this product, contact your local distributor.

INSTALLATION TIME
The average estimated time for installing this kitchen faucet is 60 minutes. This estimated time only involves this product and does not include the removal of old faucet. This estimated time will vary depending on many variables such as the install application, the skill level of the installer, the type of plumbing (iron pipe, copper, flexible, PEX), the type of tools used, etc.
BEFORE PROCEEDING

Read all the instructions completely before proceeding. Price Pfister recommends calling a professional if you are uncertain about installing this product!
This product should be installed in accordance with all local and state plumbing and building codes.
SHUT OFF WATER SUPPLY
Locate water supply inlets and shut off the water supply valves. These are usually found under the sink or near the water meter. If you are replacing an existing faucet, remove the faucet from the sink and clean the sink surface thoroughly.

TOOLS RECOMMENDED

- Plumber's putty
- Slotted screwdriver
- Philips head screwdriver
- Pliers
- Adjustable wrench
- Flashlight
- Cloth
Your installation may require new supply lines and/or shut-off valves or other additional tools.
CONNECTING HOSE GUIDE

Place a bead of plumber's putty in the grooves of the Putty Plate (4A) per manufacturer's instructions. If desired, place a small bead of plumber's putty to the underside of the Hose Guide Flange (4B). Install the Putty Plate (4A) and align the Hose Guide Flange (4B) over the holes in the sink.
Secure Hose Guide using Locknut (4C). Hand tighten.
SIDE SPRAY INSTALLATION

Insert the Side Spray Hose (5A) through the Hose Guide (5B). From underneath sink, feed the Side Spray Hose (5A) back up through the center hole of sink so that it is above the sink.
Push Hose Connector (5C) onto receiving Tube (5D) until unable to push any further. To remove Hose, press on the Tabs (5E) and pull Hose Connector (5C) down.
FAUCET INSTALLATION

Insert faucet Shanks (6A) through the holes of the sink.
SECURING FAUCET

Align Faucet (7A) to sink surface. From underneath sink, secure faucet and Hose Guide (7C) by using Wingnuts (7B). Hand tighten.
WATER SUPPLY CONNECTIONS

Connect water Supply Lines (8A) to Faucet Inlets (8B). Hot water supply lines go into left inlet. Cold water supply lines go into right inlet. (Supply lines are not included).
Please follow manufacturer's instructions when installing supply lines.
UNIT START UP

Turn on water supply inlet valves and check for leaks.
FLUSHING

After installation is complete, remove Aerator Housing (10A). Turn Valves (10B) on and allow both hot and cold water to run for at least one minute each. While water is running, check for leaks. To clean the aerator, disassemble Aerator Housing (10A) by separating the Aerator Head (10C), Basket (10D) and Washer (10E). Once parts have been cleaned, reassemble by reversing steps.
HANDLE REMOVAL

With valves in closed position, detach Decorative Button (11A), unscrew Fastener (11B) and remove Handle (11C) from Valve Stem (11D).
TROUBLE SHOOTING THE VALVES

Turn off water supplies and relieve pressure before working on your faucet. Remove handle (refer to HANDLE REMOVAL), loosen Retainer Nut (12A) by turning it counterclockwise and lift out Cartridge Assembly (12B). Inspect the Rubber Valve Seat (12C) in the faucet body. Remove all debris. Push the Rubber Seat (12C) with your finger tip. If it does not move up and down smoothly, the Spring (12D) beneath it needs replacing. If the Rubber Seat (12C) is worn or broken, replace it.
Re-insert Cartridge Assembly (12B) into the faucet body. Make sure that Wings (12E) on the two sides of the cartridge fit well into the Slots (12F) on the faucet body. Tightly screw the Retainer Nut (12A) by turning it clockwise. Reinstall the handle.
|
1-800-PFAUCET (1-800-732-8238) For Toll-Free Pfaucet information call 1-800-PFAUCET (1-800-732-8238) or visit www.pricepfister.com
|


Maintenance
DISASSEMBLY:
- Replacement parts may be available at the store where you purchased your faucet.
- When replacement parts are not available, please write or call Price Pfister Consumer Service.
- Always turn off water and relieve pressure before working on your faucet.
 NOTE: Trim Care
Cleaning Instructions:
For all Handles and decorative finishes, use only a soft cloth dampened with plain water to clean and shine. Use of polish, detergents, abrasive cleaners, organic solvents or acid may cause damage. Use of other than a soft damp cloth will nullify our warranty!
Special Trim:
Trim products which contain Porcelain or other similar substance are not acceptable for public areas or Commercial use. Installation of said Trim is at User's Risk!
In order to notify Price Pfister and receive assistance or service under warranty, the original purchaser may:
- call 1-800-Pfaucet (1-800-732-8238) for a consumer service representative who can assist you, or
- write consumer service department c/o Price Pfister Inc., 19701 DaVinci, Lake Forest, CA 92610, and include a description of the problem, model number, your name, address, phone number and approximate date of purchase, or
- email Price Pfister's customer service department by going to www.PricePfister.com, or
- notify the location or distributor from which the Product was purchased. In any case, you may be required to return the Product to Price Pfister for inspection and proof of purchase may be required.
19701 DaVinci
Lake Forest, CA 92610
Phone: 1-800-Pfaucet
www.pricepfister.com
Documents / Resources
References
Pfister Faucets | Bathroom & Kitchen Faucets, Shower Heads, Accessories and More
Pfister Faucets | Bathroom & Kitchen Faucets, Shower Heads, Accessories and More
Download manual
Here you can download full pdf version of manual, it may contain additional safety instructions, warranty information, FCC rules, etc.
Advertisement


Need help?
Do you have a question about the Pfirst Series and is the answer not in the manual?
Questions and answers