Advertisement
Vehicle Information

| Module | Product Name | EU | International |
| Basic Information | Brand | ENGWE | ENGWE |
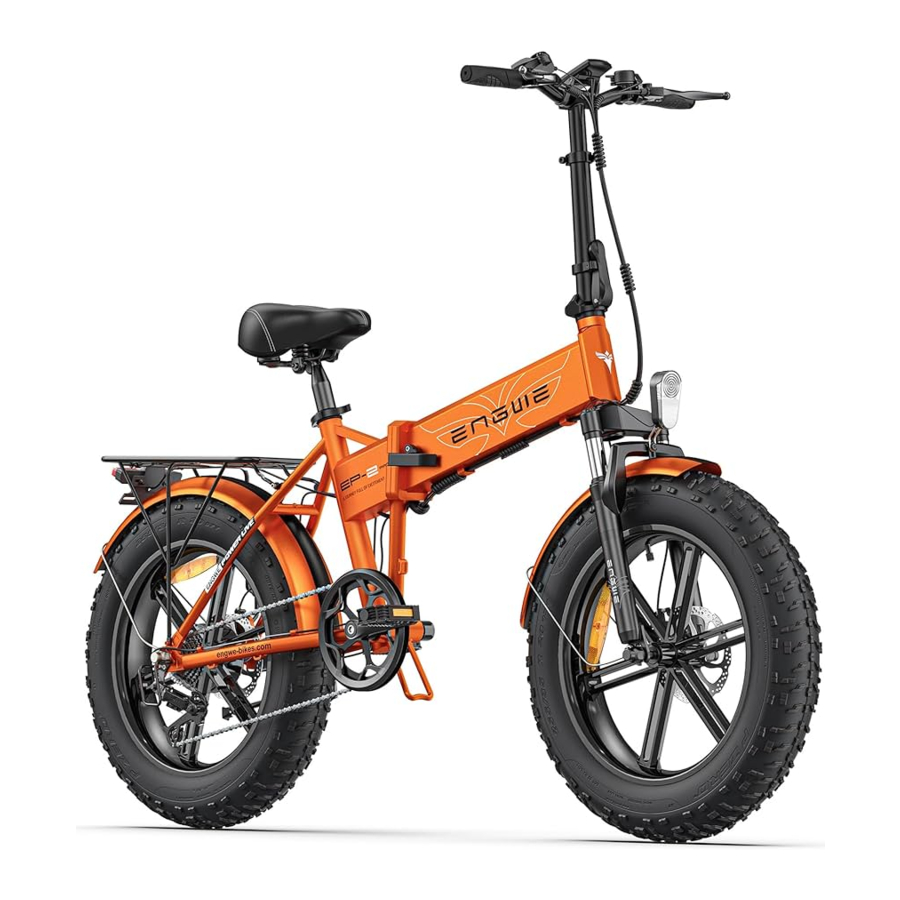
| Model | EP-2 PRO EU | EP-2 PRO International | |
| Dimensions | 1690X570X1200 mm | 1690X570X1200 mm | |
| Curb Weight (with battery) | 30KG | 30KG | |
| Main Parameters of the E-Bike | Rated Load | 150KG | 150KG |
| Brake Type | Disc brake | Disc brake | |
| Tire Specs | 20x4.0 inch | 20x4.0 inch | |
| Recommended Tire Pressure | 20 PSI | 20 PSI | |
| Transmission | Chain Drive | Chain Drive | |
| Max Speed | 25KM/H | 42KM/H | |
| Range(power assist mode) | 120KM | 120KM | |
| Battery Type | Lithium, 1 pc | Lithium, 1 pc | |
| Battery Expand | None | None | |
| Rated Power | 250W | 750W | |
| Rated output torque | 55N,M | 55N,M | |
| Battery voltage | 48V | 48V | |
| Battery Capacity | 13AH | 13AH | |
| Light Configuration | Front Light | LED | LED |
| Rear Light | LED | LED | |
| Charger | Charge Current | 2A | 2A |
| Charge Duration | 5-8H | 5-8H |


| Button Names | Operating Instructions |
| Power On/Off Button | After turning off, long-press the power button to turn on. When already on, long-press the power button to turn off. |
| Power assist increase button | Press the increase button to shift up one setting; it can go up to the highest assist level. |
| Power assist decrease button | Press the decrease button to shift down one setting; it can go down to the lowest assist level. |
| Light Button | When the lights are off, press the light button to turn on both the front and rear lights. When the lights are on, press the light button to turn off both the front and rear lights. |
| Throttle | Twist the throttle to supply power. |
Package Contents

Please careful inspect the items inside the box to ensure they are intact.if there are any missing or damaged items, please contact customer service promptly.
Assemble vehicle
- Insert the folding stem into the frame's head tube.
![]()
- Open the folding stem and, using the designated tool, tighten the screws inside the folding stem to secure it. Check the stability of the connection between the frame and the folding stem.

- Use the designated tool to loosen the screws as shown in the diagram. Secure the handlebar in the latch, rotate it to the desired angle, then tighten the screws as shown in the diagram. Check the stability of the connection between the handlebar and the folding stem.
![]()
- Use the designated tool to tighten the screws, headlight and front fender as shown. Secure them onto the front fork, and check the stability of the connection between the front light and Fender with the front fork.
![]()
- Use the designated tool to tighten the screws shown in the picture, secure it on the front fork, and check the stability of the connection between the fender and the front fork.
![]()
- Using the designated tool, remove the Shipping Axle, and secure the front wheel in the position shown in the diagram. Ensure that the disc brake and brake are on the same side. Use the specified tool to tighten the screws as shown in the diagram and check the stability of the connection between the front wheel and the front fork.
![]()
- First, distinguish the installation position of the left/right pedal according to the marked position in the picture, use the designated tools to tighten and fix the left/right pedal in the corresponding position, and check the stability of the connection between the pedal and the frame.
![]()
- Open the seat post clamp handle, insert the seat post into the seat tube, adjust it to the appropriate saddle height, close the seat post clamp handle, and secure the seat post.
![]()
- Tighten the screws shown in the diagram (four in total, two on each side) using the specified tool, and check the stability of the connection between the rear rack and the frame.
![]()


- Use the specified tool to tighten the tail light, check the stability of the connection between the tail light and the rear rack, and use zip ties to secure the tail light's wire to the rear rack.
![]()
- Finally, check that the handlebar is perpendicular to the direction of riding. If there is any deviation, open the folding stem fixing screws and adjust the handlebar direction accordingly.


Frequently asked questions and solutions
| common problem | problem analysis | Troubleshooting | |
The E-bike is will not power up |
|
| |
| Twisting the speed control lever after powering on the E-bike does not move |
|
| |
| The E-bike operates normally, but the speed is not displayed on the dashboard |
|
| |
Front/rear lights don't light up |
|
| |
Shifting unsmoothly |
|
| |
| Error Code | Fault Problem |
| E001 | Controller malfunction |
| E002/E030 | Communication Malfunction |
| E003/E024 | Hall sensor malfunction |
| E004/E022 | Throttle malfunction |
| E005/E025 | Brake lever malfunction |
| E006/E023 | Motor phase loss |
| E021 | Abnormal Current |

Official website:https://engwe-bikes-eu.com
https://engwe-bikes.com
https://engwe-bikes.de/
Please email us at service@engwe-bikes.com. We usually reply within 1working day.
Batteries and chargers
In order to transport safety battery in the factory will guarantee 30-40%of the power, this power will decline with the transport time length. If you receive the goods, please charge the battery in time;
| Battery capacity(AH) | 13 |
| Electricity(WH) | 624 |
| Rated voltage (V) | 48 |
| Maximum charging voltage(V) | 54.6 |
| Maximum charging current (A) | 3 |
| Battery Type | Li-ion |
| Ambient working temperature | -5 to 45 C |
| Cycle life | ≥500 times |
| Charging temperature | 0 to 45 C |
| Waterproof rating | IPX5 |
Your bike is powered by a lithium-ion (Li-lon)battery. Always follow the instructions below when operating, charging, and using:
- vehicle batteries are for use in this vehicle only. It is strictly prohibited to connect the battery to other electronic devices, which may cause a risk of battery damage.
- Be sure to turn off the battery lock before installing and removing the battery.
- Do not modify, open or disassemble the battery pack. Modifying or disassembling the battery may cause a short circuit, fire or malfunction.
- Batteries are heavy, please hold them carefully to avoid dropping them.
- Do not allow any sharp or metal objects to touch the battery electrodes and charging jack, there is a risk of short-circuiting the battery and fire.
- Do not overheat the battery and avoid overexposure to the sun.
- Do not expose the battery to heat from an open flame or radiator.
- Do not immerse the battery in water.
- Turn of the power and unplug the charger or battery before carying out, for example, installation, maintenance, cleaning or repair. Touching the contacts while the bike is on may cause electric shock or injury.
- lf the bike is not used fora long time, please remove the battery and put it in a dry, well-ventilated place and make sure the storage environment temperature is 25-35℃(Celsius/Fahrenheit. Also make sure to charge the battery at least once every three months so that the bike battery shows at least 3cells(40-50%),which will effectively prolong the life of the battery.
n. Used batteries must not be disposed of in your household waste when they are unusable! All batteries and chargers must be disposed of in an environmentally friendly manner in accordance with the battery disposal regulations of your country or region.
Battery charging:
First, connect the DC end of the charger to the battery charging port, then plug the AC end of the charger into the AC wall outlet. At this point, the charger indicator light will be red, indicating that the charging has started. Wait until the charger indicator light turns green, signaling that the battery charging is complete. First, unplug the AC end and then the DC end of the charger in order.

Remove the battery:
While the bike is folded, rotate the key clockwise fully to disengage the lock core from its position. Now, slide the battery out to remove it.

Install the battery:
While bike is folded, insert battery into frame. Ensure correct orientation. Turn the key clockwise to the right; the first turn locks the battery box, and the second turn powers on the E-bike.

Vehicle Cleaning and Maintenance
Cleaning:
Before cleaning the vehicle, please turn off and remove key. Use clean water and neutral detergent for washing, and do not use high-pressure water jets. After cleaning, use a soft cloth or sponge; strictly avoid using metal brushes, sandpaper, etc, to prevent scratching the surface of components. After cleaning, wipe the vehicle dry with a soft cloth.
Storage:
Park the vehicle in a dry and cool indoor environment, avoiding direct sunlight and rain to prevent rusting of components and shorten the lifespan. When storing for an extended period, please turn off the Key (disconnect the lithium battery)to prevent over-discharge.
Note: If you encounter any abnormalities during maintenance, please contact after-sales support or designated authorized service centers.
Component Maintenance
Motor:
- When driving through water, ensure the water level does not exceed the rear wheel's midpoint.
- Regularly check the fastening status around the motor. If nuts are loose, tighten them promptly.
- After the vehicle stops running, perform simple cleaning and protection to prevent debris from entering the motor and affecting normal use. Avoid directly spraying water during cleaning.
- Check whether the motor leads are scratched, and if there are unusual noises during motor operation, contact after-sales support or designated authorized service centers in case of abnormalities.
Controller:
Regularly check the connected components to ensure they are securely fastened.
Battery:
- In case of abnormal battery behavior, please contact after-sales support or designated authorized service centers
- Avoid using the battery until completely depleted. Aim to maintain it above 20%.Charge promptly after use to extend battery life.
- Never dismantle the battery privately, as it may lead to safety incidents such as electric shock, short-circuit, ignition, or explosion.
- The battery level indicator fully lit or the charger turning green indicates a fully charged battery.
- The suitable storage temperature for the battery is between 0℃ and 35℃.
- If the vehicle is not used for an extended period, after full charging the battery, remove it and place it in a dry and ventilated area. Recharge the battery once every two months using the charger.
- Do not store the battery in a place with a risk of falling. Falling may damage the battery and cause a short circuit, ignition, or explosion.
Charger
Before Charging:
- The charger should be dedicated to the specific vehicle, strictly forbidden for charging non-rechargeable batteries.
- Do not carry the charger with the vehicle to prevent vibration from loosening internal electronic components.
- Confirm that the power source is a 220V AC power supply.
- If damaged wires or loose connections are found, do not use it. Please contact after-sales support or designated authorized service centers.
During Charging:
- When charging, the vehicle should be parked in a safe place, avoiding rain and direct sunlight.
- When charging, insert the charger plug into the vehicle's charging port first, and then plug in the charger's power plug
- During the charging process, if the indicator lights are abnormal, there is an unusual smell, or the chargers casing becomes too hot, immediately disconnect the charging. Please contact after-sales support or designated authorized service centers.
After Charging:
- After the battery is fully charged, unplug the charger's power plug first, and then unplug the charger's charging plug.
- Once the charger has cooled down, tidy up the power and charging cables and place them in a safe location.

- Sufficient ventilation is required during the charging process, keep away from explosive gases, and guard against the risk of fire.
- The charger contains high voltage; do not disassemble or replace internal components. In case of any malfunctions, contact after-sales support or designated authorized service centers.
- Avoid keeping the charger connected to the power source for an extended period, operating without a load, or charging multiple vehicles.
- Handle the charger with care, avoiding rough handling.
Contact Us
- Tell:
+33805980036(EU)Working time: 9am to 6pm (GMT+1),Monday to Friday.
+39800776809(EU)Working time: 9am to 6pm (GMT+1),Monday to Friday. +18442007117(U.S.)Working time: 9 a.m.to6 p.m.(8 p.m. PST),Monday to Friday - Email:
Please email us at service@engwe-bikes.com. We usually reply within 1working day.
Safety Guidelines for E-Bike Usage
To ensure a quick and safe riding experience, please familiarize yourself with this manual. The company reserves the right to interpret and explain this manual.
- Before using this product, ensure the rider has read the manual.
- It is your responsibility to be aware of and comply with the laws in your area.
- Before riding, thoroughly check that all components are in good condition to ensure safety. If you find any problems, please contact us in a timely manner.
- Ensure the rider wears a helmet and other protective gear.
- Minors need to use this product legally in accordance with local regulations
- Minors must have parental approval and supervision to use this product.
- Riders must not be under the influence of alcohol or drugs.
- Do not operate the bike if the rider is unable to engage in strenuous activities due to illness.
- Avoid riding in extreme weather conditions or when excessively fatigued.
- While the bike is suitable for rain or snow, avoid water contact near the motor center to prevent damage to the internal circuitry.
- Do not charge or park the bike indoors. Keep charging away from flammable materials, and avoid excessively long charging times.
- Do not touch battery discharge components with hands. Avoid metal contact with battery electrodes and the bike circuit to prevent short circuits.
- Use the original charger for battery charging. Do not use the bike's battery for other devices to prevent damage.
- Avoid using non-original parts. Unauthorized disassembly, cracking, or modification of the product and ts components is prohibited, and any resulting damage or loss is your responsibility.
- Regularly maintain brakes, tires, and other moving parts for proper bike functionality.
- Services outside the warranty scope may require payment for maintenance and related services.
Documents / Resources
References
![engwe-bikes-eu.com]() Engwe EU - Best Ebikes for Easy & Long Rides – Engwe-bikes-EU
Engwe EU - Best Ebikes for Easy & Long Rides – Engwe-bikes-EU![engwe-bikes.com]() Engwe USA Official: Affordable Adult E-bikes for Sale – ENGWE US
Engwe USA Official: Affordable Adult E-bikes for Sale – ENGWE US![engwe-bikes.de]() Engwe Ebike, Viel Spaß beim Fahren mit den besten E-Bikes
Engwe Ebike, Viel Spaß beim Fahren mit den besten E-Bikes
Download manual
Here you can download full pdf version of manual, it may contain additional safety instructions, warranty information, FCC rules, etc.
Advertisement


Need help?
Do you have a question about the EP-2 PRO and is the answer not in the manual?
Questions and answers