Advertisement
Table of Contents
Contents
STARLINK ROUTER MINI Manual
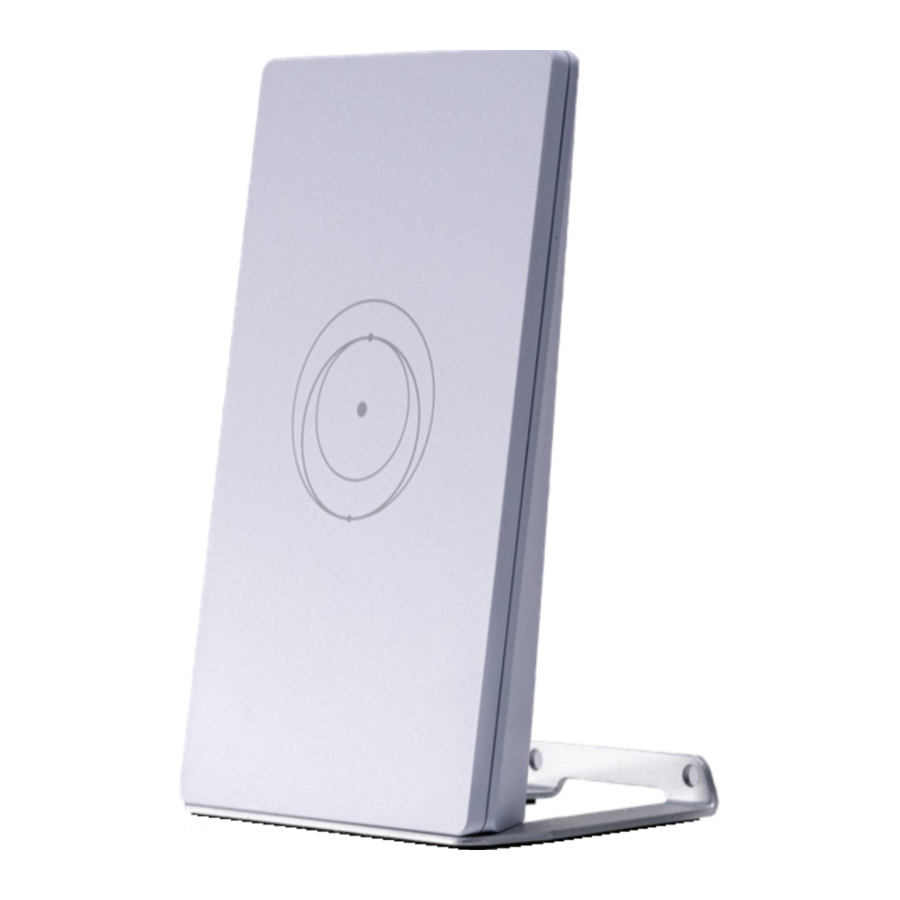
YOUR PRODUCT
What's in the Box

Recommended Tools

INSTALL
- Set Up Your Starlink
Start by making sure your Starlink is set up and connected to the internet prior to setting up your router.
Connect to your existing Starlink WiFi network from your device.

- Position the Routers
Place the router in the desired location.
We recommend the following guidelines for setting up your mesh network:
![]()
- For best performance use a wired connection to your main Starlink router or Starlink Mini.
- Place routers no more than two rooms away from each other.
- Avoid multiple obstructions (ex: cement walls and metal appliances)
- Place the router off the ground, such as on a shelf.
Repeat with additional mesh nodes.
- Select Install Method
Choose your preferred installation method, either on a table or wall and install the stand.
More information on stand installation later in document.
![]()
- Connect to Network
Insert the power cable to the back of the router and plug the power supply into a power outlet. An LED will turn on signifying the unit is powered on.
The Starlink Router Mini can be meshed to your current Starlink system (excluding the Gen 1 Router) either wired or wirelessly. For a wired connection to a Starlink Mini Kit, use 15m Mini Starlink Ethernet Cable. If connecting to another Starlink router, use a RJ45 Cat5e or greater. For a wireless connection, power on your router and follow prompts in the app.
More information on wire and wireless meshing later in document.
![]()


CONNECT TO NETWORK
WIRED MESH GUIDE

- Set up your Starlink Kit as shown in the install instructions and ensure you are online.
- Place your Starlink Router Mini in the desired location and connect the power supply.
- Plug in an ethernet cable into the LAN port of the back of your existing Starlink router or Starlink Mini. For Gen 3 you will need to remove the protective cover to access the ports.
- Run the ethernet cable from the main router to your Starlink Router Mini. Connect to the WAN port of your router (Starlink symbol) to create a wired mesh network.
- Repeat with additional mesh nodes.
WIRELESS MESH GUIDE

- Ensure your Starlink Kit is set up and connected to the internet prior to adding your mesh nodes.
- Find suitable install locations for your mesh nodes and plug them into power outlets.
- Open the Starlink App.
- Wait 1-2 minutes for a "New Mesh Node(s)" notification to appear in the app.
- If a notification does not appear in the app, try positioning your router closer to your main router.
- Tap "Pair" or "Pair All". The node(s) will begin connecting on the "Network" screen. Connection will take about 1-5 minutes.
- Repeat with additional mesh nodes.
MOUNTING
ROUTER STAND INSTALLATION
- Mark and Drill Mounting Holes
Use the mount as a guide to mark the hole locations then drill using a 5.5mm (7/32 in) drill bit.

- Screw Mount to Surface
Install the drywall anchors into the holes, then secure the Mount using the provided screws.

- Install Router into Mount
Snap in the router to the wall mounted stand carefully, ensuring the product sits flush once fully installed.
![]()


Documents / Resources
References
Download manual
Here you can download full pdf version of manual, it may contain additional safety instructions, warranty information, FCC rules, etc.
Advertisement


Need help?
Do you have a question about the ROUTER MINI and is the answer not in the manual?
Questions and answers