Advertisement
TouchKit Setup

- USB Input
- 3. 4. USB Output
- Touch Screen Panel Connection
Reminder:

Be extremely careful when putting back on the LCD housing; make sure the screws are NOT tightened all the way down. Discontinue action immediately as soon as force is felt on the housing. Further tightening of the screws will cause touch screen to crack resulting in inaccurate cursor.
Package Content

Controller Board Preparation

Apply rubber adhesive on the bottom side of the Touch-Hub Controller board as insulation.
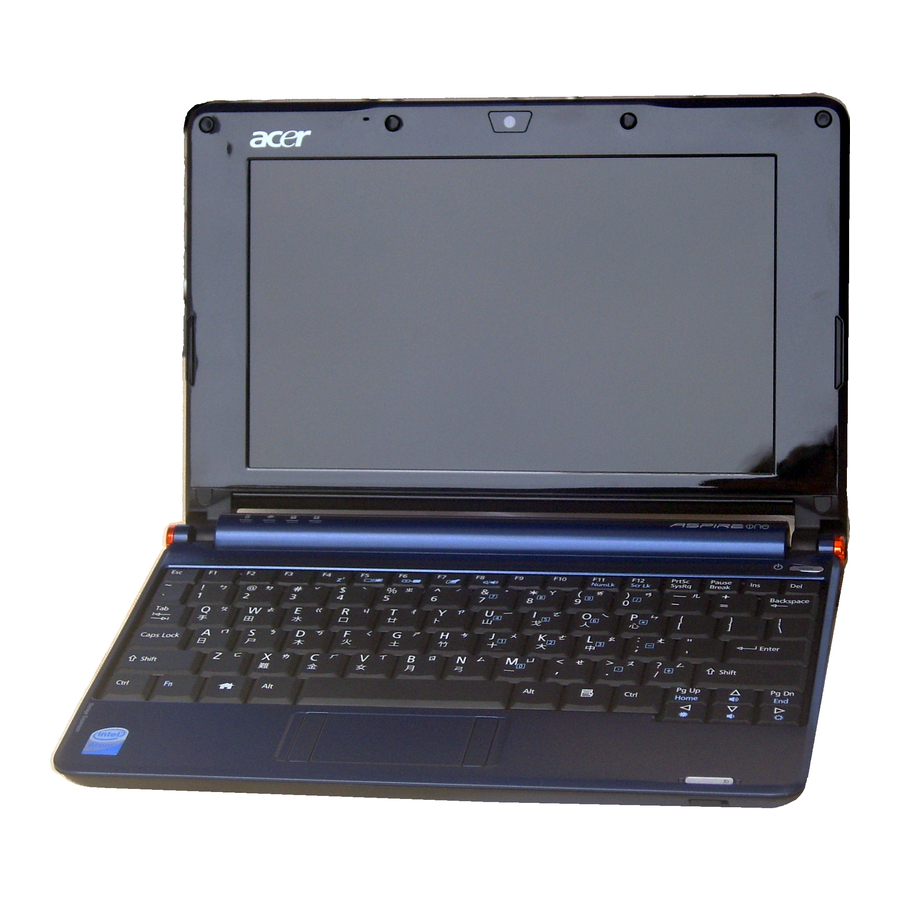
Acer Aspire One Installation Guide
-
- Remove all 6 screws for LCD housing.

- Remove all 6 screws for LCD housing.


- Remove both rubber feet.

- Remove back door for controller fitting,
- Remove all 8 screws for bottom housing.

- Remove keyboard by pushing in the 3 springs.

- Remove both FPC for keyboard and touchpad in the direction indicated.

- Remove all 6 screws for keyboard housing.

- Use thin double-sided tape to secure the touch screen panel on the metal frame of the LCD module.

- Remove all 4 screws to detach the LCD module from the housing.

- Remove microphone connector.
- Remove camera module connector.


- Use Camera Harness provided in the TouchKit to connect the camera module to the USB output port of the controller board.

- Move the camera connector from the top to the left location of the LCD module indicated by the pictures. This connector will be used as USB input for the controller board.

- Hub Harness connecting the camera connector to the USB input port of the controller board.
- Hide all loose wires behind the hinge for proper fitting.

- Remove speaker connector
- Remove all 5 screws to release motherboard from the bottom housing.
- Touch-Hub Controller Board

- To touch screen panel
- USB input (Hub Harness)
- USB output
- USB output (to camera module)
- USB output

- Connect camera harness to the USB output port of the controller board and slide it underneath the chassis from right to left direction. The back door needs to be removed to perform this procedure.
![]()


- Touch screen panel connector location.
- Hide all wires behind the hinge for proper fitting

- Place Shock Absorber Rubber on the metal frame of the LCD module surrounding the touch screen panel.


Be extremely careful when putting back on the LCD housing; make sure the screws are NOT tightened all the way down. Discontinue action immediately as soon as force is felt on the housing. Further tightening of the screws will cause touch screen to crack resulting in inaccurate cursor.
Documents / ResourcesDownload manual
Here you can download full pdf version of manual, it may contain additional safety instructions, warranty information, FCC rules, etc.
Advertisement


Need help?
Do you have a question about the Aspire One and is the answer not in the manual?
Questions and answers