Advertisement
Table of Contents
Contents
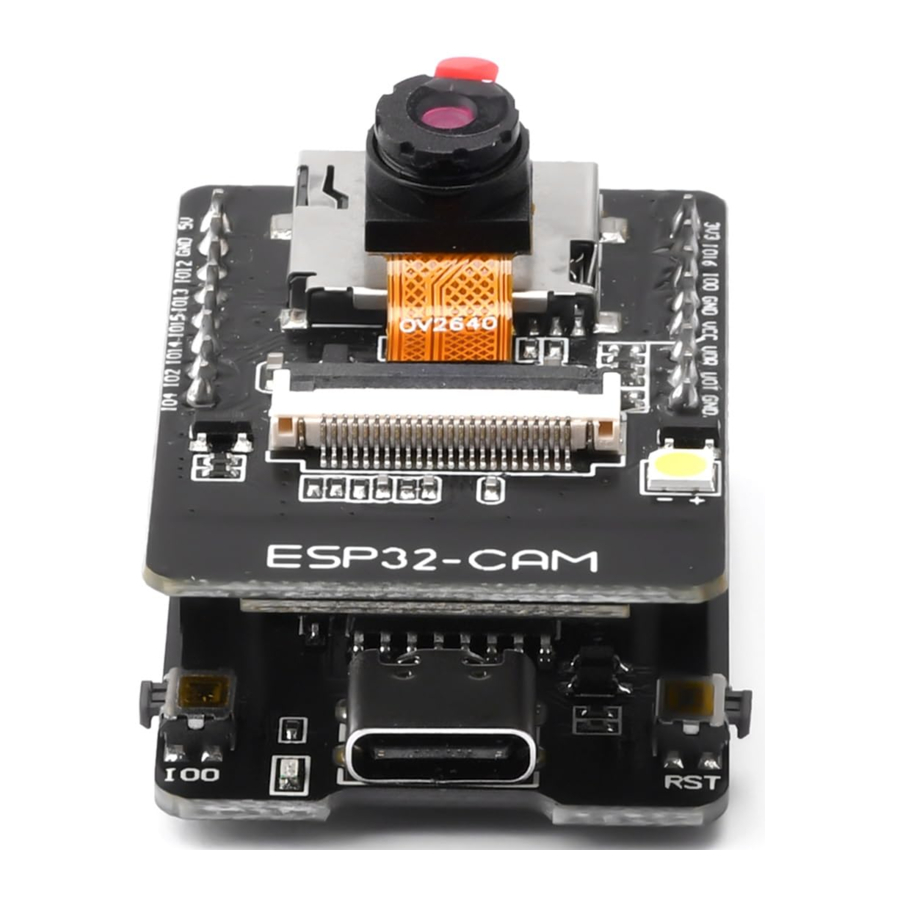
Aideepen ESP32-Cam Manual
Specifications
| SPI Flash | 8 MB |
| RAM | 520KB SRAM + 4M PSRAM |
| Bluetooth | Bluetooth 4.2 BR/EDR and BLE standards |
| Wi-Fi | 802.11 b/g/n |
| Support interface | UART, SPI, I2C, PWM |
| Support TF card | Max. 4GB |
| IO port | 9 |
| UART Baudrate | Default 115200 bps |
| Image Output Format | JPEG (OV2640 support only), BMP, GRAYSCALE |
| Spectrum Range | 2412~2484 MHz |
| Antenna | Onboard PCB antenna, gain 2dBi |
| Transmit Power | 802.11b: 17±2 dBm (@11Mbps) 802.11g: 14±2 dBm (@54Mbps) 802.11n: 13±2 dBm (@MCS7) |
| Receiving Sensitivity | CCK, 1 Mbps: -90 dBm CCK, 11 Mbps: -85 dBm 6 Mbps (½ BPSK): -88 dBm 54 Mbps(¾ 6-QAM): -70 dBm MCS7(65 Mbps, 72.2 Mbps): -67 dBm |
| Power Supply Range | 5V / 3,3V |
| Operating Temperature | -20°C ~ 85°C |
Pinout

Instructions
In order to be able to program the ESP32 cam in the Arduino IDE you must Install support for the ESP32 platform.
Open the Arduino IDE and go to:

Copy the following link: https://dl.espressif.com/dl/package_esp32_index.json

Open the Arduino IDE again and go to:

A new window will open, type esp32 in the search box and install the board named esp32 from Espressif Systems, as shown below:

Now you can select 【AI-Thinker ESP32-CAM】

In order to make the computer recognize ESP32 CAM, please make sure your computer has the CH340X driver installed before use.
Documents / Resources
References
Download manual
Here you can download full pdf version of manual, it may contain additional safety instructions, warranty information, FCC rules, etc.
Advertisement

Need help?
Do you have a question about the ESP32-Cam and is the answer not in the manual?
Questions and answers