Advertisement
Table of Contents
Contents
- 1 WonderLink️ - Compatible eufy Devices
- 2 What's in the Box
- 3 At a Glance
- 4 Testing the Lights
- 5 Setting up the System
- 6 Installing your Outdoor Light
- 7 Choose a Location
- 8 Install the Light Strip
- 9 Specifications
- 10 Troubleshooting
- 11 Customer Service
- 12 Important Safety Instructions
- 13 Documents / Resources
EUFY E22, E10 Manual
WonderLink™️ - Compatible eufy Devices
Check this list to find a eufy device that works with Wonderlink™️.
| Wall Light Cam | Wired Wall Light Cam S100 Solar Wall Light Cam S120 |
| Video Smart Lock | Video Smart Lock S330 Video Smart Lock E330 |
| eufyCam | eufyCam S330 (eufyCam 3) eufyCam S300 (eufyCam 3C) eufyCam S221 (eufyCam 2 Pro) eufyCam S220 (eufyCam 2C Pro) eufyCam 2 eufyCam S210 (eufyCam 2C) eufyCam E eufyCam |
| Video Doorbell | Video Doorbell E340 (Battery Powered) Video Doorbell S330 Video Doorbell S220 Video Doorbell S210 Video Doorbell C210 Video Doorbell C220 Video Doorbell (Wired) S330 |
| Indoor Cam | Indoor Cam S350 Solo IndoorCam C24 Indoor Cam E220 Solo IndoorCam C22 Solo IndoorCam P22 Indoor Cam Mini |
| SoloCam | SoloCam S340 SoloCam S220 SoloCam C110 SoloCam C120 SoloCam E210 SoloCam E220 SoloCam S230 (S40) |
| Outdoor Cam | Outdoor Cam E210 Outdoor Cam E220 |
| Floodlight Cam | Floodlight Camera E340 Floodlight Cam E220 Floodlight Cam E221 Floodlight Cam S330 |
| 4G Cam | eufy 4G LTE Cam S330 |
| Garage-Control Cam | Garage-Control Cam E110 Garage-Control Cam E120 |
What's in the Box
100ft/30M

50ft/15M

At a Glance

- Power Adapter
- Control Unit (Power Button)
- Press to turn on or off.
- Press and hold for 2 seconds to reset.
- Light Strip
- Waterproof Cap
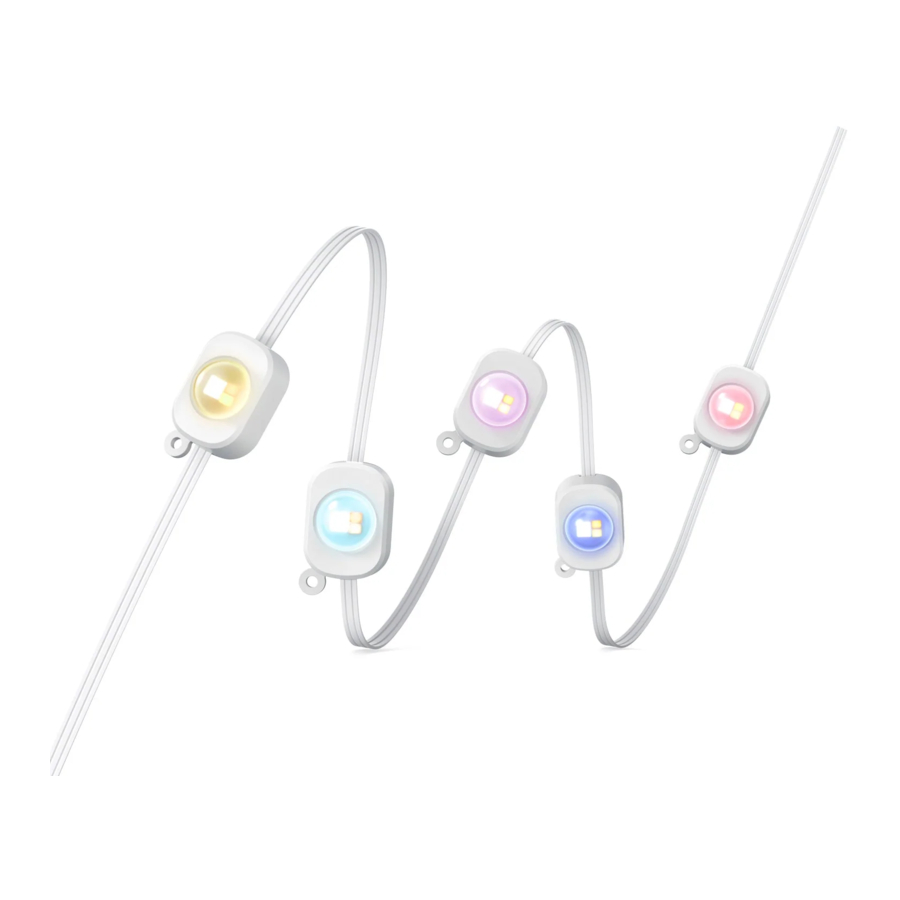
Testing the Lights
![]()
- Connect the light strips with the adapter unplugged. Avoid connecting while the adapter is plugged. If you connect the light strips while adapter is plugged, the strips may not light up.
- A maximum of 9 light strips can be connected to the power adapter.
- Connect all light strips together, then connect them to the control box and power adapter.
Secure the waterproof caps for each connection and the end of the last light strip.
- Make sure the pin connections on the interface are correct.
- Avoid using brute force to prevent damage to the product.
![]()

- Plug in the power supply to verify that each light strip is working properly.
- If some of the light strips do not light up, unplug and reconnect the power adapter. Make sure the light strips are working properly before proceeding to the next step.
- See"Troubleshooting" for other lighting problems that may occur.


Setting up the System
- Download and install the eufy Life app, then sign in or create an account.
- Make sure that the eufy Life app is version 2.11.0 or later to support this light strip.
![]()

- Follow the in-app instructions to add this device and complete the setup.
Installing your Outdoor Light
Install the light strips beneath the eaves to generate a wall-washing effect.
The installation will take approximately 1-2 hours and may vary depending on the home type.

Choose a Location
![]()
- Do not install on rainy or hot days to avoid falling due to extreme temperatures or a slippery ladder.
- Do not cut the light strips.
Determine the location of the first light strip section, making sure that the power adapter is close enough to plug in and the control unit is accessible enough to operate.

Install the Light Strip
![]()
- You will need a ladder and make sure it is stable enough or use it with the help of another person.
- Use the extension cable if needed.
- Clean the surface with a cloth or tissue and wait until the surface is completely dry before installing.
- Dust residue may affect the adhesion of 3M adhesive.


- For the best wall-washing effect, the light strip should be installed 2-4 inches (5-10 cm) away from the wall surface. Use the provided positioning card for measurement.

- Peel the VHB adhesive from the back of each light, then firmly press the light against the surface for at least 5 seconds.

- Do not overstretch the wires between lights and allow for flexibility in installation.


- It is strongly recommended to screw to secure every light to ensure long-term use.
- You may contact customer service at support@eufy.com for any installation issues.


Specifications
| Input (Power Adapter) | 120V AC ~, 50/60Hz (US) 100-240V AC ~, 50/60Hz (EU, UK, Australia) |
| Input (Lights) | 36V⎓2A |
| Length (Light Strips) | 100ft (30m) / 50ft (15m) |
| Length (Other Components) | Control Unit Cable: 13.4ft (4.1m) Power Adapter Cable: 12.1ft (3.7m) Extension Cable: 12ft (3.6m) |
| Waterproof | Light Strips: IP65 Control Unit: IP65 Power Adapter: IP67 |
| Light Displaying Technology | RGBWWIC |
| Working Temperature | Product Set: -20 ℃ to 45 ℃ (-4 ℉ to 113 ℉ ) Light Strips: -20 ℃ to 60 ℃ (-4 ℉ to 140 ℉ ) |
Troubleshooting
- Light doesn't glow at all / Some lights do not glow.
- If only the first strip glows while the power adapter is plugged in, unplug the power adapter and plug it in again.
- If some lights don't glow, disconnect all components and reconnect all components and plug the power adapter in again, or press the control unit to detect the light strip.
- If any of the selected light effect are not fully displayed, contact eufy support team for further analysis or product replacement.
- Cannot connect to Wi-Fi.
- The 5GHz network is not supported. Please set the router to 2.4GHz and then reset it.
- Do not skip the Wi-Fi connection steps in the app.
- Make sure you have entered the correct Wi-Fi name and password.
- Connect the hotspot of your phone to the product.
- Adhesive stickers don't stick.
- Clean the surface with a cloth and make sure there is no residue.
- Remove the original sticker and replace it with the replacement stickers.
- Make sure to press against the surface for at least 5 seconds when installing the light.
- Use screws for reinforcement.
Customer Service
- Lifetime Technical Support
- 24-month Limited Warranty
Important Safety Instructions
- This product is rated as IP65 waterproof. It can be used outdoors, but immersion in water is not recommended. The power adapter is rated as IP67 waterproof and can be immersed in water.
- To prevent the light strip from falling down, make sure to secure it with both the 3M adhesive tape and the screws.
- Tighten up the waterproof cap before using the light.
- Do not allow children to assemble or install this product.
- Avoid installing this product near large heat sources or other dangerous sources.
- The recommended temperature range for devices and accessories is -20°C~45°C ( -4°F~113°F).
- Unless specifically indicated that it is safe to do so in the user guide or instruction manual, do not use this device in an environment that exceeds the recommended low or high temperature.
- Unless specifically indicated that it is safe to do so in the user guide or instruction manual, avoid exposing your device to direct sunshine or excessively wet environments.
- For pluggable equipment, the socket outlet should be easily accessible.
- Use only the adapter provided by the manufacturer. Using unauthorized adapters may cause danger and violate the authorized use of the device or the warranty article. External dimmers cannot be used with this product.
Documents / ResourcesDownload manual
Here you can download full pdf version of manual, it may contain additional safety instructions, warranty information, FCC rules, etc.
Advertisement

Need help?
Do you have a question about the E22 and is the answer not in the manual?
Questions and answers