SolarEdge ONE Manual
Also See for ONE:
- Quick installation manual (38 pages) ,
- Quick installation manual (5 pages)
Advertisement
Table of Contents
Contents
SolarEdge ONE Manual
Installation
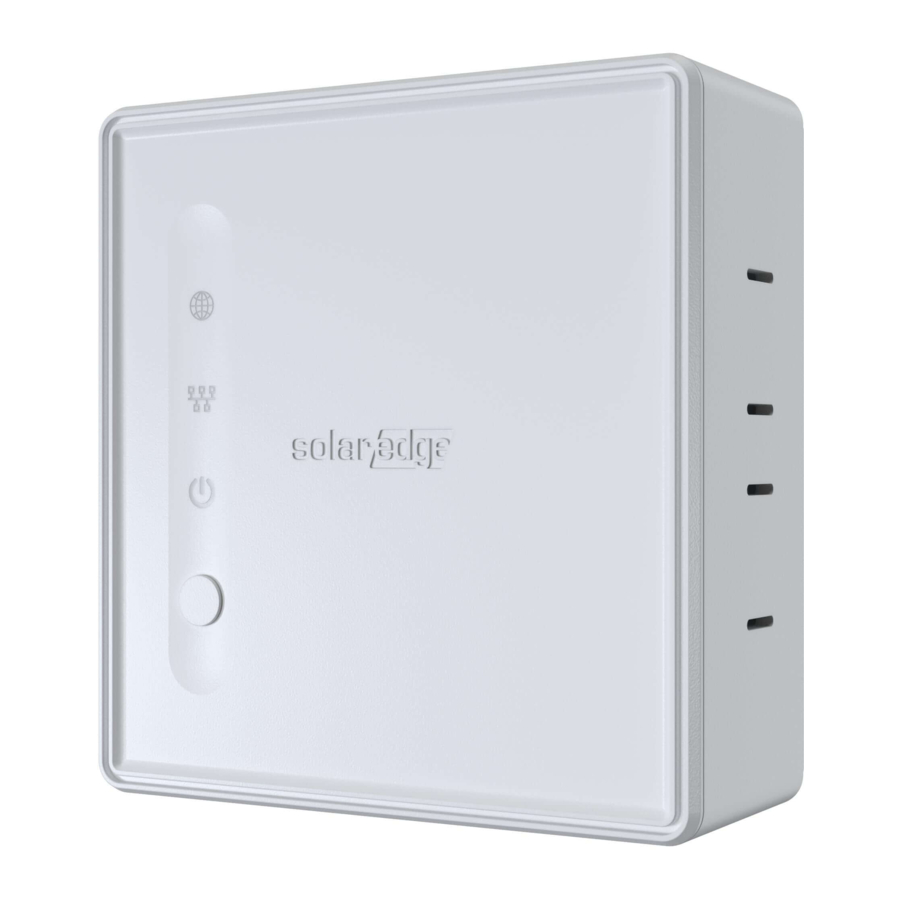
- Mount controller on a flat surface/wall using screws
![]() Œ.
Œ. - Connect cable of power adapter
![]() to controller.
to controller. - Connect Ethernet cable between LAN port
![]() Ž and LAN router
Ž and LAN router ![]() . For Wi-Fi connection, use SolarEdge GO app.
. For Wi-Fi connection, use SolarEdge GO app. - Download SolarEdge GO app.
 Œ.
Œ. to controller.
 Ž and LAN router
  . For Wi-Fi connection, use SolarEdge GO app.
Setting Up
- Plug power adapter into AC outlet and wait until the Power and Cloud LEDs ‘ are solid (about two minutes).
- Start SolarEdge GO. Enter your site name > tap
![]() > Add > ONE Controller > follow on-screen instructions.
> Add > ONE Controller > follow on-screen instructions.
Button Operation

To enable Wi-Fi connection to the ONE Controller, press and hold down the button  until the Local indicator LED starts blinking.
LED Indications
Cloud  |
|
Local |
|
Power  |
|
Specifications
| Power Adapter | 120-240 VAC, 50/60 Hz |
| Communication | Wi-Fi: 802.11b/g/n. 2.4 GHz SolarEdge Home Network: 802.15.4, 300-956 MHz Ethernet: 10/100/1000 Base-T |
| Environmental | Operating temperature: -10 to +50°C Relative humidity: 0-95% |
| Dimensions | 100 x 97 x 45 mm |
Drill Template

Safety Information
- For indoor use only
- DO NOT use in a wet area
- DO NOT clean with liquid
Scan for datasheet

Discard this product according to local regulations or send it back to SolarEdge
Support Contact Information: If you have technical problems concerning SolarEdge products, please contact us:
https://www.solaredge.com/service/support
Documents / Resources
References
Download manual
Here you can download full pdf version of manual, it may contain additional safety instructions, warranty information, FCC rules, etc.
Advertisement

Need help?
Do you have a question about the ONE and is the answer not in the manual?
Questions and answers