Table of Contents
Advertisement
Quick Links
Advertisement
Table of Contents

Subscribe to Our Youtube Channel
Related Manuals for MPMan MID7C


Summary of Contents for MPMan MID7C
- Page 1 For Model No. User Manual MID7C...
- Page 2 This manual contains important safety precautions and information of correct use. Please be sure to read this manual carefully before use so as to avoid any accidents. Do not place the product in hot, wet or dusty environment, especially in summer, do not leave the product inside a car with all windows closed.
-
Page 3: Specification
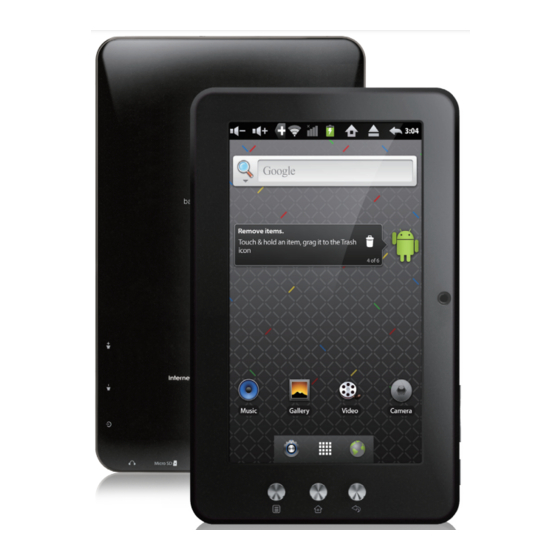
specification Hardware Software 7.0” High De nition TFT LCD Touch Screen (800x480 pixel) Andriod 2.3 Ginger Bread Capacitive multi-touch (2 touch) point function Google browser CPU: Telechips TCC8902 ARM processor Wi-Fi connection RAM : DDR2 256MB (3D accelerator possible for 3D games) e-Book function (all e-book formats supported by application) Wi-Fi (IEEE802.11 b/g/n) for internet connection 1080p HD le playback... - Page 4 - For charging, be sure to use the power adapter(DC5V) that is provided in the package, otherwise, the device may be damaged Volume+ and does not work. MID7C Volume- - The device is equipped with high performance processor. It may heat in case of using long or Power while charging.
-
Page 5: Power On/Off
1. Power On/Off Long press power button to turn on/o the device. It may take a minute to boot the device. Short press power button to turn on/o the screen.(Standby mode. Refer to 3. below) 2 Desktop After turning on the device, desktop displays with shortcut icons and arrow panel at the right side Page 4... -
Page 6: Standby Mode(Screen Off Mode) / Unlock The Screen
3 Standby mode(Screen off mode) / Unlock the screen Short press the power button to turn on/o the screen (standby mode on/o ). After standby mode o , slide the lock icon to the speaker icon in order to unlock the screen. Page 5... -
Page 7: System Settings
4 System settings On the desktop, press menu button and select Settings. Page 6... -
Page 8: Press Settings
Press Settings 1.Wireless & networks 2. Sound & display Wi-Fi – Press Wi-Fi to turn on/o Set up each setting as you like. Wi-Fi settings - Press Wi-Fi settings, press Network noti cation, then the device will automatically search the available Wi-Fi signals. Select the network you want to connect with. -
Page 9: Location And Security
3. Location & security Use wireless networks – Location determined by Wi-Fi and/or mobile networks Set up screen lock – Protect your device from unauthorized use by creating a personal screen unlock pattern. Visible passwords – Show password as you type. Install from TF card –... - Page 10 Manage applications Running services All installed application are listing. View and control currently running services. Keep pressing an application to manage. Storage use Press Uninstall to uninstall the selected application. View storage used by applications Development Set options for application development Page 9...
-
Page 11: Account & Sync
5. Account & sync Create your Gmail account. After connecting Wi-Fi network, the Gmail e-mailing system synchronizes your Gmail account with the device. Emails are automatically downloaded into the device. 6. Storage Check device memory and microSD card status. Unmount SD card – Unmount the SD card for safe removal. Page 10... -
Page 12: Language And Keyboard
7. Language & keyboard Select Language – Choose your preferable language. Android keyboard – Android keyboard settings On keyboard settings, select Input method and keyboard type. If you need other languages besides English on keyboard, press the relevant keyboard and enter the chosen Keyboard settings, select Keyboards, press the language you need. Page 11... -
Page 13: About Device
8. Date & time Set date Select time zone Set time Use 24-hour format Select date format 9. About device System updates – Check for system updates Legal information Page 12... -
Page 14: How To Connect/Disconnect The Device With/From The Computer
How to connect/disconnect the device with/from the computer On main desktop, connect the device with the PC, pull down the status bar on the top of desktop Press “USB connected”, select “Turn on USB storage”. The device is recognized at Explorer of the computer. Now you can use it as an external storage. -
Page 15: How To Install Applications(.Apk File) Into The Device
How to install Applications(.apk file) into the device Method 1. Connect the device with internet. See above [1.Wireless & networks] in order to connect internet. Run “Market” and search the applications you want to install. Follow the instruction on the screen for installation. Method 2. -
Page 16: How To Make Desktop Icons
How to make desktop icons Long press the blank part of desktop, the pop-up displays. Shortcuts Press Shortcuts and press Applications. Press your desired APK icon to put it on the desktop. Widgets Press Widgets and press your desired icon to put it on the desktop. Page 15... - Page 17 Folders Press Folders and press New folder to create a new folder on the desktop. Wallpaper Press Wallpaper and select one of categories of wallpaper. Select one you desire and press Set wallpaper. Page 16...
-
Page 18: Change Input Method
Change Input Method If your device was installed with other more input method, long press Quick Search Box, and the pop-up displays. Page 17... - Page 19 Press Input method and select the installed keyboard, then the keyboard will appear with your desired language you installed. Page 18...
- Page 20 Specification Android 2.3 Ginger Bread Telechips 8902 ARM processor SDRAM DDR2 256MB (3D accelerator possible for 4D games) Display 7" TFT 800*480 Capacitive touch panel Multi-touch screen Yes : 2 point multi-touch Built-in ash memory 2 / 4 / 8 / 16GB Audio port 3.5ø...
- Page 22 For more information please check our website www.mpmaneurope.com...
Need help?
Do you have a question about the MID7C and is the answer not in the manual?
Questions and answers