Advertisement
Advertisement
Table of Contents

Related Manuals for Movies 2 go MM701


Summary of Contents for Movies 2 go MM701
-
Page 1: Installation Guide
MM701 7" LCD OVERHEAD MONITOR Installation Guide... - Page 2 IMPORTANT An LCD panel and/or video monitor may be installed in a mo- tor vehicle and visible to the driver if the LCD panel or video monitor is used for vehicle information, system control, rear or side observation or navigation. If the LCD panel or video moni- tor is used for television reception, video or DVD play, the LCD panel or video monitor must be installed so that these features will only function when the vehicle is in ‘park’...
-
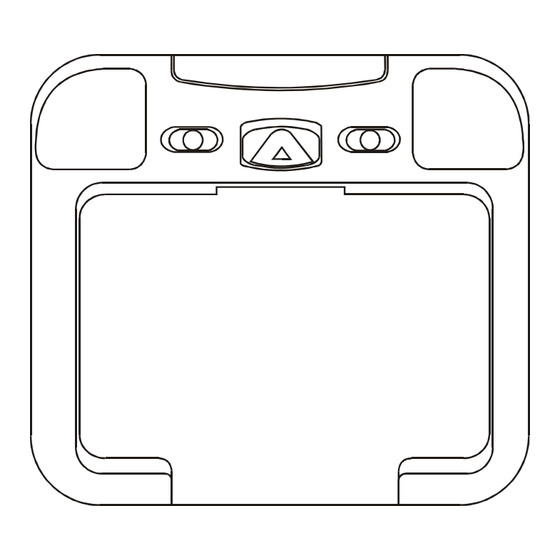
Page 3: Materials Included In This Package
MATERIALS INCLUDED IN THIS PACKAGE: MM701 Video Monitor (1 pc) Accessory Harness (P/N 8010730) (1 pc) 2 Pin Power Wire Harness with choke (P/N 112B2824) (1 pc) Hardware Package:- #4 x 5/16” Screws (6 pcs) #8 x 5/8” Self Drilling Screws (4 pcs) #8 Washers (4 pcs) Dome light Harness (1 pc) Trim Ring (1pc) - Page 4 GENERAL INSTALLATION APPROACH: 1) Decide upon system configuration and options that will be installed (i.e.: what components, VCP, Tuner, RF Modulator/external amp, remote headphones, DVD, etc.). 2) Review all manuals to become familiar with electrical requirements and hook ups. 3) Decide upon mounting locations of all components and method of mounting. 4) Prep the vehicle by removing any interior trim necessary to gain access to vehicle's wiring as well as all areas where interconnecting wire harnesses will need to be located.
-
Page 5: Vehicle Preparation
VEHICLE PREPARATION: 1) Locate an accessory power source (+12v when key is in the ACC. and run positions, and 0v when key is off). Generally, this wire can be found at the ignition switch or fuse-box. 2) The mounting method and location will vary from vehicle to vehicle, so this manual will only focus on the installation of the video monitor and related console accessories. -
Page 6: Trim Ring Installation
TRIM RING INSTALLATION: This page only covers special installation considerations for the trim ring installation. If the video monitor is to be installed with a custom full sized overhead console, refer to page 5. If the video monitor is to be installed in a vehicle with the trim ring, it may need to be trimmed to fit the contour of the vehicle headliner. - Page 7 MOUNTING THE TRIM RING Roof Roof Support Headliner 5"x9"x3/4" Plywood Block (4) #8x1" self drilling screws (not supplied) Trim Ring Video Unit (4) #8 flat washers (not supplied) (4) #8x3/4" self tapping screws (not supplied)
- Page 8 MM701 Audio Output for FM Mod. Mini-Din Connectors Dome Light Red: +12VDC Accessory Ckt. (Install 5A Accessory Inline Fuse) Harness Power Harness Red: +12VDC item #2 item #3 (Accessory Cir.) Black: Ground Red RCA (Audio Right) White RCA (Audio Left) Accessory Yellow RCA (Video) Harness...
-
Page 9: Connecting The Dome Lights
CONNECTING THE DOME LIGHTS The dome lights in the video monitor require three connections to the vehicle's wiring. There are two common types of dome light circuits used, positive or negative switched. Positive systems supply volt- age to the interior lights to turn them on, negative switched systems apply ground to illuminate the bulbs. To determine which system you have you must locate the wires at the dome light. -
Page 10: Troubleshooting
Negative Switched Dome lighting Red / black - Lamp on To 3 pin Black / red - Lamp common connector Violet / brown - Lamp Auto constant Factory Dome light circuit constant Factory Door ajar switch or Body Troubleshooting: SYMPTOM: REMEDY: No power at Video Monitor -Verify +12 VDC on Red wire at 2 pin Power Harness behind video...
Need help?
Do you have a question about the MM701 and is the answer not in the manual?
Questions and answers