Advertisement
Introduction
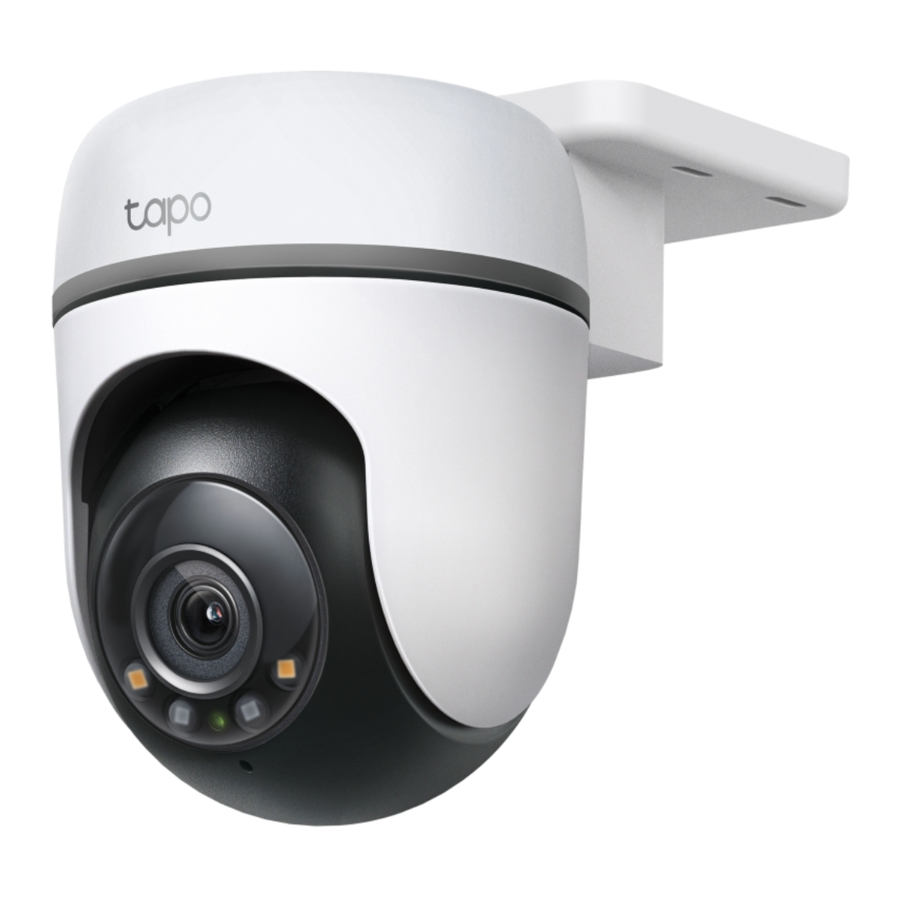
Outdoor Pan/Tilt Security Wi-Fi Camera is a full-featured weatherproof security camera that you can access from anywhere. Receive instant notifications and check feeds when the motion is detected. Moreover, the automatic siren system will trigger light and sound to frighten away unwanted visitors after the camera detects motion.
Day or night, rain or shine, the Tapo camera protects what you love most.
- Smart Motion Tracking – Tracks and follows a subject smartly, keeping it within the camera's field of view.
- 1080p Full HD Live View – Reveals sharp images and vivid details.
- Patrol Mode – Keep the camera cruise between two customized points for dynamic monitoring.
- Person Detection – Notifies you when a person is detected.
- Local* and Cloud** Storage – Save recorded videos to an installed microSD card (up to 512 GB)*, or use Tapo Care** cloud storage service.
*microSD card must be purchased separately.
**Subscribe for cloud storage at https://www.tapo.com/tapocare/ - IP65 Weatherproof – Offers excellent waterproof and dustproof performance for outdoor scenarios.
- Customizable Sound Alarm – Record your own audio as an alarm to extend your usage.
- Color Night Vision – Enhances your security by revealing vivid colors with built-in spotlights.
- Two-Way Audio – Communicate remotely with a delivery person in real time.
- Multiple Installation Options – Use the mounting screws, template and loops* to install on any wall, ceiling or pole for the perfect view.
*Mounting loops purchased separately.
Appearance

- White Light LEDs
- IR LEDs
- Lens
- System LED
- Microphone
- Reset
- microSD Card Slot
- Speaker
- DC Power Connector
Reset Button
Open the silicone cover. While the camera is powered on, use a pin to press and hold the RESET button to reset the camera.
- Press and hold for 5s: Reset Wi-Fi settings only
- Press and hold for 10s: Reset to factory settings
microSD Card Slot
Open the silicone cover and insert a microSD card*. Initialize it on the Tapo app for local recording.
*microSD card not included.
DC Power Connector
Used to connect to the provided DC power adapter
System LED Indication
| Solid red | Starting up |
| Blinking red and green | Ready for setup |
| Blinking red slowly | Connecting to Wi-Fi |
| Solid amber | Connected to Wi-Fi |
| Solid green | Connected to the cloud |
| Blinking red quickly | Camera resetting |
| Blinking green quickly | Camera updating |
Set Up Your Camera
Follow the steps below to get started with your new camera.
- Download Tapo App
Get the Tapo app from the App Store or Google Play, or by scanning the QR code below.
![]()


- Log In
Open the app, and log in with your TP-Link ID. If you don't have an account, create one first.
![]()
- Add Your Camera
Tap the![]() button > Add Device in the app and search for your model. Follow app instructions to complete the setup.
button > Add Device in the app and search for your model. Follow app instructions to complete the setup.
![]()


Install a microSD Card
Follow the steps below to install the microSD card for local recording.
You can go to Camera Settings > microSD Card in the Tapo app to check the card status or format your card.

- Manually rotate the camera downwards. Open the silicone cover to find the microSD card slot.
- Identify the direction of the microSD card and carefully insert the card into the slot. Push in the card until you hear a clicking sound.
Mount Your Camera
When you finish adding your camera in the Tapo app, you can mount it on a wall or ceiling with the provided mounting template and screws. You can also mount it on the pole with mounting loops. Follow the steps below to mount your new camera.
Note: The camera is not waterproof when set on a table or shelf. Mount the camera via Option 1-3 when installing outdoors.

Option 1: Wall Mount
- Affix the Camera and Bracket
Route the camera power cord through the opening of the bracket. Use two bracket screws to affix the bracket and the camera.
![]()
- Drill Holes
Stick the mounting template to the desired mounting place. Drill four screw holes according to the template.
![]()
- Mount the Camera
Insert four mounting anchors into the holes, then use the mounting screws to affix the camera and bracket over the anchors.
![]()
![]()
- Power Up the Camera
Connect the camera to a power outlet using the provided power adapter. Install the waterproof seal for the power connectors.
![]()


Option 2: Overhang Mount
- Affix the Camera and Bracket
Route the camera power cord through the opening of the bracket. Use two bracket screws to affix the bracket and the camera.
![]()
- Drill Holes
Stick the mounting template to the desired mounting place. Drill four screw holes according to the template.
![]()
- Mount the Camera
Insert four mounting anchors into the holes, then use the mounting screws to affix the camera and bracket over the anchors.
![]()
![]()
- Power Up the Camera
Connect the camera to a power outlet using the provided power adapter. Install the waterproof seal for the power connectors.
![]()


Option 3: Pole Mount
- Affix the Camera and Bracket
Route the camera power cord through the opening of the bracket. Use two bracket screws to affix the bracket and the camera.
![]()
- Mount the Camera
Mount the camera on the pole using two pole-mounting loops* (loop width ≤ 12mm).
![]()
*Pole-mounting loops are not included. - Power Up the Camera
Connect the camera to a power outlet using the provided power adapter. Install the waterproof seal for the power connectors.
![]()


Install Waterproof Items
When the camera is installed outdoors, please install waterproof items to waterproof your camera. Make sure each part is securely attached and the water-proofing rings are flush to keep out water.
Follow the steps below to install waterproof items.
Install Waterproof Seal for Power Connectors
Connect the camera to a power outlet using the provided power adapter. Install the waterproof seal for the power connectors when the camera is installed outdoors.

Safety Information
- Keep the device away from fire or hot environments. DO NOT immerse in water or any other liquid.
- Do not attempt to disassemble, repair, or modify the device. If you need service, please contact us.
- Do not use damaged charger or USB cable to charge the device.
- Do not use any other chargers than those recommended
- Do not use the device where wireless devices are not allowed.
- Adapter shall be easily accessible.
- Use only power supplies which are provided by manufacturer and in the original packing of this product. If you have any questions, please don't hesitate to contact us.
- Adapter should be used indoors where the ambient temperature is lower than or equal to 40ºC.
- This product uses radios and other components that emit electromagnetic fields. Electromagnetic fields and magnets may interfere with pacemakers and other implanted medical devices. Always keep the product and its power adapter more than 15 cm (6 inches) away from any pacemakers or other implanted medical devices. If you suspect your product is interfering with your pacemaker or any other implanted medical device, turn off your product and consult your physician for information specific to your medical device.
- Operating Temperature: -30 ºC ~ 60 ºC (-22°F ~ 140°F)
- Adapter should be used indoors where the ambient temperatures lower than or equal to 40°C.
Please read and follow the above safety information when operating the device. We cannot guarantee that no accidents or damage will occur due to improper use of the device. Please use this product with care and operate at your own risk.
Explanation of the symbols on the product label
Symbols may vary from products
| Symbol | Explanation |
 | Class II equipment |
 | Class II equipment with functional earthing |
 | Alternating current |
 | DC voltage |
 | Polarity of output terminals |
 | Indoor use only |
 | Dangerous voltage |
 | Caution, risk of electric shock |
 | Energy efficiency Marking |
 | Protective earth |
 | Earth |
 | Frame or chassis |
 | Functional earthing |
 | Caution, hot surface |
 | Caution |
 | Operator's manual |
 | Stand-by |
 | "ON"/"OFF" (push-push) |
 | Fuse |
 | Fuse is used in neutral N |
 | RECYCLING This product bears the selective sorting symbol for Waste electrical and electronic equipment (WEEE). This means that this product must be handled pursuant to European directive 2012/19/EU in order to be recycled or dismantled to minimize its impact on the environment. User has the choice to give his product to a competent recycling organization or to the retailer when he buys a new electrical or electronic equipment. |
 | Caution, avoid listening at high volume levels for long periods |
 | Disconnection, all power plugs |
| m | Switch of mini-gap construction |
| µ | Switch of micro-gap construction (for US version) Switch of micro-gap / micro-disconnection construction (for other versions except US) |
| ε | Switch without contact gap (Semiconductor switching device) |
More Info
- Specifications can be found on the product page at https://www.tapo.com.
- Our Technical Support and troubleshooting information can be found at https://www.tapo.com/support/.
- The setup video can be found at https://www.tp-link.com/support/setup-video/#cloud-cameras.
Documents / Resources
References
Download manual
Here you can download full pdf version of manual, it may contain additional safety instructions, warranty information, FCC rules, etc.
Advertisement


Need help?
Do you have a question about the Tapo TC40 and is the answer not in the manual?
Questions and answers