Advertisement
Table of Contents
Contents
Garmin inReach EXPLORER + Manual
BASICS

MAIN MENU ITEMS

![]()
- "Preset": Shows a selection of preset phrases, with their receiver shown in bold above each option. Usually not very useful
- "Tracking": Allows you to activate GPS tracking on your device, check logged data amounts, and deactivate tracking
- "Check": Has the device check for messages. Usually the device will check at a set interval of time that can be adjusted in "Settings," but "Check" will check immediately
- "Routes": Shows any pre-made routes that have been downloaded onto the device. Usually not very useful
- "Messages": Shows any sent messages, and offers the option to send a new one
- "Waypoints": Lists all waypoints plotted since the device was last turned one. If you select a waypoint on the list, it will provide the option to change its name and see its coordinates, distance, elevation, and date of creation
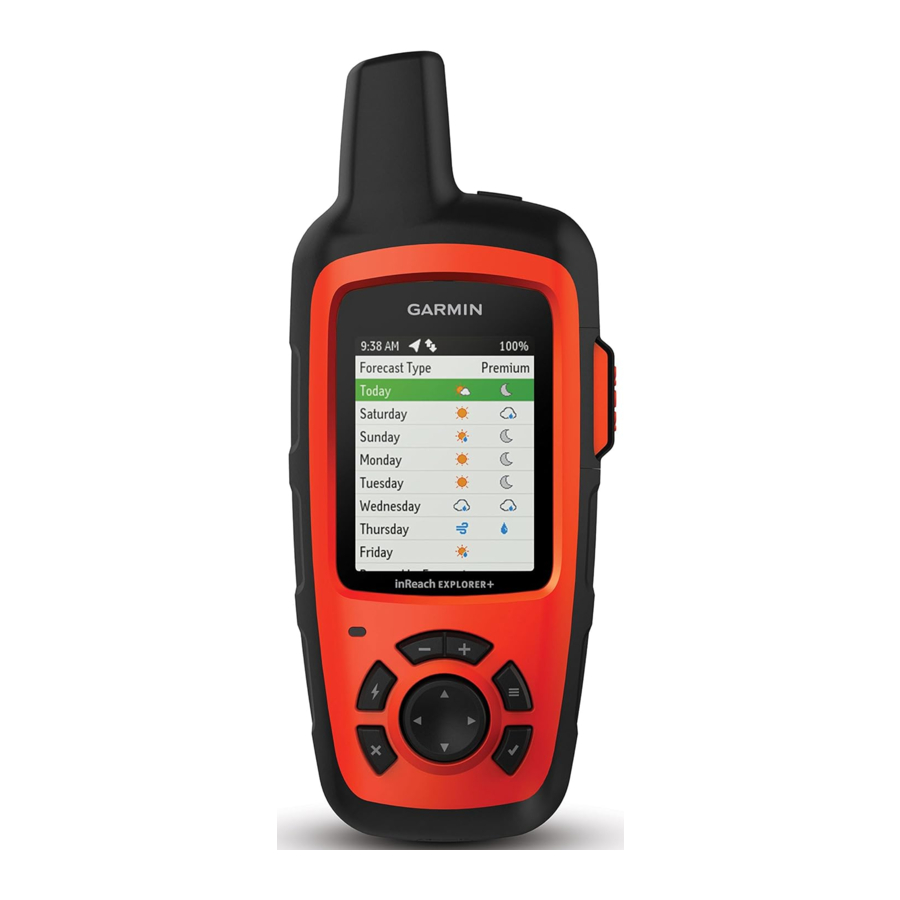
- "Weather": Provides weather for specified locations. You may specify a location by your current location, prerecorded waypoints, inputted coordinates
- "Map": Arguably the third most important feature of the device, after SOS and messaging capability. Shows your current location and direction as a dark blue arrow, pointed in your direction of motion. Any recorded tracks will show up as light blue lines. Sent message locations appear as a blue chat bubble, reference points (times at which the device shared your location when tracking) as a yellow circle, and waypoints as red flags.
- Scroll along the field of view using the cursor keys
- Zoom in or out of the location your cursor (the black arrow) is pointing to using the zoom keys
- Return the screen to your current location using the cancel/return key
- Select messages, reference points, or waypoints by moving the cursor onto them and pressing the select key. This will allow you to read their relevant stats
- "Trip Info": Shows trip time, maximum speed, time moving, average speed, trip distance, and odometer. Usually not useful unless you turn on the device and start tracking right at the time you begin your journey
- "Data Use": Shows amount of messages sent and tracking points made since the device was last turned on. Usually not very useful
- "Compass": Provides orientation, elevation, trip distance, and speed data
- "SOS": DO NOT SELECT THIS FEATURE UNLESS YOU HAVE AN EMERGENCY AND REQUIRE RESCUE. If you do accidentally press this item, you will have 5 seconds to cancel the rescue request before Garmin begins deploying resources to send help
- "Contacts": Lists all contacts in the device, and offers the chance to add more
- "Location": Gives current location's latitude and longitude, as well as speed, course, elevation, and accuracy of readings. Also provides option to share location
- "History": Lists each recorded day's points
- "Test": Sends a test message. You should use this feature every time you turn on the device
- "Settings": Lists settings for the device, including but not limited to display, messages, and sounds
HOW TO
*Note: In these instructions, the word "navigate" indicates that you should use the cursor key to move the selection you want. On prompt screens and the main menu, the selected item shows up in green. The word "select" indicates that you should press the select key.
To turn on:
- Press and hold the power key until you see a green LED light and the screen turns on
- You will see a prompt telling you that the device needs an active subscription to work (Stanford has one), as well as a warning to always test your device prior to traveling
- Press the left cursor key to move the green rectangle from "Cancel" to "Turn On," then press the select key
To unlock:
- Press any key to bring up the lock screen
- Press the left cursor key to move the green rectangle from "Cancel" to "Unlock," then press the select key
To test device:
- Navigate to "Test" on the main menu, then press the select key
- You will see instructions telling you to make sure the device has a clear view of the sky.
Performing the test under tents or canopies is fine, but sometimes cars will block your signal. Standing inside or under a building will almost always block your signal
![]()
- Press the select key to begin the test. It will take a few minutes to complete. If you do not see the "Test Successful" screen after 15 minutes, switch to another location with a clearer view of the sky.
- Note: The LED may blink red while testing. If so, don't worry. As long as the arrow at the top of the screen doesn't have continuously a question mark over it and as long as the twin arrows blink on the top of the screen, everything's fine.
- After you see the "Test Successful" screen, press the select key to return to the main menu
![]()


To sync the device with your iPhone:
- On the device, navigate to "Settings" on the main menu, then press the select key
- Select "Bluetooth"
![]()
- Make sure "Enabled" is "On"
- The menu may show "Connected" as "Yes" or "No," depending on whether the device is currently paired with a phone. Assuming you want to connect it with your phone, you will need to disconnect it. To do so, select "Pair Device"
![]()
- If the previous screen showed "Connected" as "Yes," you will see a warning saying that the device is already paired. If so, select "Pair Again." You will see a prompt telling you to follow the instructions on your mobile device

- On your iPhone, go to "Settings"
- Select "Bluetooth"
- Make sure Bluetooth is turned on, then find the "inReach ___" device. The 8-digit device identifier will match the number on the inReach device
- After the device shows up as "Connected," confirm by opening the "Earthmate" app and selecting "My inReach." If you succeeded, the device will show up as connected.
![]()


To track your travel:
- Navigate to "Tracking" on the main menu, then press the select key
- Select "Start"
- "Send interval": How often the device will send its logged position data. Anything not sent risks being lost once the device is turned off
- "Log interval": How often the device logs its position
- "Points Sent": How many location log points the device has sent
- "Time Until Full": How much longer the device could continue logging and sending position data, assuming continuous battery power, i.e. memory. Usually this is not an issue
- The device will continue logging and sending position data as long as it is on. To stop logging position, select "stop"
To send a text message on the device:
- Navigate to "Messages" on the main menu, then press the select key
- Select "New Message"
![]()
- Select "To"
![]()
- Move cursor to each letter and select to type a name or phone number. If the device recognizes the name or number, it will offer options that you can select (e.g. You type in an "A" and "Aaron" appears. You can select "Aaron" to send a message to his phone number). When finished, select "Done" to return to the "Messages" menu

- Select "Message"
- Move cursor to each letter and select to type a word. The device will also offer word suggestions that you can select. When finished, select "Done" to return to the "Messages" menu

- Select "Send Message"
![]()
- Your message will appear in the list of messages within the "Messages" feature. When the spinning dots disappear and the target symbol is filled in, your message has sent successfully


To send a text message on your iPhone:
- On your iPhone, open the "Earthmate" app
![]()
- Select "Messages"
- Select the new message icon (a piece of paper with a pencil) in the top right corner of the screen
- Input names, email addresses, or phone numbers as you regularly would on a phone
- Type message, then press "Send" at the bottom of the screen
![]()
- On the device, your message will appear in the list of messages within the "Messages" feature. When the spinning dots disappear and the target symbol is filled in, your message has sent successfully


To call for help:
Option 1: Navigate to "SOS" on the main menu, then press the select key
Option 2:
- Lift the protective cap off of the SOS key
- Press and hold the SOS key
- Wait for the SOS countdown (I think it's 5 seconds – this gives you a chance to cancel if the call was a mistake). After this point the device will send a default message to the emergency response service with your location
- On the device, reply to the confirmation message from the emergency response service (this lets the emergency response service know that you are capable of interacting with them during the rescue)
- For the first 10 minutes of your rescue, an updated location is sent to the emergency response service every minute. To conserve battery power after the first 10 minutes, an updated location is sent every 10 minutes when moving and every 30 minutes when stationary
To cancel an SOS rescue
- Lift the protective cap off of the SOS key
- Press and hold the SOS key
- During the 5-second SOS countdown, select "Cancel"
- Your device will then transmit the cancellation request. When you receive a cancellation message from the emergency response service, the device returns to normal operation
OTHER NOTES
- If no buttons are pressed for 20 seconds, the device will lock. It will still be tracking (if you set up tracking) as long as the device has power, but locks the screen to save battery.
- When in doubt, press the cancel/return key to return to the main menu
- Occasionally the device will beep and ask you to calibrate its compass by rotating the device. This is easy, but feels silly. To do so, slowly turn the device in your hands until it beeps again.

- Sending messages directly through the device has the benefit of sending quickly, but the drawback of taking a long time to type letter by letter using the cursor and select button. Likewise, sending messages through the Earthmate app on your iPhone has the benefit of being quick to type up, but the drawback of taking longer to send (due to the Bluetooth link between the device and your iPhone)
- All messages sent on the device will appear in it Messages app, including ones sent prior to you. Additionally, all messages you send may be reviewed later by Ryan Petterson, who manages the devices
- This device is waterproof, so long as both the SOS key and micro-USB port are covered. Regardless, try to retrieve it quickly if it falls into water.

Documents / ResourcesDownload manual
Here you can download full pdf version of manual, it may contain additional safety instructions, warranty information, FCC rules, etc.
Advertisement


Need help?
Do you have a question about the inReach EXPLORER + and is the answer not in the manual?
Questions and answers