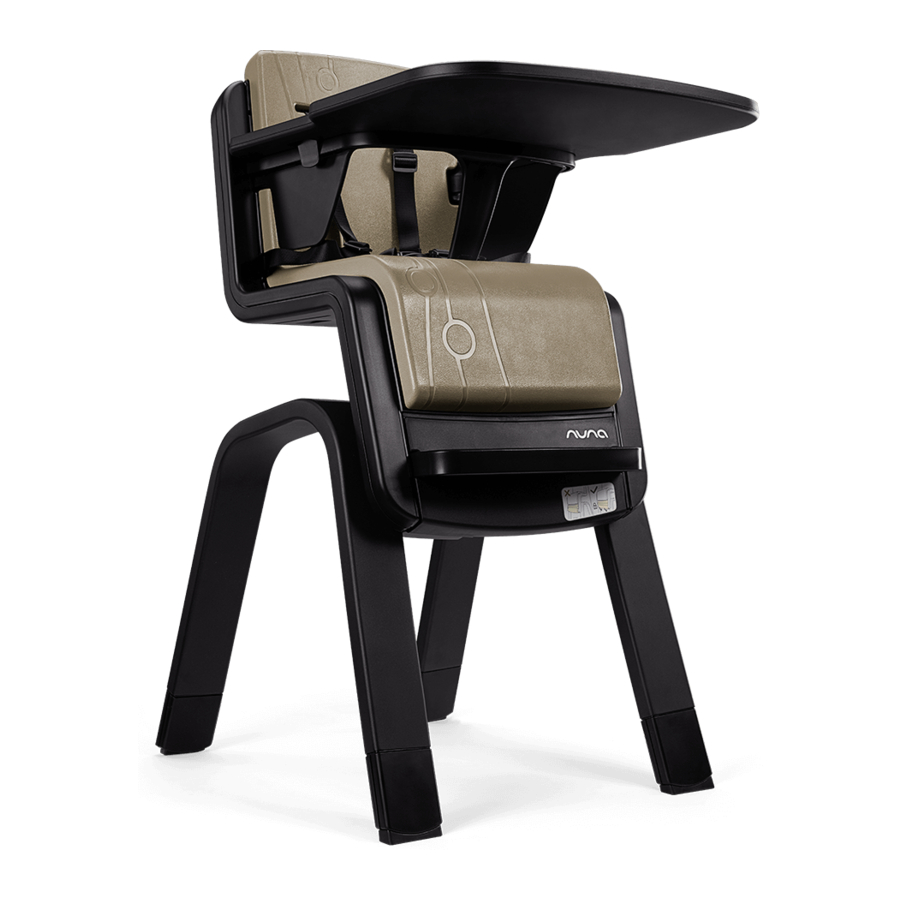
Nuna ZAAZ Manual
- Manual (87 pages) ,
- Instruction manual (48 pages) ,
- Instructions manual (22 pages)
Advertisement
Child Usage Requirements
This high chair is suitable for use with children who meet the following requirements:
Child: sit upright unaided
Weight:
Up to 15 kg maximum, approximately 3 years old or under
(Complies with EN14988:2017+A1:2020)
Up to 100 kg maximum (Complies with BSEN12520)
Parts List

- Nuna key (Harness restraint removal tool)
- Tray
- Harness restraint 5 pts
- Armbar
- Seat cushion
- Seat (with flap and height adjustment lock on reverse side)
- Footrest
- Leg frame
- Cushion Retainer
Tools Needed:
Nuna key to remove harness restraint when desired
(included in the box)
Check that you have all the parts for this product before assembling it.
Product Set Up
Check that you have all the parts for this product before assembling it. The assembly should be performed only by adults.
Assemble Seat onto Leg Frame
Once the seat is attached to the legs of the chair, it is considered to be a permanent assembly. However, it is possible to reverse this assembly if the seat needs to be put into storage or shipped. We recommend this should not be a regular occurrence.
- Place the leg frame on the floor facing you, as illustrated.

- Take the seat. Release the lock by pulling down the latch at the rear of the seat flap. Then pull the flap forward completely.

- Position the seat over the leg frame to line up the slots behind the seat flap with the white tracks on the leg frame, as illustrated.

- Once the seat is correctly positioned over the white tracks, keep the flap up and firmly push the seat downward until you hear a click.
If the flap is not completely up you will not be able to push the seat down. Continue to push firmly on the sitting surface until the seat reaches its lowest position. - To lock the seat, lower the flap and listen for the click as the lock clicks back into position.


The seat is now permanently mounted to the legs and can be adjusted within the range between the highest and lowest positions.
Assemble Footrest onto Seat
- Slide down the lock behind the flap and lift the flap completely. The seat automatically rises up to its highest position. (2)
- Attach the footrest on one side of the flap and then flex the footrest to attach it on the other side.

- Lower the flap down into position. Listen for the click as the lock clicks back into position.


Assemble Seat Cushion onto Seat
- First remove the tray, the armbar and the harness restraint if necessary.
- Insert the cushion retainer into the slot. Listen for the click sound means locked.

- Then place the seat cushion onto the seat.


Assemble Harness Restraint onto Seat

When used as a high chair, the child must always wear the harness restraint correctly fitted and adjusted. The chair complies with the high chair European standard (EN14988:2017+A1:2020 & BSEN12520) only when the harness is fitted.
- Insert waist clips into the lower backrest holes (around the seat cushion, when cushion in use) and listen for a click.

- Insert shoulder harness clips into the upper backrest holes and listen for click. (9)
- Insert the remaining crotch clip (through the seat cushion, when cushion in use) into the inner of two holes in the sitting surface of the seat and listen for a click. (9)
- Check that the harness attachment is secure by pulling on each attachment point.

Assemble Armbar onto Seat
The armbar alone DOES NOT guarantee the restraint of your child!
- With the arm bar tilted up, hook both the ends of the arm bar into the holes in the backrest to the right and left of the seating area.

- Rotate the armbar down, locking the ends of the armbar to the seat back and insert the front center attachment into the outer slot until it locks in place, listen for the click.

- Check that the armbar is secure:
- by pulling out on the front of the arm bar.
- by pulling up on the front center attachment


Assemble Tray onto Armbar
The tray and the armbar alone DO NOT guarantee the restraint of your child!
- Position the tray over the armbar. Insert the tabs at the back of the tray into the slots between the armbar and the backrest of the seat, as illustrated.

- Push the tray down until the side clips fasten around the armbar.

- Check that the tray is secure by pulling up on the front of the tray.


Product Use
Adjusting the Seat Height
DO NOT adjust the height of the chair while a child is in the seat!
- Slide down the lock behind the flap and lift the flap completely. The seat automatically rises up to the highest position. (2)
- To lower the seat, keep the flap lifted completely and push down firmly on the sitting surface of the seat until it reaches the desired position.

- Lower the flap down into position. Listen for the click as the lock clicks back into position. The seat position is now locked.

Adjust the Harness Restraint and Buckle
- To release the buckle, push on the Nuna button at the center and remove the two clips.

- To lock the harness, insert each clip into the buckle and listen for a click.


- Don't forget to check and adjust the harness to fit your child snugly.


Remove the Tray
- Release the two clips on both sides under the tray. (13)
- Gently lift the tray upwards so that it clears the armbar and pull away from the back of the seat.
Remove the Armbar
- Push the button on the front of the armbar and pull the armbar up to release it from the seat. (11)
- Unhook the two ends from the backrest and remove.(10)
![warning]() When removing the armbar for cleaning, ensure that the armbar is securely reassembled when placing it back on the high chair. Refer to "Assemble ArmBar onto Seat."
When removing the armbar for cleaning, ensure that the armbar is securely reassembled when placing it back on the high chair. Refer to "Assemble ArmBar onto Seat."
 When removing the armbar for cleaning, ensure that the armbar is securely reassembled when placing it back on the high chair. Refer to "Assemble ArmBar onto Seat."
Remove the Harness Restraint
When used as a high chair, the child must always wear the harness restraint correctly fitted and adjusted. The chair complies with the high chair European standard (EN14988:2017+A1:2020) only when the harness is fitted.
The harness can be removed for cleaning or when the chair is used for an older child.
Insert the Nuna key into each of the slots of the harness restraint at the back and underside of the seat to release the plastic clips. Pull on the belts to remove.

Remove the Seat Cushion
- To remove the seat cushion, first remove the tray, the armbar and the harness restraint if necessary.
- When removing the seat cushion always remove the cushion retainer by inserting the Nuna key into the slot on the underside of the seat.


Remove the Footrest
- Slide down the lock behind the flap and lift the flap completely. The seat automatically rises up to the highest position. (2)
- Firmly flex one end of the footrest and unhook it from the flap. Unhook the other end and remove it. (4)
- Remember to lower the flap and listen for the click as the lock clicks back into position.
Dismantling the Seat from the Leg Frame
Once the seat is attached to the legs of the chair, it is considered to be a permanent assembly. However, it is possible to reverse this assembly if the seat needs to be put into storage or shipped. We recommend this should not be a regular occurrence.
- Slide down the lock behind the flap and lift the flap completely. The seat automatically rises up to the highest position. (2)
- Gently pull forward the two clips on each side, as illustrated.

- Slide the seat up and remove from the legs. If the flap is not completely up, you will not be able to slide the seat upwards.

Cleaning and maintenance
You can clean the high chair and accessories with a damp cloth or a neutral detergent, but do not use abrasive detergents or solvents which could damage the material.
The anodised aluminium legs are maintenance free but will be damaged by impact or scratching.
Continued and extended exposure to sunlight can change the colour of many materials.
Inspect your high chair regularly in order to detect any damage.
Failure to follow these warnings and instructions could result in serious injury or death.
To avoid any danger of suffocation, remove all plastic covers before using this item and destroy or keep them away from babies and children!
Always use the restraint system.
Be aware of the risk of open fires and other sources of strong heat in the vicinity of the product.
The tray and armbar alone DO NOT guarantee the restraint of your child.
Falling hazard: Prevent your child from climbing on the product.
Be sure to use the high chair always on a level, stable surface.
Keep the high chair away from steps, stairs, windows and walls.
Any weight attached to the high chair or on the tray will have a negative impact on the stability of the high chair and increase the risk of the high chair tipping over.
The cushion is meant to be used in combination of the armbar, the harness restraint or both eventually.
Use original Nuna parts and accessories only.
Be aware of the risk of tilting when your child can push its feet against a table or any other structure.
DO NOT use the product unless all components are correctly fitted and adjusted.
DO NOT use the high chair if any parts are torn, broken or missing!
DO NOT adjust the height of the high chair while the child is sitting in it.
DO NOT use the high chair as a step stool.
NEVER leave the child unattended!
NEVER place small items, toxic substances, hot objects, electrical cables etc. near the high chair where the child can reach them, as they may cause choking, poisoning or other injuries.
DO NOT use the highchair until the child can sit up unaided.
To make sure that any harness is correctly fitted.
Contact
For replacement parts, service, or additional warranty questions, please contact our customer service department
info@nunababy.com
www.nunababy.com
In the United Kingdom:
infouk@nunababy.com
www.nunababy.com
NUNA International B.V.
Van der Valk Boumanweg 178 C
2352JD Leiderdorp
The Netherlands
Documents / Resources
References
Download manual
Here you can download full pdf version of manual, it may contain additional safety instructions, warranty information, FCC rules, etc.
Advertisement


Need help?
Do you have a question about the ZAAZ and is the answer not in the manual?
Questions and answers