Advertisement
Quick Links
Advertisement

Related Manuals for TOV Romp Queen Bed


Summary of Contents for TOV Romp Queen Bed
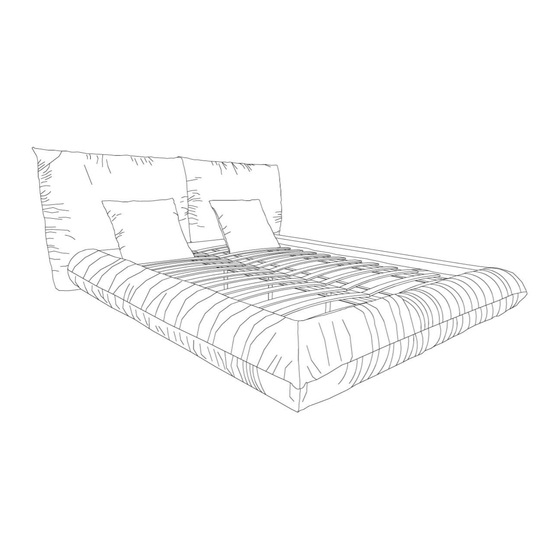
- Page 1 ROMP QUEEN BED ROMP...
-
Page 2: Parts List
PARTS LIST Hardware included in side rails carton to attach bed feet and center support system. LABEL PICTURE DESCRIPTION HEADBOARD FOOTBOARD SIDE RAILS RIGHT SIDE RAILS LEFT WASHER Φ8mm BOLT Φ8*30mm BRACKET BRACKET ALLEN KEY CENTER SUPPORT LEG H=20.8CM WASHER Φ6mm... - Page 3 BOLT Φ6*25mm BOLT Φ6*40mm SLAT CENTER SUPPORT RAIL BED LEG H=5CM...
-
Page 4: Assembly Steps
ASSEMBLY STEPS STEP 1 > Retrieve bracket from parts’ carton packed in side rails carton. Attach bracket (H) & (G) to the side rails using Bolt (F) and Washer (E) , Tighten the bolts with Allen key (I) . STEP 2 >... - Page 5 STEP 3 > Attach side rails to headboard & footboard using Bolt (F) and Washer (E).First twist the screw in,then slot the brackets over the bolts,Tighten the bolts with Allen key (I) STEP 4 > Attach steel center support legs (J) to the center support rail (O) using Allen key (I), Bolt (M) and Washer (K).
- Page 6 STEP 5 > Attach center support rail (O) to the Headboard and footboard using Allen key (I), Bolt (F) and Washer (E).Please line up the holes in the center support rail (O) and refit the bolts & washers,tighten the bolts with Allen key (I) . Verify the center support legs are perpendicular to the floor for full support.
- Page 7 STEP 7 > Attach the slip cover to the side rails and footboard.The side of the cloth cover with the sewn label is affixed to the top of bed frame STEP 8 > Move/place bed into final position in bedroom. Attach wooden slat support system to full length steel support cleats.
Need help?
Do you have a question about the Romp Queen Bed and is the answer not in the manual?
Questions and answers