Table of Contents
Advertisement
Quick Links
SERVICE
WASHING MACHINE (TOP-LOADING)
WA8700K Washer.indb 1
WASHING MACHINE
TOP-LOADING TYPE
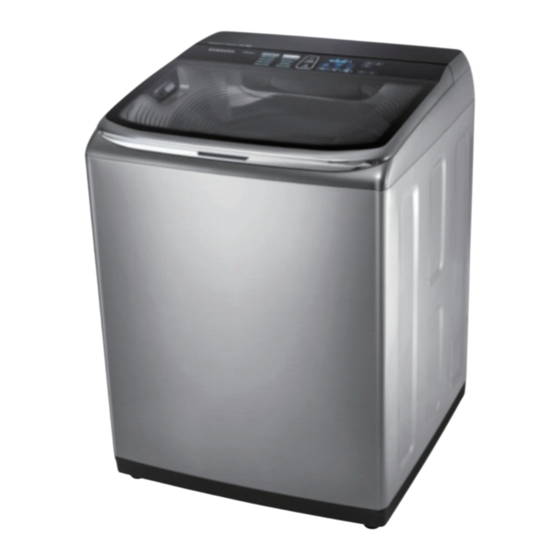
Basic Name :
WA52J8060AW
(WA8000J PJT)
Basic Code :
WA52J8060AW/A2
Model Name :
WA50K8600AW
WA50K8600AV
(WA8700K PJT)
Model Code :
WA50K8600AW/A2
WA50K8600AV/A2
Manual
1. Safety Instructions
2. Features and Speci ications
3. Disassembly and Reassembly
4. Troubleshooting
CONTENTS
2016/2/4 16:56:10
Advertisement
Table of Contents
Troubleshooting


Need help?
Do you have a question about the A50K8600A/A2 Series and is the answer not in the manual?
Questions and answers