Advertisement
Quick Links
Advertisement

Subscribe to Our Youtube Channel
Related Manuals for VPG VULCAN V5

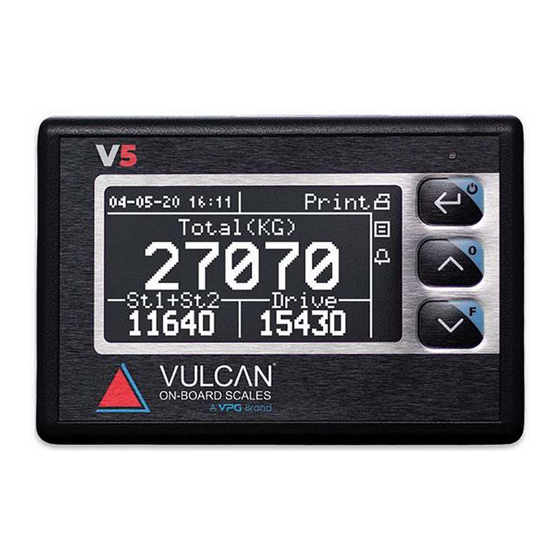
Summary of Contents for VPG VULCAN V5
- Page 1 V5 Scale Installation Manual � VULC/\N. ON-80AAD SCAlES AWJO••-...
- Page 2 Table of Contents TABLE OF CONTENTS ..........................2 INTRODUCTION ............................3 MAIN CONFIGURATIONS .......................... 4 ..............................4 TRAILER 6 – 10- ............................ 5 WHEEL TRUCK ............................6 WHEEL TRUCK INSTALLATION OF THE MONITOR AND COMMUNICATION BOX ..............7 ..............................7 OMPONENTS ..............................
- Page 3 Introduction Thank you for purchasing a high-precision electronic scale from Vulcan On-Board Scales. Based on more than 40 years of expertise, research and development, your weighing system will provide you with years of service and precision, under the most difficult road or construction conditions.
- Page 4 Main configurations Semi-trailer Installation Manual | 44-30102-001 Rev. A | 4...
- Page 5 6 – 10-wheel truck Installation Manual | 44-30102-001 Rev. A | 5...
- Page 6 12-wheel truck * If it is a lift axle, it is possible to replace the mechanical sensor with an air sensor depending on the type of suspension. Installation Manual | 44-30102-001 Rev. A | 6...
- Page 7 Installation of the monitor and communication Components Quantity Part Number Component V5A-101 Vulcan V5 Meter BT01 Communication Box 53-30075-004 Power cable 53-30075-003 V5 Monitor cable Installation Manual | 44-30102-001 Rev. A | 7...
- Page 8 Installation 1. Identify a location with enough space to accommodate the V5 Meter. Note: It is possible to install the monitor in the dashboard or on the top of the dashboard with the stand. 2. The communication box is located inside the dashboard. You must select a location to protect it with enough space to allow the installation of sensors and cabling.
- Page 9 The communication box operates on a current of 12-24 VDC. Connect the power cable (53- 30075-004) to the fuse board. The red wire must be connected to a stable source with a free fuse (minimum 5A). The black wire must be added to the board's common neutral (or other neutral) for the scale monitor only.
- Page 10 Installation of air sensor on trailer or 6 - 10 - 12- wheel trucks Components If one height valve: Quantity Part Number Component 58-10605-001 Air Sensor REQUIRED TOOLS BRT 5053 (or BRT ¼’’ T-tube fitting (or ⅜’’ 5055) x ⅜’’ x ¼’’ tube) - Wrenchs BRT 5220 ¼’’...
- Page 11 BRT 584 BRT 580 Installation on tractor-trailer configuration Tractor end Four air hose options are available: BRT 580 (twisted), BRT 582 (straight), BRT 586 (twisted, quick plug) or BRT 587 (straight, quick plug). 1. Identify the number of height valves on the tractor. 2.
- Page 12 Note: If the system is controlled by a single height valve and a dial already indicates the air pressure, it is possible to connect to this pressure indicator in the cab. 4. Insert the cut air line and the ¼" BRT 5220 tube into the "T" fitting and lead this tube to the front of the tractor in the cab.
- Page 13 10. Insert the BRT 5220 tube into the BRT 5047 component and route this tube to the 58- 10605-001 air sensor to connect them together. 11. Connect all 58-10605-001 air sensors to the communication box on the inputs. It is important to identify the lines to properly configure the inputs in the communication box afterwards.
- Page 14 Trailer end 14. Identify the number of height valves on the trailer. 15. For each system controlled by a valve, an air line must lead to the V5 communication box. 16. Cut the air line as close as possible to the balloon to insert a BRT 5053 or BRT 5055 "T"...
- Page 15 Installation on 6 - 10 - 12-wheel truck configuration 1. Identify the number of height valves on the truck. 2. For each system controlled by a valve, an air line must lead to the V5 communication box. 3. Cut the air line as close as possible to the balloon to insert a BRT 5053 or BRT 5055 "T"...
- Page 16 Appendix 1 - Matching sensor signals V5 load cell (RT sensor) color and description: Color of wire Black White Green Position Name ALIM (+) GND (-) Signal (-) Signal (+) The V5 scale adjusts the ALIM voltage to +10.0 VDC relative to the GND, which matches the recommended value.
- Page 17 Installation of optional accessories Exterior lights/ alarms (59-30072-001, 59-30072-002) Connection diagram for the set of 2 lights (59-30072-001): Connection diagram for the set of 3 lights (59-30072-002): The gland is shared in the communication box Installation Manual | 44-30102-001 Rev. A | 17...
- Page 18 Printer (49-10301-001) 1. Disconnect the power wire (red and black) from the communication box. 2. Connect the wire supplied with the printer to the "Power - 12/24 VDC" port (red and black) of the communication box and the other end to the power wire. 3.
- Page 19 Contact Us This manual has been produced to standardize the installation of V5 products, as well as related optional accessories. For all technical questions during installation, please contact the Vulcan Technical Service Department. Vulcan On-Board Scales 5920 S 194 Street Kent, WA 98032 USA Toll-free: 1 800-237-0022 Business hours...
- Page 20 Installation Manual | V1.0.1 | 20...
Need help?
Do you have a question about the VULCAN V5 and is the answer not in the manual?
Questions and answers