LG LV761 Series Owner's Manual
Hide thumbs
Also See for LV761 Series:
- Owner's manual (39 pages) ,
- Installation manual (62 pages) ,
- Owner's manual (39 pages)
Advertisement
Quick Links
12
14
: Depending on model / Závisí na modelu / En función del modelo / selon le modèle / Abhängig vom Modell / Ανάλογα με το μοντέλο / In base al
modello / Zależnie od modelu / Dependendo do modelo / В зависимости от модели /
/ Залежно від моделі
www.lg.com
16
20
X 2
c
X 8
(M4 X L20)
X 6
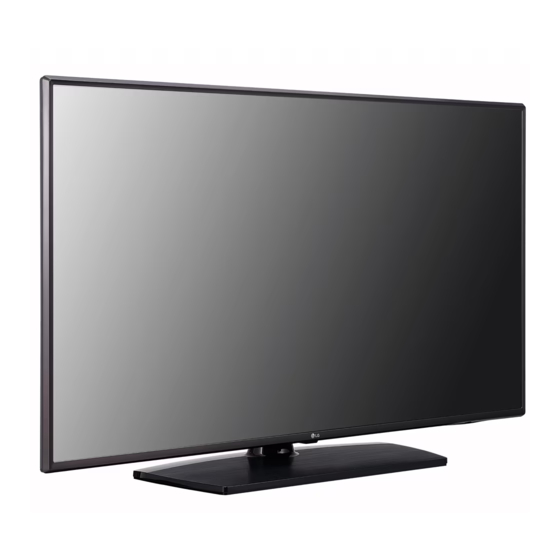
43/49/55LV761*
(M4 X L20)
43/49LV661*
32LV761*
43LV641*
32LV641*
43/49/55UV661*
AAA
X 2
X 2
a
b
/ Modele bağlı olarak değişkenlik gösterebilir
LED TV
LV761*
LV661*
LV641*
UV661*
Advertisement


Need help?
Do you have a question about the LV761 Series and is the answer not in the manual?
Questions and answers