Advertisement
Quick Links
Advertisement

Subscribe to Our Youtube Channel
Related Manuals for Thetford C200 CWE


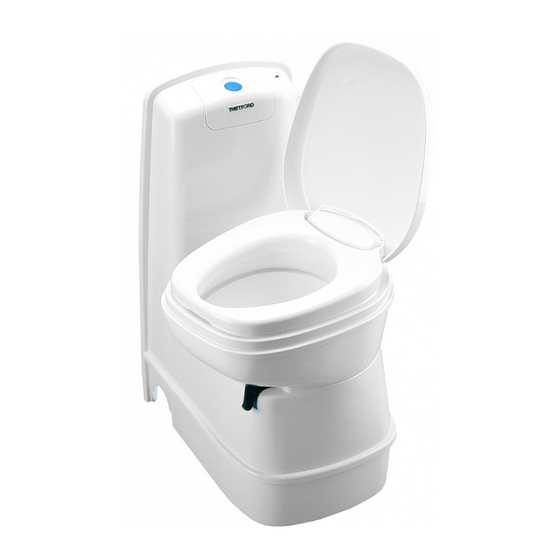
Summary of Contents for Thetford C200 CWE
- Page 1 C200 CWE Pump instruction...
- Page 2 A Locate the bezel that houses the large blue flush button and has the word Thetford embedded into it, illustration B Use a paint scraper type object (use a cloth around the...
- Page 3 Locate the 4 screws holding the panel in place and remove with a cross head screwdriver as seen in illustration E Once the 4 screws have been removed the panel can be manouvered free from the main body of the toilet, revealing the water tank and pump, illustration F.
- Page 4 Slide the heat shrink over the wire towards the main body of the toilet. Strip the cables to reveal the bare wire, Crimp the bare ends together ensuring that the colours match and you have a good strong connection, J Slide the heat shrink back over the newly made connection...
- Page 5 Return the the pump and vacuum breaker to its housing in the water tank and clip the flush tube back in place. M Clip Replace the panel and screw in place using the 4 screws that were removed. Replace the bezel. If required use some of the PTI sealant provided ensuring a...
- Page 6 Repair instruction Description: SC234/200 Seal automatic vent Part number: 21528 Look for Service Centres, Point of Sale addresses and other information on: www.thetford-europe.com Version: Date: April 2010 Tools required: Turn automatic vent and take it out completely. Press upper automatic vent in, so that the foam can be taken off.
- Page 7 Repair instruction Description: C200S CS Electric Valve Part number: 23709 Look for Service Centers, Point of Sale addresses and other information on: www.thetford-europe.com Version: Date: 08/05/2006 Tools required: C200S/CS toilet. Pull the waste tank out of the Cassette toilet by lifting up the yellow clip.
- Page 8 For bracket nr. 3, we advise you to use a mirror as the bracket is very difficult to see. When all the parts are unscrewed, the toilet bowl can be taken off. Looking into the toilet bowl, the electric valve can be found.
- Page 9 Replace the electric valve. Place vacuum breaker back into Opening position the following way. Place complete water tube back into the toilet bowl. place toilet bowl back in position. Replace the three brackets. 08/05/2006 Description: C200S CS Electric Valve...
- Page 10 Replace the two bowl retainers. Note : Bracket with the magnet in it, has to be + magnet placed in the front. Place waste tank back into the toilet. 08/05/2006 Description: C200S CS Electric Valve...
- Page 12 Leaflet no. 23764 05/97...
- Page 13 Repair instruction Description: C2 C3 C4 C200 Automatic vent Part number: 23722-74 Look for Service Centers, Point of Sale addresses and other information on: www.thetford-europe.com Version: Date: 13/07/2006 Tools required: Holding tank C2/C3/C4/C200 Turn the automatic vent to the left and take it out.
- Page 14 Leaflet no. 23755 05/97 Leaflet no. 23755 05/97...
- Page 15 Leaflet no. 23753 05/97...
- Page 16 Leaflet no. 23768 05/97...
- Page 17 Leaflet no. 23772 05/98...
- Page 18 Repair instruction Description: SC200 Lock waterfill door Part number: 23790-57/58/80/84 Look for Service Centres, Point of Sale addresses and other information on: www.thetford-europe.com Version: Date: April 2010 Tools required: Open the waterfill door. Take the screw on the pawl out. After this, take two screws out of the housing.
- Page 19 23792 Switch C200 CWE Leaflet no. 23793/052001...
- Page 20 Repair instruction Description: SC200CW Pump retainer Part number: 23845 Look for Service Centres, Point of Sale addresses and other information on: www.thetford-europe.com Version: Date: April 2010 Tools required: Flat screwdriver Pull handle up and take the two screws out. After this, take the four screw out.
- Page 21 Make the vacuum breaker loose from the pump by pressing the clip. Take now complete pump out of the watertank. Remove the tube from the pump. Press pump retainer loose from the pump, is connected on three points. Place new pump retainer and press it back onto the pump.
- Page 22 Repair instruction Description: C2 C3 C4 C200 Blade Part number: 23847 Look for Service Centers, Point of Sale addresses and other information on: www.thetford-europe.com Version: Date: 13/06/2006 Tools required: Screw cover Remove the sliding Sliding cover cover. Remove the 2 screw...
- Page 23 Push the blade arm a little bit up. Press the new blade gently in the hole of the blade arm. Open and close the blade a few times, to ensure a good operation of the mechanism. When placing the lip seal on the waste tank, the thinner flange has to face downwards the...
- Page 24 Repair instruction Description: SC200 Saddle bracket Part number: 23848 Look for Service Centres, Point of Sale addresses and other information on: www.thetford-europe.com Version: Date: April 2010 Tools required: Cross headed screwdriver Remove waste holding tank out of the toilet. Take 3 screws out of the saddle bracket.
- Page 25 Take screw out where the link is connected with the handle, and take complete handle with shaft out (this needs to be done inside the vehicle. Link Handle can now be disconnected from the link. Handle Place new saddle bracket from the inside so the shaft can be connected to the handle again.
- Page 26 Repair instruction Description: SC200/400 Tank Lock clip Part number: 2384978/5180116 Look for Service Centres, Point of Sale addresses and other information on: www.thetford-europe.com Version: Date: April 2010 Tools required: Flat screwdriver Turn the waste- holdingtank upside down, place flat screwdriver under clip and lift it up gently.
- Page 27 Take screw out where the link is connected with the handle, and take complete handle with shaft out (this needs to be done inside the vehicle. Link Handle can now be disconnected from the link. Handle Place new saddle bracket from the inside so the shaft can be connected to the handle again.
Need help?
Do you have a question about the C200 CWE and is the answer not in the manual?
Questions and answers