Table of Contents
Advertisement
Quick Links
Advertisement
Table of Contents

Related Manuals for ELICA AF 760 MMF


Summary of Contents for ELICA AF 760 MMF
- Page 1 AF 760 MMF Built-In Electric Oven User Manual...
-
Page 2: Table Of Contents
CONTENTS IMPORTANT SAFETY INSTRUCTIONS IMPORTANT SAFETY INSTRUCTIONS 01-03 PRODUCT INSTALLATION Cupboard Diagram (Standing Cupboard) Cupboard Diagram (Ground Cupboard) Installation Important Instructions Installation steps PRODUCT INTRODUCTION Oven Accessories Accessories ues Control Panel Before using for the first time Regular operation CLEANING AND MAINTENANCE Cleaning Lamp Replacement TROUBLESHOOTING... -
Page 3: Important Safety Instructions
IMPORTANT SAFETY INSTRUCTIONS THESE WARNINGS ARE PROVIDED IN THE INTEREST OF SAFETY. PLEASE READ THEM CAREFULLY BEFORE INSTALLING OR USING THE APPLIANCE. To maintain the EFFICIENCY and SAFETY of this appliance, we recommend: • Call only the Service Centers authorized by store where you buy the cooker •... - Page 4 During use, the appliance becomes very hot. Care should be taken to avoid touching heating elements inside the oven. Do not allow children to go near the oven when it is operating, especially when the grill is on. Ensure that the appliance is switched o before replacing the oven lamp to avoid the possibility of electric shock.
- Page 5 Do not use the oven unless you are wearing something on your feet. Do not touch the oven with wet or damp hands or feet. For oven: Oven door should not be opened often during the cooking period. The appliance must be installed by an authorized technician and put into use.
-
Page 6: Product Installation
PRODUCT INSTALLATION If there is any discrepancy between the illustration and the actual product, please refer to the actual product. Cupboard Diagram (Standing Cupboard) Air vents 6 0 0 5 6 0 M i n . 5 0 G Minimum bottom ventilation area: 250 mm 2 Native appliance G... - Page 7 Cupboard Diagram (Ground Cupboard) Air vents . 5 0 M i n 5 6 0 Minimum bottom ventilation area: 250 mm G Native appliance Reserve 5 mm for the door panel at the top and bottom respectively. G Reserve 20 mm for the door panel on the left and right respectively.
- Page 8 Installation Important Instructions Content that means [mandatory] The safe operation of this appliance can only be guaranteed if it has been installed to a professional standard in accordance with these installation instructions. The installer shall be liable for any damage resulting from incorrect installation. The entire installation process requires two professional installers.
-
Page 9: Installation Steps
Installation steps Please customize the cupboard according to the "Cupboard Diagram". Before installation, please check for normal power socket and appropriate grounding, and check whether the cupboard dimension meets the installation requirements. Place the appliance in designated locations in the kitchen, install it in a vertical cupboard, and connect the power supply. -
Page 10: Product Introduction
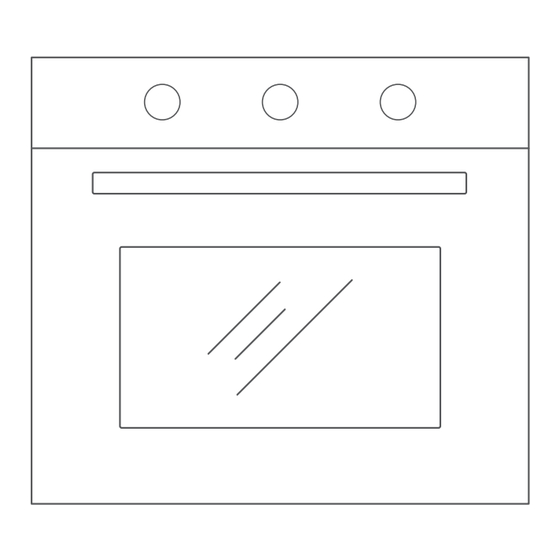
PRODUCT INTRODUCTION Oven When removing food, please wear heat insulating gloves to prevent burns! At the moment of opening the door of the furnace, pay attention to the steam. Please open the door at a small Angle to avoid the steam on your face. Control panel Ventilating openings Mounting fixing hole... - Page 11 Accessories use(Only for some models) For the oven to work properly, the grill rack and Grill tray should only be placed between the first and fifth levels. When used together, place the Grill tray under the grill rack.
-
Page 12: Control Panel
Control Panel Turn knob K1 to select the cooking function. Turn knob K2 to adjust the time. Turn knob K3 to adjust the temperature. Function Function introduction Observe the cooking situation of food, and the fan is running at the same time, which can be used to thaw food. -
Page 13: Before Using For The First Time
Before using for the first time The oven must not be operated until it has been correctly installed. To avoid fire, remove all transport protection materials and ensure that the oven is free of residual packaging items and accessories (e.g. foam, cardboard, grill tray, grill rack, etc.). -
Page 14: Cleaning And Maintenance
CLEANING AND MAINTENANCE Cleaning Disconnect the power supply before cleaning and maintenance. In order to ensure the life of the oven, clean it in time after cooking. Cleaning steps are as follows: After cooking, wait for the oven to cool completely. Remove oven accessories, rinse with warm water and dry. -
Page 15: Troubleshooting
The fan did not stop Fan delays blowing for No processing required working after stopping heat dissipation the heating SPECIFICATIONS AF 760 MMF Model A F A D Usable Volume Rated voltage 220-240V~ Rated frequency 50Hz-60Hz Electric power... -
Page 16: Product Recycling
PRODUCT RECYCLING This symbol on the product or instruction manual indicates that your device should be disposed of separately from your household waste at the end of its useful life. There is a separate recycling system locally for recycling. For more information, please contact the local authority or retailer where you purchased the product.
Need help?
Do you have a question about the AF 760 MMF and is the answer not in the manual?
Questions and answers