Fellowes Quasar+ 500 Manual
- Instructions manual (53 pages) ,
- Manual (26 pages) ,
- Quick start manual (3 pages)
Advertisement
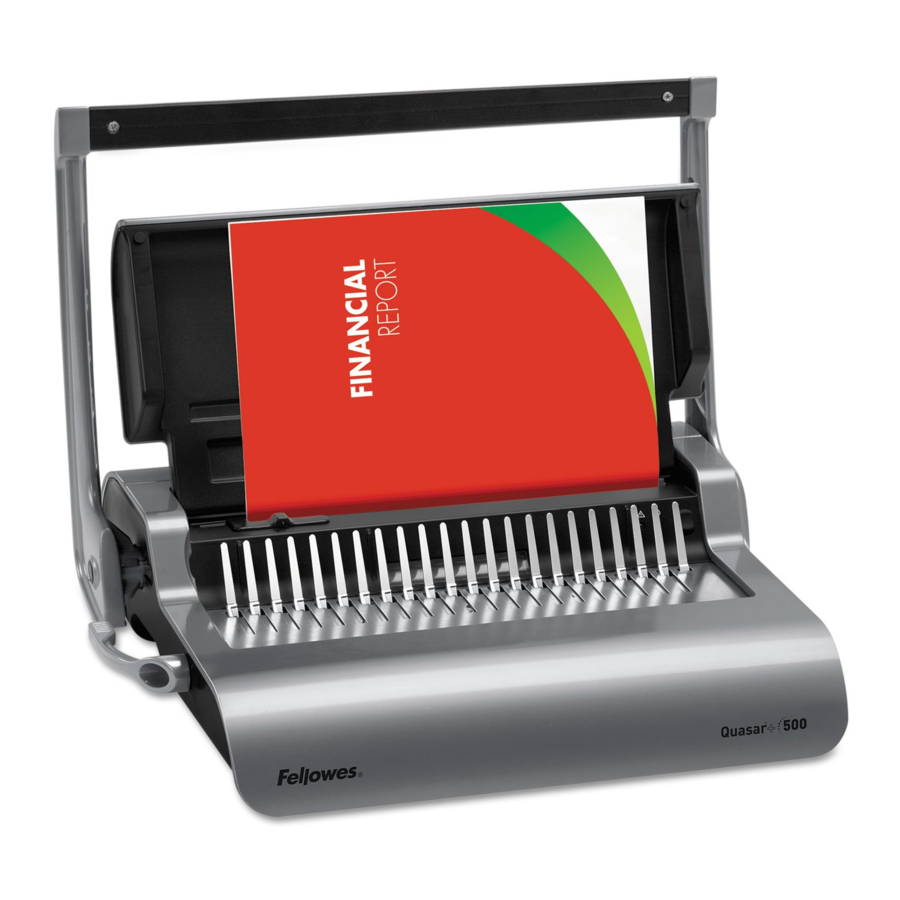
Overview

CAPABILITIES
Punching Capacity
| Paper sheets | |
| 80g / 20lb | 25 sheet |
| Transparent covers | |
| 100-200 micron / 4-8 mil | 3 sheet |
| 200+ micron / 8+ mil | 2 sheet |
| Other standard covers | |
| 160-270g / 40-60 lb | 3 sheet |
| 270+g / 60+ lb | 2 sheet |
| Waste tray capacity | approx. 1500 sheet |
Binding Capacity
| Max comb size | 50mm |
| Max document (80g / 20lb) | 500 sheet |
Technical Data
| Paper dimensions | A4 |
| Punching slots | 21 |
| Slot pitch | 14.28mm / 9/16" |
| Adjustable edge guide | yes |
| Net weight | 7 kg / 15.4 lb |
| Dimensions (HxWxD) | 130 x 390 x 460mm / 5.1" x 15.4" x 18.2" |
COMB DIAMETER & DOCUMENT SIZES
Comb diameter sizes
 |  | |
| mm | inch | number of pages |
| 6mm | 1/4" | 2-20 |
| 8mm | 5/16" | 21-40 |
| 10mm | 3/8" | 41-55 |
| 12mm | 1/2" | 56-90 |
| 16mm | 5/8" | 91-120 |
| 19mm | 1 1/16" | 121-150 |
| 22mm | 7/8" | 151-180 |
| 25mm | 1" | 181-200 |
| 32mm | 1 1/4" | 201-240 |
| 38mm | 1 1/2" | 241-340 |
| 45mm | 1 3/4" | 341-410 |
| 51mm | 2" | 411-500 |
SET UP
- Ensure the machine is on a stable surface.
![]()

- Check waste tray is empty and correctly fitted.
![]()

- Lift the lid. Ensure the combopening lever is pushed backwards.
![]()

- Lift the punch handle to its upright position.
![]()

BEFORE YOU BIND
- Select the correct comb diameter using the comb storage tray.
![]()

- Insert the plastic comb into the mechanism.
![]()

- Pull comb-opening lever forward to open the comb.
![]()

- Test punch scrap sheets to check edge guide setting.
![]()

STEPS TO BIND
- Ensure edge guide is set to the proper document size. Punch front and back covers first.
![]()

- Punch sheets in small batches that do not overload the machine or the user. Adjust edge guide, if necessary.
![]()

- Load punched sheets directly onto the opened comb. Starting with the front of the document.
![]()

- When all punched sheets are loaded onto the comb, push the comb lever backwards to close the comb and remove the bound document.
![]()

CORRECTING A BOUND DOCUMENT
Additional sheets may be included or removed at any time by opening and then closing the comb as previously described.
REMOVAL OF WASTE CLIPPINGS
The waste tray is located under the machine and is accessed from the right side. For best results empty the tray regularly.
STORAGE
Lower the punch handle to the horizontal position. Lower the lid.
TROUBLESHOOTING
| Problem | Cause | Solution |
Punched holes are not central | Edge guide not set | Adjust edge guide to correct paper or cover size. |
Machine will not punch | Blockage | Check waste tray is empty. Check for blockage to paper entry. |
Punch holes are not parallel to edge | Debris is stuck below dies. | Take stiff cardboard and slide into the paper entry. Move the cardboard sideways to release any stray clippings into the waste tray. |
Partial holes | Sheets not correctly aligned to punch pattern. | Adjust edge guide and test punch scrap sheets until correct |
Damaged hole edges | Possibly overloading the machine | Punch plastic covers with paper sheets. Reduce number of sheets being punched. |
Waste tray leaks | Waste tray is not correctly inserted or 'burst feature' has activated | Check waste tray is empty and 'burst feature' is closed. |
IMPORTANT SAFETY INSTRUCTIONS

Read Before Using!
Please keep for future reference.
When punching;
- always ensure the machine is on a stable surface
- test punch scrap sheets and set the machine before punching final documents
- remove staples and other metal articles prior to punching
- never exceed the machines quoted performance
Need Help?
Customer Service....
www.fellowes.com
Let our experts help you with a solution.
Always call Fellowes before contacting your place of purchase
Documents / Resources
References
Download manual
Here you can download full pdf version of manual, it may contain additional safety instructions, warranty information, FCC rules, etc.
Advertisement


Need help?
Do you have a question about the Quasar+ 500 and is the answer not in the manual?
Questions and answers