Advertisement
Table of Contents
Contents
Knog Oi Manual
Oi! GET IT ON
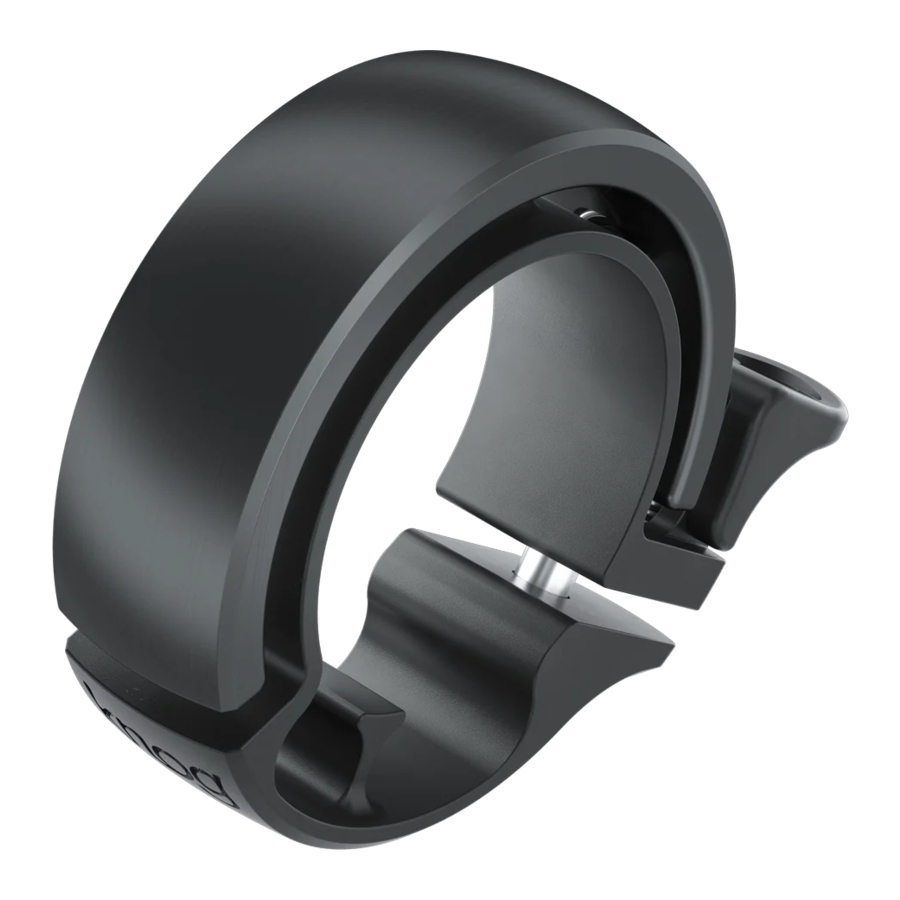
- TAKE OUT THE Oi AND REMOVE THE HEX BOLT using the hex key provided.
![]()
- If you have the Large Oi but a 23.8, 25.4, or 26mm diameter bar you'll need to put the appropriate spacer on your bar to make Oi sit flush. Make sure gap faces straight up. If your bar is 23.8mm, place the rubber tape provided inside the larger spacer.
![]()
- MANUALLY OPEN THE MOUTH OF THE MOUNT, AND PUSH OVER THE HANDLEBAR - if you can, fit it around your cables, there's a space just for them.


- POSITION ON A CYLINDRICAL PART OF THE HANDLEBAR THAT YOU FIND COMFORTABLE, BUT IS NOT CURVED OR TAPERED. We think close to the handle/grip, so your thumb can comfortably flick the hammer.

- SCREW IN THE HEX BOLT, FIRM ENOUGH TO PREVENT ANY ROTATION. DO NOT OVERTIGHTEN.


Oi! DON'T FORGET
SIZE MATTERS:

SHAPE MATTERS:

For more information
KNOG.COM.AU/Oi
IF IN DOUBT ABOUT MOUNTING, WATCH THIS VIDEO

http://bit.ly/KnogOiQS
 Oi! THIS IS A PRECISION INSTRUMENT
Treat with the same care that you would your bike's other parts: your spokes, your derailleurs, your rear lights, your rear.
If you're in doubt about how to mount, use, or troubleshoot the Oi, visit the Knog website or, of course, your local bike shop.
Documents / Resources
References
Download manual
Here you can download full pdf version of manual, it may contain additional safety instructions, warranty information, FCC rules, etc.
Advertisement


Need help?
Do you have a question about the Oi and is the answer not in the manual?
Questions and answers