Advertisement
Overview


- Voltage: 230 V~ 50 / 60 Hz
- max. connected load: 750 VA
- max. load current: 6 A (max. 5 A per channel)
- Connection terminals: 1.5 mm² rigid wire
- Flush-mounted socket dimension: ø 60 mm, min. 35 mm depth
- Ambient temperature: -10°C to 50°C
- Operating humidity: max. 85%, non-condensed
- Protection rating: IP20
- Frequency range: 2402 - 2480 MHz (BLE) / 2405 – 2480 MHz (Thread)
- RF Power: max. 12 dBm (EIRP)
Get Started

Risk of electric shock!
Only authorized electricians may connect, install and set up Eve Shutter Switch. Before installation, ensure the system is disconnected from the power supply!
Eve Shutter Switch is used to directly switch permanently connected electrical loads with a supply voltage of 230 V~. Eve Shutter Switch is designed for use in household and similar fixed installations. Before installation, ensure suitability by reviewing the technical data and the operating conditions.
Eve Shutter Switch must not be used in conjunction with life-support systems or other devices that could put the life or health of humans and animals at risk or risk property damage.
Installation - Preparation
In your fuse box, switch off the fuse connected to your shutter switch. Press the buttons on your current shutter switch a few times to make sure that there is no current flowing.

Installation
- Remove your current shutter switch
Loosen your existing shutter switch and pull it out. Note the current wiring and take a photo of it if necessary. You can usually tell which line is the current-carrying input (L) and which lines leads to the shutter by the direction from which the cables are led into the box and by the inscription on your current shutter switch.
![warning]() Eve Shutter Switch can only be installed if there is a neutral line (N, usually blue) in your outlet.
Eve Shutter Switch can only be installed if there is a neutral line (N, usually blue) in your outlet.
Remember which line is connected to the input on your current shutter switch (L), for example by marking it with adhesive tape. Then disconnect the existing wiring and remove your current shutter switch.

- Connect Eve Shutter Switch
![information]() Eve Shutter Switch does not require a connection to a protective conductor / ground wire (PE, usually green/yellow).
Eve Shutter Switch does not require a connection to a protective conductor / ground wire (PE, usually green/yellow).

 Eve Shutter Switch can only be installed if there is a neutral line (N, usually blue) in your outlet.

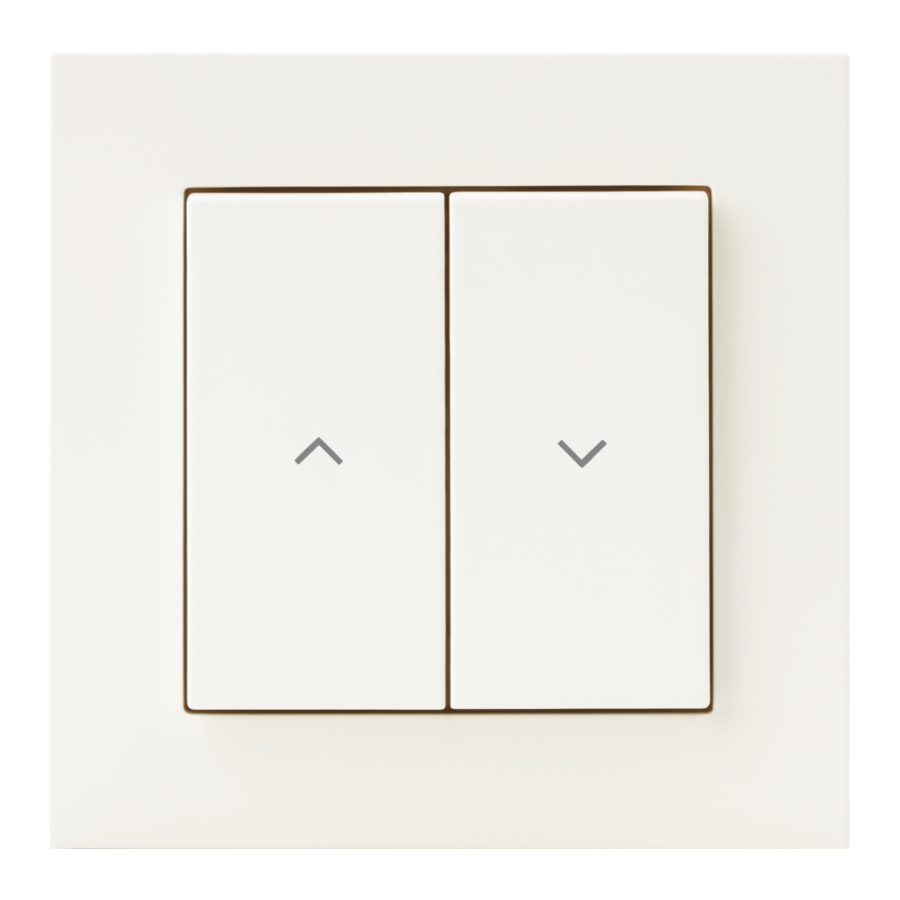
![]() : Shutter up
: Shutter up![]() : Shutter down
: Shutter down- L: Outer conductor / phase (current-carrying line)
- N: Neutral line
Eve Shutter Switch requires that a neutral line is connected. If the outlet is not equipped with a neutral line, Eve Shutter Switch is incompatible with this outlet.


Mounting
- Place the switch unit in the flush-mounted socket and secure it with the 3.2 x 25 mm screws (included).

- Place the supplied or your existing frame on the switch unit and secure it with the fixing frame.

- Press the switch plates onto the switch unit.

- In your fuse box, switch on the fuse dedicated to the circuit of that shutter switch. You should now be able to move your shutter by pressing Eve Shutter Switch.


Setup
- Download the Eve app from the App Store.
- Open the Eve app and tap Add Accessories. Eve will now guide you through the setup process.
If you already have Eve set up, open Eve settings and add Eve Shutter Switch.


 To add Eve Shutter Switch, use the HomeKit code on the back of this manual.
Enjoy

Operate your shutter using the app or a Siri voice command.

You can also operate your shutter directly via Eve Shutter Switch.
Reset
- Remove the left switch plate by pulling down this switch plate from top edge.

- Press both left buttons simultaneously for 10 seconds.


Disassembly
- In your fuse box, switch off the fuse connected to your shutter switch.

- Make sure that there is no current flowing by pressing the buttons on Eve Shutter Switch a few times.

- Remove the switch plates by pulling down each rocker switch evenly from top edge.

- Remove the fixing frame and remove the frame.

- You can now remove the switch unit from your flush-mounted socket and disconnect the cables.


Documents / Resources
References
Download manual
Here you can download full pdf version of manual, it may contain additional safety instructions, warranty information, FCC rules, etc.
Advertisement


Need help?
Do you have a question about the Shutter Switch and is the answer not in the manual?
Questions and answers