Advertisement
Inside the box

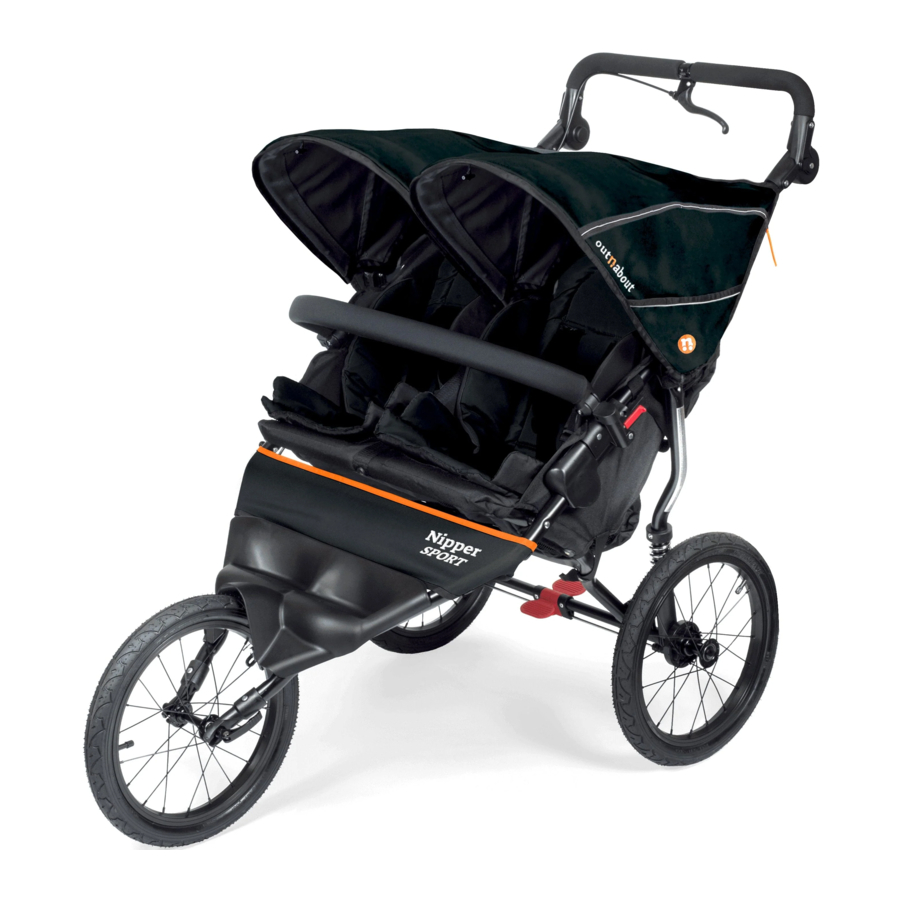
Assembly
Frame Assembly
Lift the auto lock catch with one hand and pull on the front end with the other hand.

The stroller will fold into the upright position. Make sure the plastic catches are out all the way (45 °) to ensure the buggy can unfold properly.

Lock both plastic catches onto the lower frame.

Fitting the wheels
Remove the axle rod protector.

Grasp rear wheel in one hand. Slide wheel axle into frame until it clicks into place. Check that the wheel is properly inserted by pulling it firmly. The wheel should not pull out if fitted correctly.

Repeat this for the other rear wheel.

Footplate Assembly
Tip the stroller back so that the handlebar is down on the ground. (Take care not to damage the handlebar foam.) Locate the plastic footplate on the frame as shown.

The No. 8 x 1.5 screw holes are located on the frame support between the forks. Align the two holes on the bottom side of the footplate with the screws and tighten with a phillips screwdriver.

Fitting the front wheel
To fit the front wheel, ensure the front brake release mechanism is in the in the 'open' position by lifting the break release lever loosen the front wheel quick release lever far enough to allow the axle to slide into the front forks. Then hand tighten the cone nut until almost tight.

Finally flip the quick release lever backwards into the closed position to lock the wheel in place.

The front brake release lever must now be moved into the 'closed' position. This will release the calliper back into it's normal position. If necessary the brake pads can be adjusted.


Always be sure to re-engage the front brake caliper once the Nipper Sport front wheel has been fitted.
Front wheel alignment
If during the use of your buggy you feel that the buggy might be steering slightly to the left or right, you can loosen the front wheel with the quick release lever and very slightly tilt the position of the axle in the forks.
Make sure you re-tighten the quick release lever to the closed position.

The Sport has deeper forks to allow for adjustment of the front wheel alignment.

Using the front brake
The front brake is applied by pulling on the front brake lever that is located on the handlebar. The front brake releases when you let go of the brake lever.

To adjust the position of the handlebar front brake lever, loosen the clamp screw, position to suit and re-tighten the screw.

Apply the brakes
The red brake foot-pedal is located in the centre of the rear axel.

To engage brake, step down lightly on the red paddle of the foot-brake that is nearest to you.

To release brakes place your foot on the whole of the red foot-brake and push the furthest paddle down.

Never leave the buggy without first applying the breakes.
Fitting the seat liner
Unfasten all of the harness connectors and clips. Slide off the shoulder harness pads.

The horizontal strap on backrest can be used to alter the height of the shoulder straps. For younger children the harness should be fed under this strap as shown.

Place padded seat liner on the seat area. Feed the individual harness straps through the corresponding slits in the pad and slide harness pads back on.

There are two sets of Velcro strips on the pad and buggy, this ensures the pad will be held securely in place.

Place child in seat and ensure crotch strap is between the child's legs.

Proper Use of Harness
- Place child in seat and make sure crotch strap is between the child's legs.
- Place shoulder straps over child's shoulders.
- Engage the clips into central buckle on the crotch strap. Adjust the harness as necessary to ensure a good fit.
Avoid serious injury from falling or sliding out. Always use the crotch strap in combination with the waist belt and make sure it is properly adjusted.
Sun canopy
The sun canopy can be adjusted by simply pulling it into the desired position.

The extra sun visor is located under the rim of the hood, and can be pulled out when required. The visor has a cover that can be unzipped and rolled up to reveal the mesh ventilation panel

The canopy has a peek-a-boo window to make it easy to check on your little one. To keep the window open, roll the hood curtain and secure with the elastic loop and toggle.

Adjustable Handle
Press the locking buttons on the inside of the handle hinge with your thumbs and rotate the handle to find a comfortable height.

Reclining seat
The recline position of the seat(s) on your stroller can be adjusted using the strap on back of seat unit. To recline the seat squeeze the clasp and pull it down the straps. To adjust the recline position simply change the length of the strap using the clasp.


When using the buggy in the reclined position, always adjust crotch and shoulder straps on the harness to ensure a good fit.
Bumper Bar
The bumper bar.

The bumper bar fits to the buggy housing on the chassis as shown above. Insert the metal prong on the bumper bar into the chassis.

Repeat for the other side. Pull on the bumper bar to ensure that it has locked securely.

To remove the bumper bar, slide the release button up and pull the bumper bar out of the housing.
Repeat the process for the other side.

Back ventilation cover
The rear panel of the buggy has a ventilated window which can be easily covered when required.

To cover the meshed window firstly pull out the cover fabric from the pocket located above the mesh.

Then pull down the zips either side of the fabric and join the velcro strips along the bottom to create an all round seal.

Folding the stroller
Apply the brake before starting to fold.

Return the seat to the upright position.

To unlock the latches from the frame, pull down and outwards on the release pins. Make sure to pull the latches out all the way to ensure the buggy can fold properly.

Always remove child from stroller before folding. Children should be kept clear of moving parts whilst folding or unfolding your stroller.
Release the red secondary locking catch on side of stroller.

Push down on the handle until the buggy is almost folded.

To keep your buggy folded, engage the lock as shown.

Remove the front wheel by loosening the wheels quick release lever far enough to allow the axle to slide off the front forks.

To release the rear wheels lift the red axle release button and pull the wheel free from the frame. Repeat for the other rear wheel.

Care & Maintenance
- Periodically check the stroller to ensure that it is in good operating condition.
- Check all fixings to make sure they are secure.
- Check the condition of the wheels and oil with a silicone spray if necessary.
- Do not use the stroller if any screws, nuts, bolts are missing or if any component is damaged.
To clean seat and canopy:
If light cleaning is required, use a soft cloth with warm water and mild soap then air dry. Do not put in the washing machine. Do not put in the dryer. DO NOT BLEACH.
To clean frame
Wipe using a soft cloth with warm water and mild soap. Air dry. DO NOT USE polish, abrasives or corrosive products. Lubricate moving parts with a silicone spray if necessary.
Tyre
Make regular checks of the tyre pressure. Do not over inflate tyres – 25 PSI will provide a comfortable ride for your child.
SAFETY NOTES

READ CAREFULLY AND KEEP FOR FUTURE REFERENCE.
Your child's safety may be affected if you do not follow these instructions.
A child's safety is your responsibility.
Follow the manufacturer's instructions. Failure to follow these warnings and assembly instructions could result in serious injury or death.
General Safety
- To avoid injury or death, always apply the brakes whenever the pram/stroller is stationary/parked.
- Always engage brakes when you stop or when you let go of the handle.
- Never leave the child unattended.
- Ensure that all the locking devices are engaged before use.
- To avoid injury ensure that the child is kept away when unfolding and folding this product.
- Always use the restraint system
(Secure the child in the harness at all times). - Check that the pram body or seat unit or car seat attachment devices are correctly engaged before use.
- Please use the most reclined position for new born babies.
- The parking device shall be engaged when placing and removing the children.
- Advice that care be taken if the pram/stroller is used on stairs or escalators.
- Children should be supervised at all times whilst using this stroller.
- Secure the child in the harness at all times.
- Always check that the stroller is correctly assembled and that all locking devices are engaged before use.
- Do not carry extra children or bags on this stroller.
- Make sure children are clear of any moving parts if you adjust the pram/stroller, otherwise they may be injured.
- Immediately discard any plastic wrapping. Keep away from children to avoid suffocation.
- Never allow children to fold, assemble or disassemble the stroller.
- Never place child in stroller on their back with their head forward and feet rearward.
- Avoid serious injury from falling or sliding out. Always use seat belt.
- Never use stroller if it becomes damaged.
- Do not use accessories other than those approved by the manufacturer or distributor.
- Always use wrist strap.
- Accessories or parcels placed in or on the stroller may cause it to become unstable. Any load attached to the handle affects the stability of the pushchair.
- Child may slip into leg openings and strangle. Never use in a reclined carriage position unless T-shield and shoulder strap placement has been readjusted to the seat's new position.
- Overloading, incorrect folding and the use of non–approved accessories may damage or break this vehicle.
- Check that the seat unit attachment devices are correctly engaged before use.
Intended use
- This pushchair must only be used for the number of children for which it has been designed. Single is for one child, double is for two children.
- Do not let the child play with this product.
- This product is not suitable for running or skating.
- Each seat weight from birth up to 22kgs.
- Never allow children to give rides to others.
- Maximum weight for objects placed in the back pouch is 2.2 lbs or 1kg on the Nipper Single & Nipper Sport or 2.2lbs or 1kg per pouch on the Nipper Double & Nipper Sport Double. Excessive weight may cause a hazardous, unstable condition.
Service
- This vehicle requires regular maintenance by the user.
- Do not use replacement parts other than those supplied by the manufacturer or distributor.
- Regularly check that this stroller is in good operating condition and that all fasteners and nuts are secure.
Do not use the pram/stroller near an open fire or exposed flame.
Out'n'About ATP Limited
7 Caxton Park
Caxton Road
Bedford MK41 0TY
Tel: 01234 344 230
email: info@outnabout.com
www.outnabout.com
 facebook.com/outnaboutuk
 twitter.com/outnaboutuk
 instagram.com/outnabout_official
Documents / Resources
References
Download manual
Here you can download full pdf version of manual, it may contain additional safety instructions, warranty information, FCC rules, etc.
Download Out'n'About Nipper SPORT, Nipper SPORT DOUBLE Manual
Advertisement

Need help?
Do you have a question about the Nipper SPORT and is the answer not in the manual?
Questions and answers