Advertisement

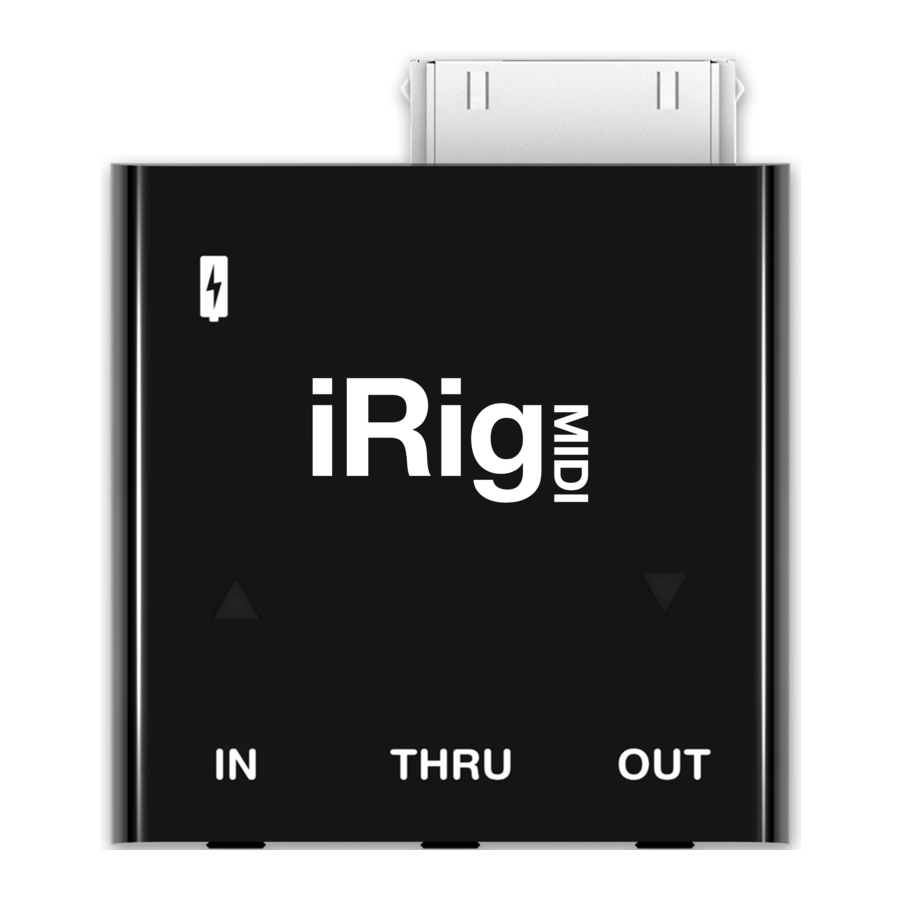
iRig MIDI
iRig MIDI is an interface that allows you to connect any MIDI-equipped device (such as a keyboard, sound module, drum pad set, guitar pedal board, etc.) to your iPhone, iPod touch or iPad. With iRig MIDI, you can play and control any app that is compatible with the Apple Core MIDI standard. You can also use apps to send note or controller information from the mobile device to external MIDI instruments like keyboards, sound modules, drum machines, etc.
GETTING STARTED
iRig MIDI is compatible with these devices running iOS 4.3 or later:
- iPod touch® (4th and 3rd generation)
- iPhone® 4S
- iPhone® 4
- iPhone® 3GS
- iPad® 3rd generation
- iPad® 2
- iPad®
iRig MIDI is designed to be compatible with any app that can communicate via MIDI by complying with Apple Core MIDI standard.
If you have not already done it, download the free app, iRig MIDI Recorder, to your iOS device from the iTunes app store. This app allows you to easily record and play back any type of MIDI information (musical phrases, data dumps, SysEx data, control performances, etc.) and also update the iRig MIDI internal firmware in the future.
CONNECTIONS

- Connect iRig MIDI to the 30-pin connector on your iOS device.
- If you want to play MIDI-compatible apps from an external controller, connect the MIDI OUT port on your controller to the MIDI IN port of iRig MIDI by using one of the two included TRS-to-MIDI cables. Always check the specific MIDI input settings in your app to make sure that the app is ready to receive incoming MIDI communication.
- If you want to control an external MIDI device from an app, connect the MIDI OUT port of the iRig MIDI to the external device MIDI IN port by using one of the two included TRS-to-MIDI cables. Always check for specific MIDI output settings in your app to make sure they are set to transmit MIDI data.
- If you need to charge (or keep charged) the iOS device while playing, connect the iRig MIDI Charge port to the charger you normally use with the iOS device.
- Always use the included USB to Micro USB cable. Other longer or lower quality cables may cause the charge to not work.
- If the charger you use with your iOS device is not available, you may use another compatible USB charger. It must be able to provide the required charging current for your iOS device, otherwise the device will not get charged.
- Sometimes a "not charging" message may appear when the charger is initially connected to iRig MIDI even with the proper charger and cables. If the charger and cables are correct, the message will be dismissed, and charging will start after a while.
- When controlling MIDI compatible apps with external controllers, you may want the MIDI signal to also go to other external devices at the same time. In this case, connect the iRig MIDI THRU port to the MIDI IN port on the additional devices you want to control.
USING THE "iRig MIDI Recorder" App
iRig MIDI Recorder can record and play back any type of MIDI information whether it is a musical phrase, a data dump or a real-time controller performance. To start recording, press the RECORD button, and a large time counter will show the recorded time elapsed. Once the recording is complete, press the same button again. The list of recordings will automatically populate at the top of the screen as recordings are completed. To play back one of the recordings, simply touch them in the list.
The bottom part of the screen indicates when specific types of MIDI information – Notes, Control Changes, SysEx, or other messages – are transmitted or received. Recordings will automatically be organized by their recording date, and the recording location will automatically be stored.
To export your MIDI recordings from iRig MIDI Recorder, just press the EXPORT button at the bottom of the screen, and select the export method you prefer.
iRig MIDI Recorder will automatically advise you when your iRig MIDI firmware needs to be updated if this is necessary in the future. Follow the instructions on the screen to complete this procedure.
TROUBLESHOOTING
If you are sending MIDI to iRig MIDI and no information appears to be received, check that the red LED located above the MIDI IN port is flashing. If not, it means either that the wrong MIDI port on the transmitting device is connected, that there is a communication problem with the software app, that the Apple device is in sleep mode or that there is a problem with the MIDI cable.
If you are sending MIDI from an app to an external device and no information is received, check that the red LED located above the MIDI OUT port is flashing. If not, it means that the app is not sending MIDI to iRig MIDI. This could be because the app is not Core MIDI compatible or because it needs to be closed and re-opened to recognize iRig MIDI.
REGISTER ONLINE
Please visit www.ikmultimedia.com/registration to register your purchase. By registering your purchase, you can access technical support, activate your warranty and get free JamPoints.
WARRANTY
Please visit www.ikmultimedia.com/warranty for the complete warranty policy.
FOR SUPPORT AND MORE INFO: www.ikmultimedia.com/irigmidi
Apple is not responsible for the operation of this device or its compliance with safety and regulatory standards.
Documents / Resources
References
Download manual
Here you can download full pdf version of manual, it may contain additional safety instructions, warranty information, FCC rules, etc.
Advertisement


Need help?
Do you have a question about the MIDI and is the answer not in the manual?
Questions and answers