Advertisement
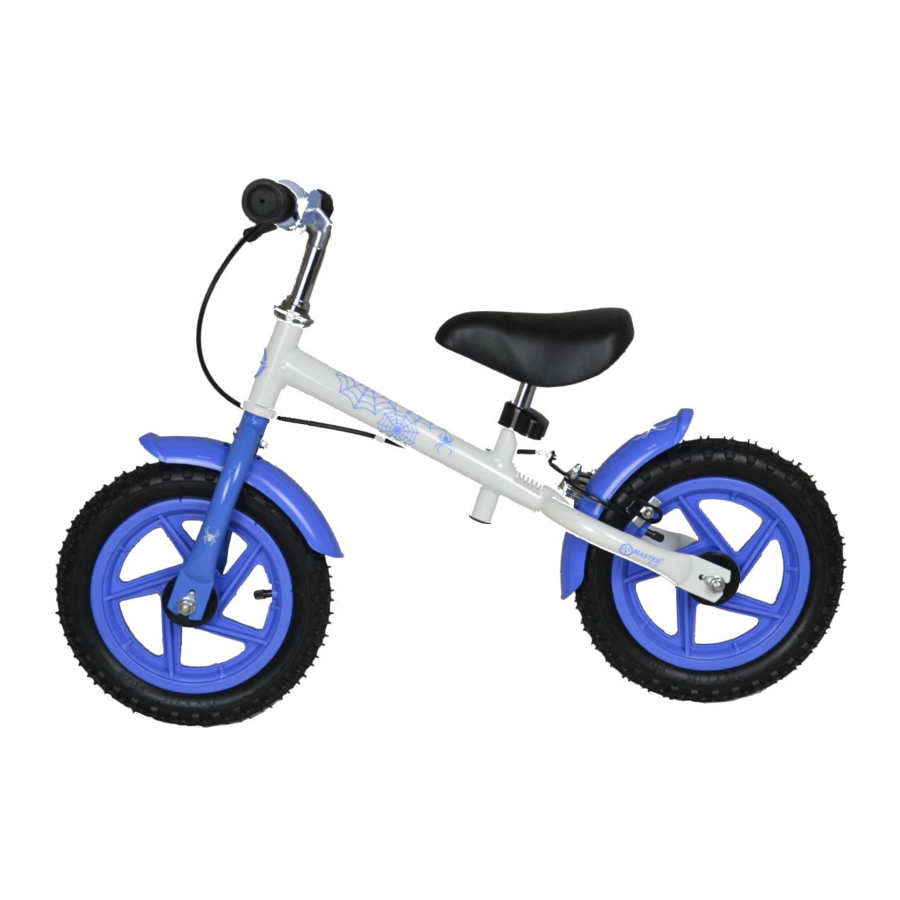
ASSEMBLY INSTRUCTIONS
Remove the bike from box and check for any missing or damaged parts.
(Note the tyres come inflated with air but may lose some air during shipping.)
ASSEMBLE THE HANDLEBAR AND SEAT
ASSEMBLE THE HANDLEBAR

- Put the bottom handlebar bearing on the fork(Fig.1 b).
- Insert the handlebars into front fork tube(Fig.1 c),
- put the upper bearing(Fig.1 d).
- Adjust desired height and tighten the screw (Fig.1 e), so that handlebars can be turned easily.
- Tighten the screw, Insert the handlebars into front fork tube in desired height, tighten the collar screw(Fig.1 f), so the handlebars can be turned easily.
ASSEMBLE THE SEAT
Put the plastic safety cover to the seat stick, insert the seat into the seat tube in desired height and tighten the collar screw. Put the safety plastic cover over the collar screw.

ASSEMBLE THE MUDGUARDS
Fix the front and back mudguards by screws on front fork (a) and back fork (b).

ASSEMBLE THE BRAKE
Note: The brakes are not adjusted from factory. Before riding, these brakes must be fitted and adjusted. Install the brake lever on the handlebars. The right brake lever controls the rear brake.
ASSEMBLE HAND BRAKE
- Fix the rear mudguard and rear caliper brake on rear fork.
- Install brake levers onto handlebar (this may already be done in the factory).
- Insert the barrel end of the brake cable wire into the hole in the brake lever.


ADJUST HAND BRAKES
During braking must the brake lining with its whole surface chafe against the rim. If necessary, tighten or loosen the anchor bolt nut (Fig.4) on the right part of the brake, pull the brake cable wire through the anchor bolt hole until there is no slack in the inner brake wire, tighten the anchor bolt nut. Be sure the brake wire is locked securely through the anchor bolt and the rubber block is parallel with the rim with a clearance of 1.5 – 2mm in between. Squeeze the brake lever and then release several times, rotate the wheel, be sure the wheel does not wobble.
ASSEMBLE WHEELS
ASSEMBLE WHEELS
Front and back wheels are same. Use 2 pcs of nut wrench according the size of nuts. Put on the wheel to wheel fork and push the teb washer(Fig.5 a) into the small hole. Before the inserting of the back wheel unloose the brake cable to unloose caliper brake. Tighten the nuts of the wheel (Fig.5 b). The wheel axis has to be parallel with longitudinal axis of a frame.


Note: In need of disassembling, dismantle the wheel in the opposite way of installation.

PLEASE READ THIS MANUAL THOROUGHLY BEFORE ASSEMBLING AND RIDING ON THIS BIKE.

- For Ages 2 and Up
- Maximum Child's weight: 30KGS
- Check and tighten bolts and screws before every ride.
- Make sure all components are functioning properly before every ride.
- Inflate the tyres to no more than the maximum degree marked on the side of the tyre.
- If any component is damaged or not functioning properly, it should be replaced before the item is used.
An Adult must assist in the initial assembly of the bike.
Be sure your bike is fully assembled before riding.
Read and understand this user's manual before using the bike.
PRECAUTIONS FOR SAFETY
This Bike is not recommended to kids under 2 years of age or over 30kgs.
Please read and follow the safety precautions listed below, failure to do so could result in injury or damage to your bike.
Please instruct your child on proper operation of this bike, also instruct your child to follow the safety precautions listed below.
DO NOT TAKE THIS BIKE TO ROADS.
- Wear a helmet.
- Do not ride near motor vehicles.
- Practice braking in a safe environment.
- Never ride near steps, sloped driveways, hills, roadways, alleys, swimming pool areas or other sides of water.
- Never ride the bike in wet weather. Wet surfaces may increase stopping distance when braking.
- Do not ride at night.
- Don't ride too close to pedestrians.
- Avoid hazards which may hinder your ability to control your Bike. Potholes, ruts, uneven pavement, storm grating, gravel, curbs, leaves, puddles and debris can all have an effect on your riding and result in loss of control.
- Do not ride off road or on rough pavement.
- Keep both hands on the handlebar.

BRAKE GENTLY TO AVOID SUDDEN STOPS.
Documents / ResourcesDownload manual
Here you can download full pdf version of manual, it may contain additional safety instructions, warranty information, FCC rules, etc.
Advertisement


Need help?
Do you have a question about the PLUG and is the answer not in the manual?
Questions and answers