Advertisement
- 1 Warning
- 2 Appearance and Components
- 3 Packing list
- 4 Print using Bluetooth function via phone
- 5 Print using Bluetooth function on Windows
- 6 Windows Setup (USB)
- 7 Change Printer Settings
- 8 Mac Setup (USB)
- 9 Loading the paper
- 10 Clearing paper jams
- 11 Power connection
- 12 Cleaning and maintenance
- 13 Specification
- 14 Indicator status
- 15 FAQS
- 16 Warranty
- 17 Documents / Resources
Warning
- The print head can be very hot after printing. Do not touch the print head.
- Do not allow the print head to be scratched or damaged in any way.
- Do not use unprovided accessories.
- Do not attempt any repairs on your own. Contact sales for assistance.
- Keep away from direct sunlight, water, dust, and other debris.
- Unplug when idle for a long time.
- Keep away from children.
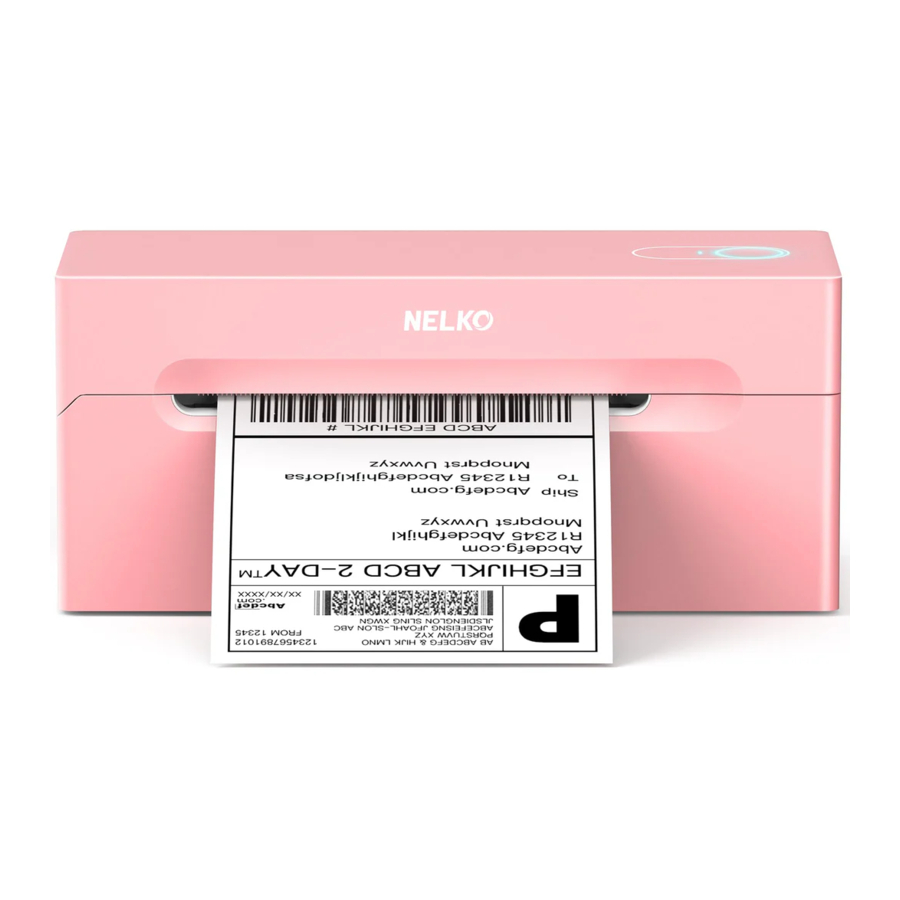
Appearance and Components
Front view

Inside view

Packing list

 Notes: The above diagrams are to be used for reference only; parts and components may vary depending on your order.
Print using Bluetooth function via phone
- Search for "Shipping Printer Pro" on the App Store or Google Play and install the app.
- Power on the printer.
- Open "Shipping Printer Pro", allow app access to "Bluetooth," "Location" and "Storage" permissions.
![]() Click on "Not connected" to add the printer.
Click on "Not connected" to add the printer. - After it is connected, click on "File," select the file you want to print, click edit, then print.
|
Do not connect via Bluetooth directly. |
 and install driver file.
Print using Bluetooth function on Windows
- Before installation, power on the printer.
- Browse the IJ disk or turn to official website, go to "Support Driver & User Manual", download the driver file and install


Select "Bluetooth'. Click on "Next"

Select "PL70e BT", click on "Next"

Wait for connection, which may takes 3- 5 minutes, then click on "Print Test Page" to check if printer set up correctly.
Notes:
- Do not connect the printer to Windows via Bluetooth on settings by yourself. Install the driver and select "Bluetooth", the driver will connect the printer to computer automatically.
- Normally, Bluetooth is available in 5 meters distance, make sure phone/ computer and printer as close as possible and less than 5 meters.
- Print using Bluetooth function on Windows may take minutes for printer to respond and print, for faster printing, set up printer on Windows via USB cable by installing the driver and select "USB"
Windows Setup (USB)
Driver installation
- Before installation, plug in and power on the printer. Connect it to your computer via the USB cable.
- Download and install the Windows driver file from our website or the included U disk.
 - Step 1")
 - Step 1")
Select USB, click on "Next"
 - Step 2")
Select "PL70e BT", click on "Next"
 - Step 3")
Input printer name, click on" Next"
 - Step 4")
After installation complete, click on "Print Test Page" to check if printer set up successfully. Otherwise, reinstall.
Change Printer Settings
- Go to "Settings" →" Device' → "Printers & Scanners" → "PL70e BT" → "Manage," then click on "Print a test page" to check if the printer is set up correctly.
- Click on "Printing preferences" to set the page size or adjust print darkness.


Mac Setup (USB)
Driver installation
- Before
installation, plug in and power on the printer. Connect it to your computer via the USB cable.
Notes:
|
 - Step 1")
- Download and install the Mac driver file from our website or the included U-disk.
 - Step 2")
 - Step 2")
Open driver file, click on "Continue'
 - Step 3")
Click on "Install"
 - Step 4")
After installation successfully, click on "Close'
- Go to "System Preferences" →"Printers & Scanners", click on "Add Printer, Scanner, or Fax..." to add a printer. Select "PL70e BT", select "PL70e -BT" at use, then click on "Add" to finish.
 - Step 5")
 - Step 5")
Change Page Size
- Open any PDF file, click on "Show more", then click on "page size" to select or manage the page size.
 - Step 6")
 - Step 6")
Loading the paper
- Power on the printer and adjust the paper guides to fit the width of paper.

- Insert the paper into the inlet.

- The paper will automatically feed into the printer.

- Using label holder


Notes:
- When the printer is powered on, the paper will automatically feed through the path.
- Not all orders will include a paper holder.
Clearing paper jams
- Slide the cover open lever to open the top cover.

- Remove the jammed paper, then clean up the print head and platen.

- Reload new paper.


| Notes: Power off the printer when clearing a paper jam. |
Power connection
- Connect the power cable to the power receptacle on the printer.

- Connect the other end of the power cord to the socket.


Cleaning and maintenance
- Power off the printer and unplug the power cable from both ends. Open the printer's top cover.
- If the printer has just been used for printing, allow the print head to cool down for 2-3 minutes.
- Clean the print head with alcohol using a dust-free cloth or while wearing rubber gloves.
- Wait until the alcohol has just completely dried.
- Plug in and power on the printer. Press and hold the feed button until it beeps twice to print a test page.
Specification
| Printing method | Direct thermal |
| Resolution | 203 dpi |
| Max print speed | 150 mm/s (approximately 6 in. /s) |
| Print width | 40-104mm/ 1.57–4.1 in. |
| Power input | 24V  2A 2A |
| Work Environment | 5~40C, 90% RH (no condensation) |
| Storage Environment | 5~40C, 90% RH (no condensation) |
| Driver support | Windows, Mac |
Indicator status
| Connection indicator | Description |
| Blinks blue | Bluetooth not connected |
| No light | USB connected, but Bluetooth not connected |
| Steady blue | Bluetooth connected, wafting for print, or printing |
| Status indicator | Description |
| Blinks red | Cover open/ out of paper/ print head overheat |
| Steady green | Waiting for print or printing finished |
| Blinks green | Transferring data |
FAQS
- I installed the printer's driver. Why am I unable to print?
The printer needs to be powered on and connected to the computer prior to installing the driver. Uninstall the driver and then reinstall. - Why am I printing blank labels?
Make sure you are using thermal labels, and the labels are oriented correctly with the label facing upwards. - How do I set or change page size or print darkness?
Windows:
Go to Settings →Devices→ Printers & Scanners → Label printer → Mange, click on "Printing preferences". The Page size can be changed from here. Click on "Advanced" to adjust print darkness.
Mac:
Open any PDF file, click on "Show more", then click on "Page size" to select or manage the page size.
Warranty
We offer an extensive warranty for all products that extends through 1 YEAR of the order date. This warranty covers quality related issues and product defects. If you are past the 30-day return period on Amazon, contact us direct y via the "Contact seller" option on your Order Details.
If the product is not working properly, we can send you a replacement product.
This warranty does not apply in cases of abuse, mishandling, or unauthorized repair of the product.
If you have any question about this warranty or would like additional information, please contact us via the "Contact Seller" option or directly via e-mail (check the packing box). Please keep the original box, packing materials and all documentation in the event that service is required.
Scan for more support and live chat with us

Documents / ResourcesDownload manual
Here you can download full pdf version of manual, it may contain additional safety instructions, warranty information, FCC rules, etc.
Advertisement


Need help?
Do you have a question about the PL70e-BT and is the answer not in the manual?
Questions and answers