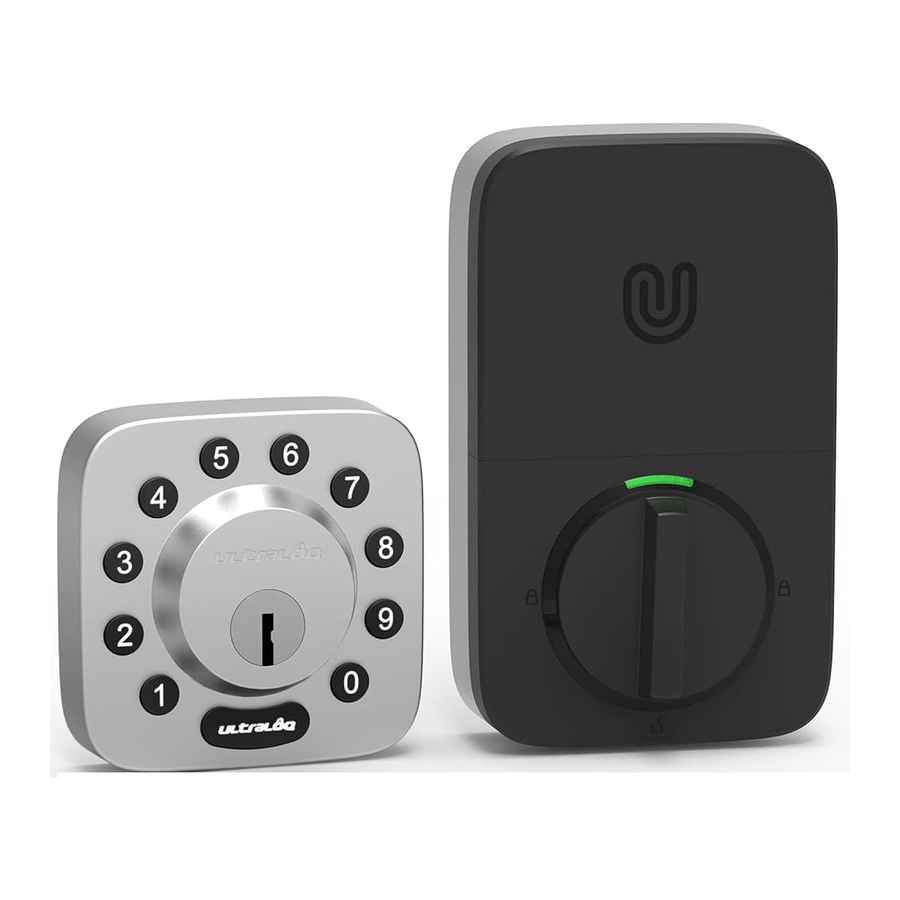
Advertisement
Packing List


Installation Guide
Installation Video
Please scan this QR code to watch the easy step by step installation video before attempting to install ULTRALOQ U-Bolt WiFi.
Or you can also view the website directly.
www.u-tec.com/lock/U-boIt-WiFi/guide

Preparing Door
Check the door's dimensions

If you have a new door, please drill the holes according to Drill Template.
- Measure to confirm that the door is between 13/8"-13/4" (35 mm-45 mm) thick. If your door is thicker than 13/4", please visit support.u-tec.com to get help.
- Measure to confirm that the diameter of the hole is 21/8" ( 53 mm)
- Measure to confirm that the backset is either 23/8" or 23/4" (60 mm or 70 mm).
- Measure to confirm that the diameter of the hole in the door edge is 1" (25 mm).
- Measure to confirm the depth of the hole in the frame is at least 1"(25mm).
Installing Bolt and Strike

- Install Bolt into the door. Make sure the UP ↑ icon goes up.
Note: Bolt is set for 23/8" backset initially. It can be adjusted to 23/4" if needed. To adjust it please make sure the bolt is retracted, then, press it, twist and pull it or push it to your desired length. - Install Strike into the door frame.
Installing Exterior Assembly

- Keep Bolt retracted and the cylinder tailpiece horizontal. Install Exterior Assembly. Please do not insert the mechanica key during installation.
- Align its two sticks with two holes on Bolt. The cable goes through the hole below Bolt.
Installing Interior Assembly Mounting Plate

- Route the cable through the hole on Interior Assembly Mounting Plate.
- Secure Interior Assemb y Mounting Plate to Exterior Assembly using Screws D.
Installing Interior Assembly

- Remove the battery cover of the Interior Assembly.
- Insert the connector of the cable to the socket on Interior Assembly. Press the connector in firmly until it is completed seated.
- Rotate the knob and keep it in a vertical position to stay unlocked.

- Attach Interior Assembly to Mounting Plate and tighten 2 Screws E.


Installing the Batteries and Performing the Door Handing Process
This step will teach your lock the orientation of your door and is crucial to lock operation.
- Rotate the knob and keep it in a horizontal position to stay locked.

- Insert 4 AA Alkaline Batteries.
![]()
Note: Any fingerprint or pressing any digit button for 4 times can unlock U-Bolt WiFi in Factory Default Mode. - Install battery cover.


Installing the Door Sensor
(Optional)
The door sensor lets you know whether the door is open or closed through the App. When the auto lock is enabled in the App, your ULTRALOQ will only lock itself when the door is closed.
Please do not mount the door sensor on the keypad side.
Please do not mount the door sensor on the kind of metal door that interferes with the magnet inside the door sensor(ln this case, the door sensor sticks to the metal door magnetically).
The door sensor can be installed on the wooden door or the kind of metal door that will not interfere with the door sensor(ln this case, the door sensor will not stick to the door magnetically).
- Installing with Sticker
Peel off either side of the sticker and push it against the door frame about 10s. Peel off the other side and secure the door sensor on the sticker firmly. Put on the door sensor cover at last.

- Installing with Screw F
Push the door sensor against the wall and secure it with Screw F. You may need to drill a hole first if the door frame is hard to screw in with Screw F directly. Put on the door sensor cover at last.

![]()
Note: Door sensor should be mounted as close to the edge of your door frame as possible, or within 0 to 1" (25 mm) from the edge, and as close to the bottom of the extended deadbolt as possible within 0 to 1" (25 mm) from the edge.


Note: Please refer to the guide in U-tec App for more information.
Important Notes
- Do not use a power drill for installation.
- Install and test the lock with the door open to avoid being locked out.
- Please read all the instructions before contacting customer support.
- Please contact customer support before returning the product to the store.
- DO NOT install the batteries before installing the lock!
- Follow the instructions in sequential order!
- This lock is designed for the following operating temperatures:
Outside: -31°F(-35°C) to 158°F (70°C)
Inside: 140F (-10°C) to 131°F(55°C) - Suggest to use AA AIkaIine Battery, or manufacture suggested Lithium Battery. Don't use Rechargeable Battery.
Statements
To ensure the best service, please register your account at www.u-tec.com/register.html
Need Help?
For technical documents and more
Please visit support.u-tec.com
Documents / Resources
References

Download manual
Here you can download full pdf version of manual, it may contain additional safety instructions, warranty information, FCC rules, etc.
Download ULTRALOQ U-Bolt WiFi, UUL-U-BOLT-WIFI-SN - WiFi Smart Lock Manual
Advertisement

Need help?
Do you have a question about the U-Bolt WiFi and is the answer not in the manual?
Questions and answers