Advertisement
Basic Parameters
Model: T6/T6 Pro
Input: DC 12V ⎓ 1A / PoE 48V ⎓ 0.2A
Image resolution: 2560*1440(T6)/2688*1520(T6 Pro)
Packing List

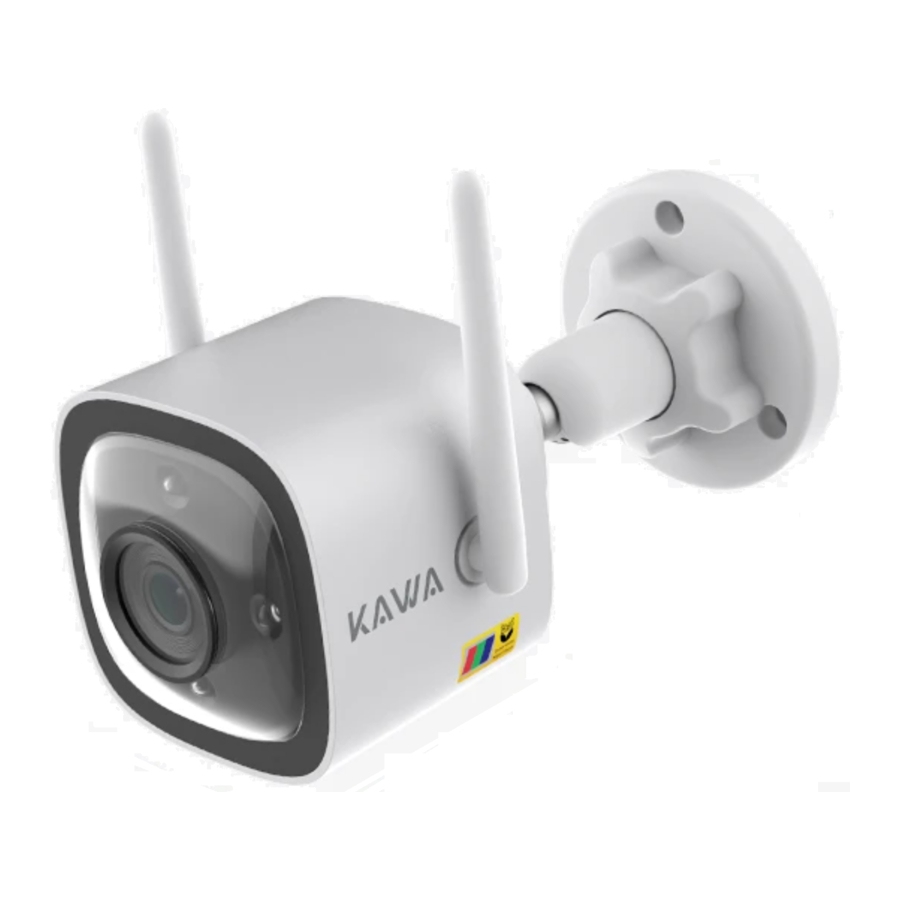
Product Appearance

Quick Configuration
- Download the app.
Download KAWA AIoT APP by scanning the QR code below.
![]()


- Add the device to the App.
Open the KAWA AloT APP, click on the "+" in the upper right corner, select "KAWA Security Camera T6/T6 Pro", and follow the instructions in the APP to set up the device.
The device status corresponding to the indicator light during the connection process is as follows:Red flashing Waiting for pairing Green flashing Connecting Green remains Connected successfully Red and green alternating flashing Connection failed
Network Configuration Method
Ensure phone and device are on the same network.
Method 1: Use with a PoE power adapter
This product can be powered and connected to the network through a PoE interface.

Method 2: Use with a DC power adapter
- Power on the camera.
Insert the power cable into the power port and power on the device.

- Connect to the network.
Connect the camera's network port to the router using a network cable.

*The network cable is not included in the package, you need to purchase it yourself. - Configure Wi-Fi without a network cable (Sound Wave Setup).
Choose "Wi-Fi Connection" after you reset the camera as instructed in the app. Enter your Wi-Fi name and password (same as your phone's Wi-Fi). Then click "Send Sound Wave" (ensure phone audio is enabled) to set up the camera network


Use with an NVR
This product can be directly connected to a PoE NVR or connected to a regular NVR via a PoE switch/injector.

Waterproof Kit Installation
The steps for installing the waterproof kit are as follows:

Product Installation
* Wall must be thick enough and able to support at least 3 times the weight of the device for installation.
- Insert MicroSD card (optional).
Insert the storage card after using a screwdriver to open the cover at the bottom of the camera.

* The Micro SD card is not included in the package, you need to purchase it yourself. - Install the camera.
Before installation, ensure that the camera has been added to the APP.

- For concrete wall: drill holes on the wall of the positioning paper section and push the expansion screws into the holes, aligning the base of the camera with the borehole and pushing in the screw and fix it.
- For wooden wall: push the screw directly into the camera base to secure.
- Adjust the camera angle.
Adjust camera angle to ensure optimal coverage by viewing live image of the camera on app.


Notes
- Non-professionals are prohibited from opening the screws on the speaker, otherwise it may pull out the wires inside or cause other malfunctions.
- Please use a dedicated power adapter.
- For wireless Wi-Fi connection, please pay attention to the distance between the camera and the router.(within 50 meters)
- For outdoor use, please pay attention to waterproofing and rainproofing.
FAQ
How to save the videos
The camera supports two storage modes: local storage and cloud storage (purchase need).
- Local storage: save the videos recorded by camera to Micro SD card.
- Cloud storage: save the videos recorded by camera to the cloud.
And according to the storage time, videos can be saved for the latest 7 days or 30 days circularly. You can watch the videos online as well as download.
How to check if the camera is offline unconventionally
Check whether the power supply and network are normal.
- Re-plug the power supply to restart the device.
- Reconfigure the camera.
- Check whether the network broadband is above 8Mbps.
Social Media
 @KAWACameraGlobal
 @kawa.easylife
 @KAWA_easylife
 @kawa. Official
Warranty: 12-month limited warranty
Manufacturer: KAWA ELECTRONICS COMPANY LIMITED
E-mail: support@kawa-in.com
Website: www.kawa-in.com
Address: FLAT A 21/F CHEUNG LEE IND BLDG 9 CHEUNG LEE ST CHAI WAN HONG KONG
Documents / Resources
References
Download manual
Here you can download full pdf version of manual, it may contain additional safety instructions, warranty information, FCC rules, etc.
Advertisement

Need help?
Do you have a question about the T6 and is the answer not in the manual?
Questions and answers