Advertisement
Table of Contents
Contents
RAZER PBT KEYCAP UPGRADE SET - Keyboard Manual
WHAT'S INSIDE
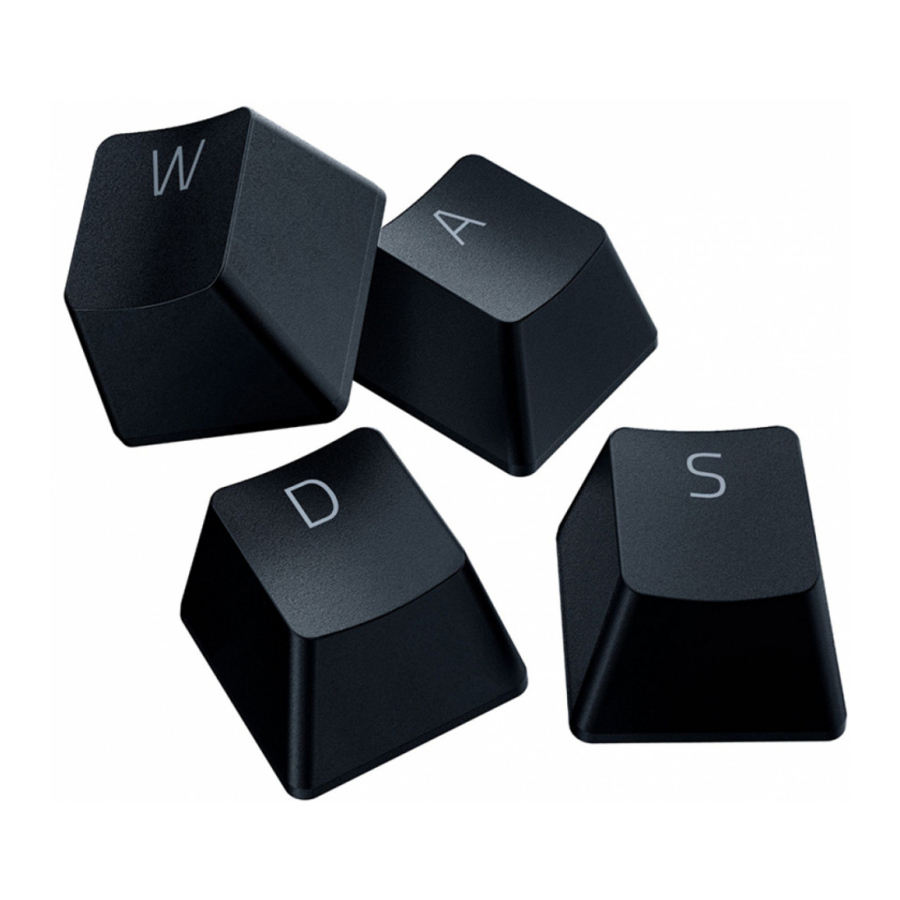
- Razer PBT Keycap Upgrade Set
- 120 Razer PBT keycaps
- Mechanical keyboard stabilizers
- Optical keyboard stabilizers
- Keycap puller
- Important Product Information Guide
WHAT'S NEEDED
- Any Razer mechanical or optical keyboard (US/UK layout)
- Any mechanical or optical keyboard* using cross-shaped axis (Cherry-style) switches
* Standard 104/105 key layout (US/UK).
FEATURES
- Shine-resistant PBT material
- Backlight compatible
- Fits all Razer mechanical and optical keyboards
- Fits all cross-shaped axis (cherry-style) switches
- Fits both Razer and standard 104/105 key US and UK layouts
- Package contains 120 keycaps and includes stabilizers for optical and mechanical keyboards
- Keycap puller included
UNDERSTANDING SUPPORTED KEYBOARD LAYOUTS
The Razer PBT Keycaps will fit perfectly on any of the following keyboard layouts:
- US / UK layout with Razer bottom row
- US / UK layout with standard bottom row

INSTALLING YOUR RAZER PBT KEYCAPS
For optical keyboards
- Use the keycap puller to gently remove a keycap from your keyboard.

- (For larger keys) On its corresponding Razer PBT keycap, insert the required optical keyboard stabilizers into its stems.

- Push the Razer PBT keycap in place.
![]()
- Repeat steps 1 to 3 for the other keycaps.


For mechanical keyboards
- Use the keycap puller to gently remove (or detach) a keycap from your keyboard.

(For larger keys) Gently lift the detached keycap and nudge any of the curved ends of the attached stabilizer bar outwards using a flat head screwdriver (not included) to release the keycap.


 You may temporarily remove surrounding keycaps to make the removal and/or installation of keycaps and/or stabilizers easier.
If you want to replace an existing stabilizer bar, hold its curved ends and pull outwards until they detach from the stabilizers. To attach its replacement, hold and align the stabilizer bar to the keyboard's stabilizers and push until it snaps into place.

- (For larger keys) On its corresponding Razer PBT keycap, insert the required mechanical keyboard stabilizers into its stems.
![information]() The longer end of the stabilizer's head should point upwards.
The longer end of the stabilizer's head should point upwards.

To install the Razer PBT keycap into the stabilizer bar, insert one end of the bar into the stabilizer and use a flat head screwdriver to nudge and hook the other end into the stabilizer.


- Firmly push the Razer PBT keycap in place.

- Repeat steps 1 to 3 for the other keycaps.

Documents / ResourcesDownload manual
Here you can download full pdf version of manual, it may contain additional safety instructions, warranty information, FCC rules, etc.
Advertisement


Need help?
Do you have a question about the PBT KEYCAP UPGRADE SET and is the answer not in the manual?
Questions and answers