Advertisement
Introduction
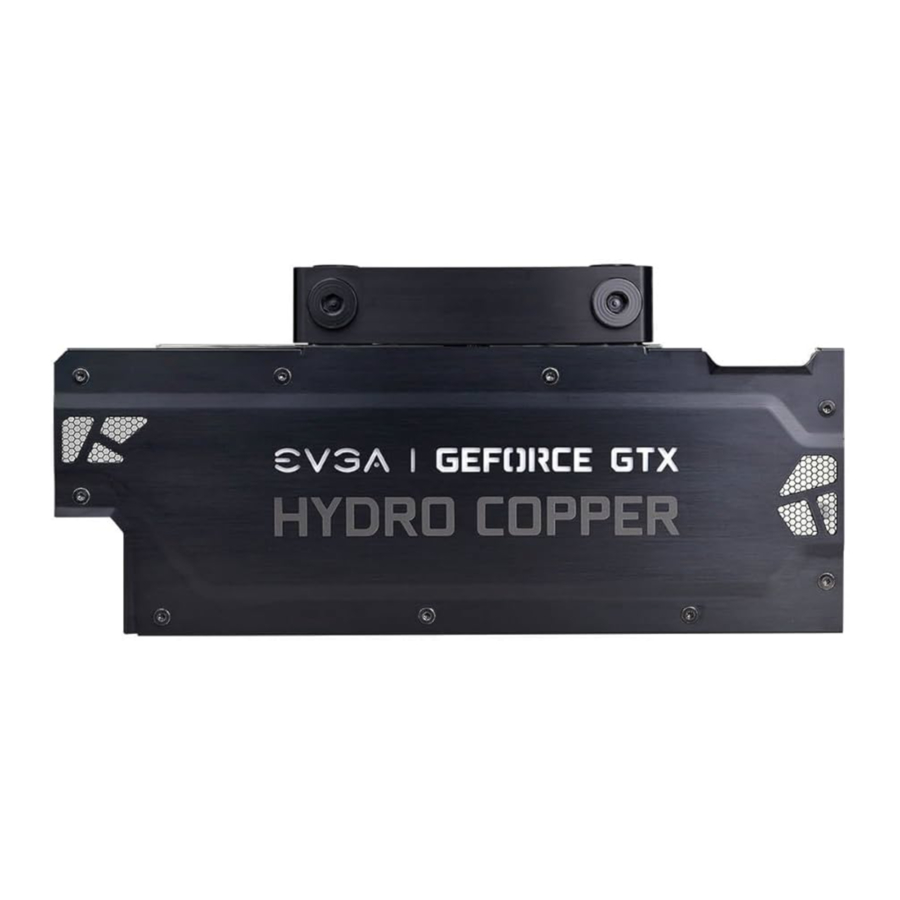
The following instructions and pictures are provided to assist your installation of the EVGA GTXTM 1080 Ti SC Hydro Copper Waterblock Kit to the EVGA GeForce GTXTM 1080 Ti graphics cards. Please be careful installing the Kit; there are several very small fasteners used that can be stripped if you are not careful.
Please be sure to keep your original shroud, heatsink, and screws so your card can be returned to its original condition in case you ever need to submit for warranty.
The instructions below will walk you through the removal of the original heatsink and fan(s), and installation of the EVGA Hydro Copper Waterblock module and replacement shroud. Please see below for SKU's compatible with this cooler:
| # | Graphics Cards | Part Number |
| A | Founders Edition | 11G-P4-6390-KR |
| B | Founders Edition with EVGA Blower | 11G-P4-5390-KR |
| C | iCX with White LED | 11G-P4-6393-KR |
| 11G-P4-6391-KR | ||
| D | iCX with RGB Lighting | 11G-P4-6693-KX |
| 11G-P4-6593-KR | ||
| 11G-P4-6591-KR |
Included Accessories

| 1 | EVGA HYDRO COPPER |
| 2 | EVGA GPU Bracket P/N:201010000026707 |
| 3 | M2x6.8mm 16pcs screws. Use a Phillips #1 screwdriver to remove or fasten. P/N:207010000025064 |
| 4 | M2x6mm 4pcs screws. Use a Phillips #1 screwdriver to remove or fasten. P/N:207010000025063 |
| 5 | 2pcs screw nut. Use a 5mm Hex Driver to remove or fasten. Do not use a standard wrench or pliers, as either may cause damage to the graphics card's PCB. P/N:207010000025066 |
| 6 | 78.5x31mm 1pcs Allen Key. P/N:207010000024982 |
| 7 | 2pcs Thermal Grease |
| 8 | M2x6mm 2pcs screws. Use a Phillips #1 screwdriver to remove or fasten. P/N:207010000024319 |
| 9 | MI.4x2.6mm 14pcs screws. Use a Phillips #1 screwdriver to remove or fasten. P/N:207010000024844 |
| 10 | M2x5.1 mm 14pcs standoffs screws. Use a 4mm Hex Driver to remove or fasten. Do not use a standard wrench or pliers, as either may cause damage to the graphics card's PCB. P/N:207010000024318 |
| 11 | Plug fittings 4pcs. Pre-installed on waterblock |
*Please note that the accessory list above covers all items expected to be included in the SC Hydro Copper Waterblock Kit. It is possible that you may receive extra accessories that will go unused after completion of the installation manual. Please follow all directions carefully, and contact EVGA Customer Service if you have any missing accessories or questions.
Installation
- Remove the screws holding the heatsink/shroud
- For Founders Edition #A, remove 16 screws on the back side of the card. Use a Phillips #1 screwdriver for the 2 screws near the bracket, circled in yellow, and a Phillips #0 for the remaining 14, circled in red. This allows the backplate to be removed. Carefully set these aside, as these screws will not be used again.
![]()
- For Blower and iCX models #B, #C, #D, remove the 20 screws circled in the picture below using a Phillips #1 screwdriver. It is not necessary to remove the backplates to complete the Hydro Copper installation; these screws hold the heatsink/shroud onto the card. Carefully set these aside, as these screws will not be used again.
![]()
- For Founders Edition #A, remove 16 screws on the back side of the card. Use a Phillips #1 screwdriver for the 2 screws near the bracket, circled in yellow, and a Phillips #0 for the remaining 14, circled in red. This allows the backplate to be removed. Carefully set these aside, as these screws will not be used again.
- For Founders Edition (#A) and Blower model (#B), remove the screws circled on the bracket below with a Phillips #1 screwdriver and set the screws aside, as these will not be used again.
![]()
- Remove the remaining screws on the back of the card.
For Founders Edition models (#A), use a Phillips #1 screwdriver to remove the 4 spring screws, circled in blue below, and a 4mm Hex driver to remove the remaining 14 standoff screws, circled in red below. This will allow the thermal module to be removed. Carefully set these aside, as these screws will not be used again.
![]()
- Remove heatsink and fan, while carefully disconnecting fan and LED connectors.
![]()
- For all cards, carefully remove the original heatsink and fan. You may need to gently twist the thermal module to loosen up the heatsink from the thermal pads and GPU thermal grease. Once loose, gently lift the side of the heatsink to expose the fan and LED wires/headers. Depending on your card model, you may have up to 2x fan headers and lx LED header.
- Please be careful when removing the fan and LED headers; the wires can snap if pulled too hard. The safest way to remove the connectors is with a small flat-head screwdriver, tweezers, or fingernails to raise the edge of the headers a little at a time. It is recommended to remove the LED header (left circle) before removing any fan headers (right circle). After removing the headers, set aside the heatsink/fan; it will no longer be needed for this Kit.
- Clean the card for installation:
Remove all thermal grease on the GPU and remove any pads that stick on the PCB. Clean the GPU with high-percentage isopropyl alcohol and a lint-free cloth. You may try to reattach the thermal pads to the same location on the original cooler in case you need to return the card to its original state for warranty purposes. After you are finished cleaning, the card should look like these photos:
![]()
- Install GPU Bracket
- Install #2 GPU Bracket. Align the screw threads and mounting holes with the PCB, as shown in the photo below
![]()
- If you have a Founders Edition model (#A), hold the GPU Bracket in place and carefully turn the card over. Tighten 4 screws, as shown in the photo below.
![]()
- If you have a Blower or iCX Model (#A, #B, #C), hold the GPU Bracket in place and carefully turn the card over. Tighten 4 #4 screws, as shown in the photo below.
![]()
- Install #2 GPU Bracket. Align the screw threads and mounting holes with the PCB, as shown in the photo below
- Install Waterblock
- Apply thermal grease to the GPU when you are ready to install the waterblock. There are many different ways to correctly apply thermal grease, so please use the photo below as a reference for how to apply. Take care to avoid putting thermal grease on any other components. If you do get thermal grease on other components, clean any affected areas with high percentage isopropyl alcohol and a lint-free cloth or cotton swabs prior to installation of the waterblock.
![]()
- Install EVGA HYDRO COPPER Plug LED connector
For all models, connect the LED cable to the card based on the type of graphics card used:
![]()
- 2 Pin: Plug into
![]() if you have (#A,#B,#C) models
if you have (#A,#B,#C) models - 6 Pin: Plug into
![]() if you have (#D) models
if you have (#D) models
- 2 Pin: Plug into
- Carefully line up the standoffs on the waterblock to their matching holes on the PCB. Gently lower the waterblock until it is fully seated on the PCB.
![]()
- Apply thermal grease to the GPU when you are ready to install the waterblock. There are many different ways to correctly apply thermal grease, so please use the photo below as a reference for how to apply. Take care to avoid putting thermal grease on any other components. If you do get thermal grease on other components, clean any affected areas with high percentage isopropyl alcohol and a lint-free cloth or cotton swabs prior to installation of the waterblock.
- Complete installation
- For Founders Edition models (#A), carefully turn the card and waterblock over. Tighten 10 #10 screws, circled in blue, and tighten 4 #4 screws, circled in red.
![]()
- For Blower and iCX models (#B, #C, #D), carefully turn the card and waterblock over. Tighten 11 #3 screws, circled in blue, and tighten 4 #4 screws, circled in red.
![]()
- For Founders Edition models (#A), tighten 10 #9 screws, circled in red, and tighten 1 #8 screw, circled in yellow.
![]()
-
- For Founders Edition models (#A), fasten 1 #8 screw using 1 #5 nut, as shown in the photos below.
- For Blower or iCX models (#B, #C, #D), fasten 1 #3 screw using 1 #5 nut, as shown in the photos below.
![]()
At this point, your waterblock should be fully tightened and ready to test. As noted before, please use care to avoid overtightening, as this may strip the screws and/or damage the graphics card. Lastly, do not use power tools to install the waterblock or backplate.
- For Founders Edition models (#A), carefully turn the card and waterblock over. Tighten 10 #10 screws, circled in blue, and tighten 4 #4 screws, circled in red.
- Install your barbs/compression fittings, included plug fittings, and hose clamps (if needed). The thread size is GI/4. You may use either the left or right side of the terminal as an inlet or an outlet; make sure that you use no more than one barb or compression fitting on the same side or you will drastically reduce cooling performance. Lastly, double-check to confirm that all terminal ports contain either a barb/ compression fitting or a plug fitting. To properly position your fittings, follow the diagram below:
![]()


 if you have (#A,#B,#C) models
 if you have (#D) models


EVGA SC Hydro Copper Waterblocks are leak tested at the factory before shipping to the customer. Regardless, it is still recommended to run a full leak test after installing the EVGA SC Hydro Copper Waterblock and connecting it to your water loop. The EVGA SC Hydro Copper Waterblock is compatible with GTX 1080 Ti Founders Edition PCBs, as well as EVGA Blower and iCX GTX 1080 Ti cards (excluding FTW3 and KINGPIN) PCBs).
It is recommended to use distilled water or any other popular, certified, and approved liquid coolant. Using tap water or any other liquid not meant for water cooling will cause damage, including corrosion, to the EVGA SC Hydro Copper Waterblock. Damage caused by using an EVGA SC Hydro Copper Waterblock with improper liquids will void the limited 1 year warranty.
It is strongly recommended to avoid using aluminum components within the same loop as the EVGA SC Hydro Copper Waterblock. Mixing copper and aluminum may cause corrosion, which will void the limited 1 year warranty. Refer to your manufacturer's GTX 1080 Ti warranty information before installing the EVGA SC Hydro Copper Waterblock. If you damage your GTX 1080 Ti series graphics card due to improper installation, EVGA will not be held liable for physical damage to your GTX 1080 Ti series graphics card or your EVGA SC Hydro Copper Waterblock.
Documents / ResourcesDownload manual
Here you can download full pdf version of manual, it may contain additional safety instructions, warranty information, FCC rules, etc.
Advertisement


Need help?
Do you have a question about the GEFORCE GTX 1080 Ti and is the answer not in the manual?
Questions and answers