Advertisement
PACKING LIST
- N-32 MIDI Keyboard
- USB Cable
- User Manual
If any of the items above are missing, please let us know via email: www.donnerdeal.com
PRODUCT PARAMETERS
- Product: 423*108*33mm
- Product weight: 0.46kg
- Product weight (Package included): 0 64kg
CONNECTABLE SOFTWARE
- Cubase/Nuendo
- Logic
- Garageband
- Reason
- Kontakt
- Waveform
- Audition
- Pro Tools
- Reaper
- Ableton Live
- FL studio
- Cakewalk/Sonar
BASIC OPERATION
Connecting Your Keyboard
- Plug the USB cable provided with your N-32 MIDI keyboard to a USB port on your computer.
- Plug the other end of the USB cable into the USB input on the N-32 MIDI keyboard.
Note:
- The USB cable not only powers the keyboard but also sends MIDI data to computer system or receives MIDI data from computer system.
- Using a passive USB hub may not provide enough power for instrument.
- You can also use N-32 MIDI Keyboard with your iPad to control supported music creation apps.
GETTING STARTED
- Once you have finished the installation, you will need to configure your music software for use with Donner N-32.
- Connect Donner N-32 to your computer and then open your software.
- In your software's Preferences, Options, or Device Set-Up menu, select Donner N-32.
(Windows and MacOS will recognize the device as Donner N-32.) - For further information about configuring your software to receive MIDI data from your Donner N-32, and using software instruments with the application, refer to the documentation provided with that product.
PRODUCT OVERVIEW
Side Panel

- USB/DC IN
Provides the power and data by connecting this instrument to a computer via a USB cable. - MIDI OUT
Use a 3.5MM MIDI cable (sold separately) to connect this jack to the MIDI IN of an external sound module.- You can connect an external MIDI instrument with a standard MIDI cable (commercially available) and control it from this instrument. Likewise, you can use an external MIDI device (such as a keyboard or sequencer) to control the sounds on this instrument.
- SUSTAIN
Accept a momentary-contact foot pedal (sold separately), pedal will sustain the sound you are playing.
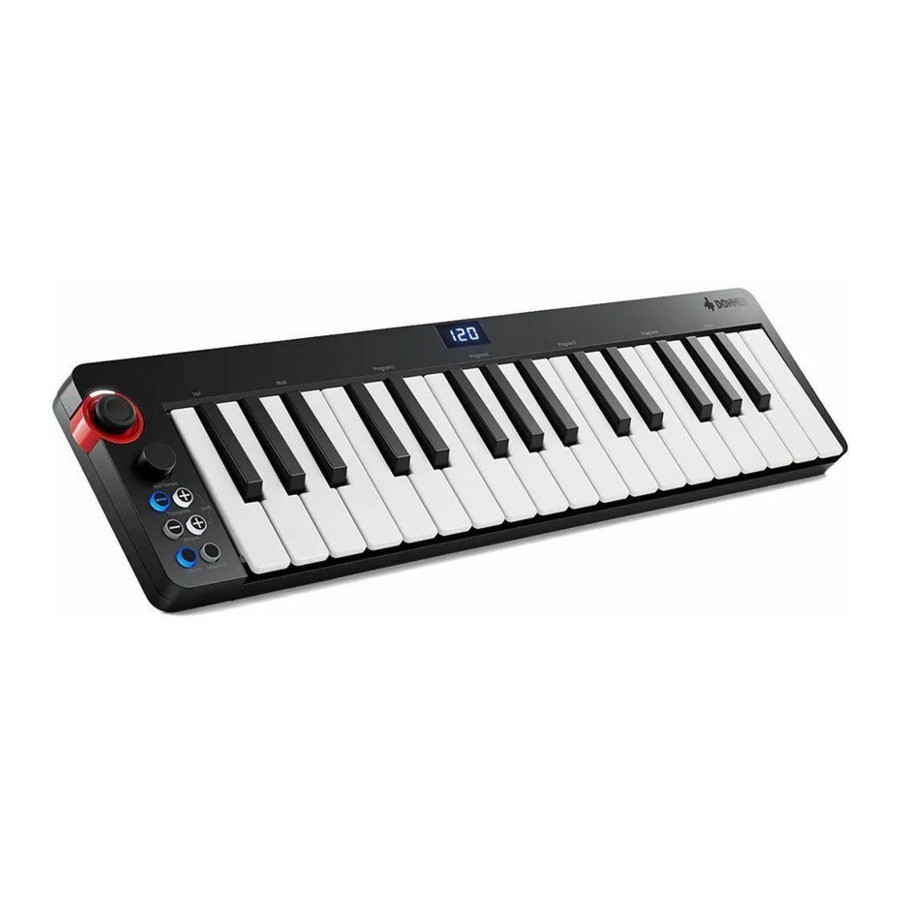
Front Panel

The keyboard range of the N-32 MIDI is approximately in the middle of an 88-note keyboard. Using the Octave "+" or "-" buttons, you can access the full 88-note keyboard range of a large piano. The initial range is F1-C4.
[VOL/TEMPO]
- Adjust the current volume in track.
- Adjust the speed and time within [Sequencer] by turning the knob.
[OCTAVE]
- Whenever you power up the keyboard, the octave setting will be at the default value of "0".
- Press the Octave "+" and "-" buttons to adjust octave level.
- The button light is triggered when the octave is adjusted up or down, and the "+" and "-" buttons are pressed simultaneously to reset to the initial state.
- The initial range is F1-C4. The highest range can reach C8, and the lowest range can reach F-2. A total of 5 octaves can be added or subtracted from top to bottom.
[TRANSPOSE]
- When the transposition function is turned on, transposition value of the keyboard can be adjusted by pressing "+" and ' button.
- After turning it on, the button light will always be on. The "+" button or "-" button lights up when a semitone increased or decreased.
- Press "+" and "-" buttons at the same time to return the initial state.
[CHORD]
- You can play an entire chord by pressing [Chord] button on the keyboard The chord will transpose automatically as you play different notes. If you play a C2, and then play its component notes C2, G2, C3.
[SEQUENCER]
- Press the single note, the value is 1/8; When pressing the double notes, the value is 1/8.
(Double notes are playing in the order in which it is pressed). - The default beat of the sequencer is 1/8 note.
- When the Sequencer is on, the digital tube directly displays the current speed, which can be adjusted by the encoder itself.
- The default is 120 Bpm and it can be adjusted by the encoder and the diode screen display, the value is 60 Bpm-240Bpm.
[SHIFT]
- [Shift] Button can used to access all the advanced functions of the keyboard. When the [Shift] combination button is pressed, the keyboard goes into "Edit Mode". In Edit Mode, the keys on the keyboard are used for selecting functions and entering data.
- When the two lights of the [Shift] combination button are on, it is in edit mode. In Edit Mode, the black keys on the keyboard are used for selecting functions, while the white keys are used for data entry, function selection.
- Your keyboard will exit out of Edit Mode as soon as a function is selected, or ENTER button is pressed (the [Shift] button light will turn off). The keyboard can then be used to play notes again.
PROGRAM
- Program 1-4 are used to change the instrument program or voice you are using. For example, you could use this function to change the instrument to a bass sound.
- You can send a program change by:
If your MIDI hardware or software can receive MIDI Program changes. Press [Shift] to enter Edit mode, select one of Program 1-4, then rotate the encoder and confirm your code through 0-127, at last press ENTER to confirm. - MOD: After the [SHIFT] function is turned on, it enters the modulation function. The initial state is OFF.Press it again to change to ON. You can select through the rotary encoder. At this time, there will be a numeric display of 0-127 on the screen. Press the confirm key to save.
- VOL: Adjust VOLUME in edit mode.
[PITCH]
- The assignable pitch bend joystick is primarily used to bend the notes played on the keyboard up or down.
- The aperture flicker rate will follow the speed of the current specific function.
[ENCODER]
- Infinite encoder can be used to adjust the volume and sequencer (speed), Modulation value.
[SCREEN]
- You can adjust the sequencer speed, octave "+" and "-", transpose "+" and "-", and numerical adjustment of the Modulation function.
PRECAUTIONS
- Please read these instructions.
- Please keep these instructions.
- Please heed all warnings.
- Please follow all instructions.
- Please keep this instrument away from rain and wetness.
- Clean only with dry cloth.
- Do not install near any heat sources such as radiators, heat registers, stoves, or other apparatus (including amplifiers) that produce heat.
- Protect the power cord from being walked on or pinched particularly at plugs, convenience receptacles, and the point where they exit from the apparatus.
- Unplug this apparatus during lightning storms or when unused for long periods of time.
- Unplug this apparatus immediately and refer all servicing to qualified service personnel. Servicing is required when the apparatus has been damaged in any way, such as power supply cord or plug is damaged, liquid has been spilled or objects have fallen into the apparatus, the apparatus has been exposed to rain or moisture, does not operate normally, or has been dropped.
- Never apply excessive force to the instrument. Keep all volumes to the minimum before use, and gradually increase the volume while playing the instrument to achieve the desired auditory experience.

SHOCK HAZARD DO NOT OPEN.
TO REDUCE THE RISK OF FIRE OR ELECTRIC SHOCK, DO NOT EXPOSE THIS EQUIPMENT TO RAIN OR MOISTURE.
TO REDUCE THE RISK OF FIRE, ELECTRIC SHOCK AND ANNOYING INTERFERENCE, PLEASE USE ONLY THE RECOMMENDED ACCESSORIES. FOR UNINTERRUPTED SERVICE OF THIS DEVICE!
*DESIGN AND SPECIFICATIONS MAY CHANGE WITHOUT NOTICE
Documents / Resources
References
Download manual
Here you can download full pdf version of manual, it may contain additional safety instructions, warranty information, FCC rules, etc.
Advertisement


Need help?
Do you have a question about the N-32 and is the answer not in the manual?
Questions and answers