Advertisement
SPECIFICATIONS
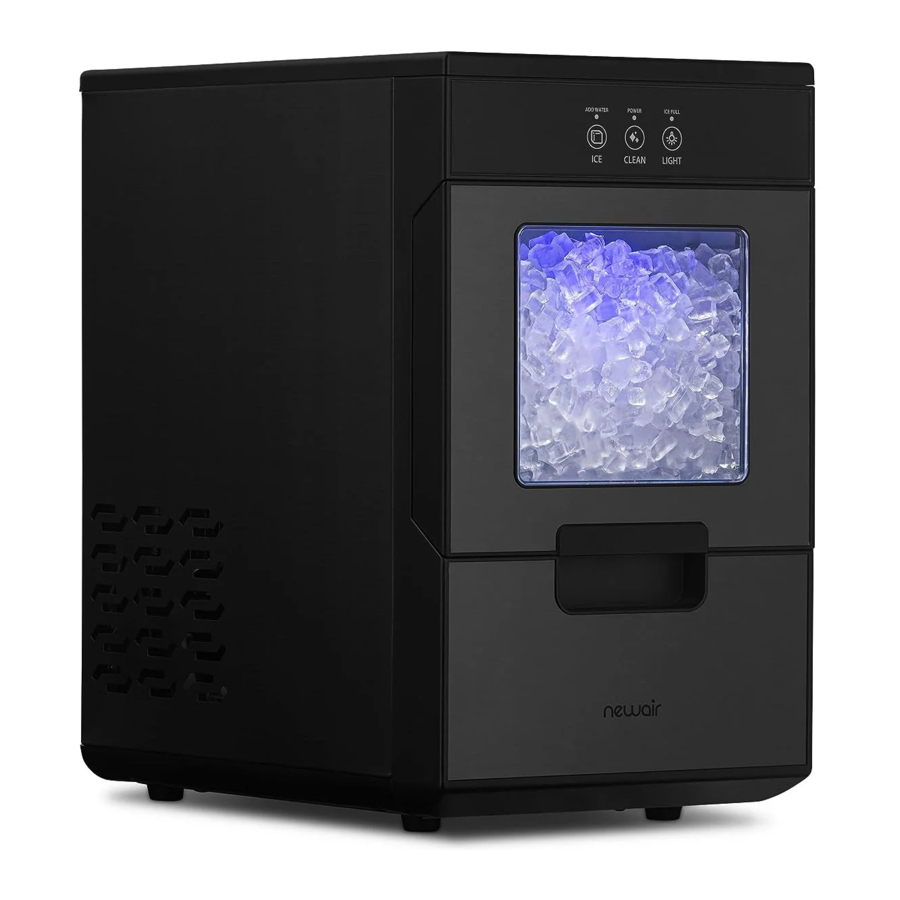
| MODEL NO. | NIM044BS00 |
| ICE TYPE | Nugget |
| POWER | 115V/60Hz |
| ICE MAKING CURRENT | 2.7A |
| REFRIGERANT | R600a |
| ICE BUCKET CAPACITY | 3.3 lb. |
| NET WEIGHT | 34.17 lb. |
| DIMENSION | 9.75" W x 15.04" D x 16.54" H |
REGISTER YOUR PRODUCT ONLINE
Register Your Newair Product Online Today!
Take advantage of all the benefits product registration has to offer:
- Service and Support
Diagnose troubleshooting and service issues faster and more accurately - Recall Notifications
Stay up to date for safety, system updates and recall notifications - Special Promotions
Opt-in for Newair promotions and offers
Registering your product information online is safe & secure and takes less than 2 minutes to complete:
newair.com/register
Alternatively, we recommend you attach a copy of your sales receipt and record the following information, located on the manufacturer's nameplate on the rear of the unit. You will need this information if it becomes necessary to contact the manufacturer for service inquiries:
Date of Purchase
Serial Number
Model Number
PARTS LIST

- Control Panel:
Indicator light: Water Low, Power, Ice full
Button: ICE, CLEAN, LIGHT - Drawer
- Observation window: See how much ice has been stored in the drawer.
- Drip tray
- Metal shell
- Water drain cap: After cleaning the ice maker, remove the drain cap from the back of the appliance by pulling out the cap from the drainpipe, emptying the tank under the drawer, then reinserting the cap and putting it back again.
- Hot Air outlet
- Drainpipe: After cleaning procedure, you can collect dirty water from the drainpipe (there are two pipes: one connects to the evaporator, the other one connects to the water tank under the drawer).
- Power cord
ELECTRICAL DIAGRAM

OPERATING INSTRUCTIONS
UNPACKING YOUR ICE MAKER
- Remove the exterior and interior packaging, and then check all the accessories are included. If any parts are missing, please contact our customer service.
- Remove all the tapes on the unit; take out the accessory parts inside.
- Clean the interior with lukewarm water and a soft cloth.
- Place your ice maker on a level counter table far from direct sunlight and other sources of heat (i.e.: stove, furnace, and radiator). Make sure that there is at least 6 inches between the back and sides of your ice maker with the wall.
- Allow one hour for the refrigerant fluid to settle down before plugging your ice maker in.
- The power plug must be accessible directly.

fill with potable water only. Only use drinking water.
CONNECTING YOUR ICE MAKER

Improper use of the grounded plug can result in the risk of electrical shock. If the power cord is damaged, please call customer service.
- This unit should be properly grounded for your safety. The power cord of this appliance is equipped with a grounding plug which mates with standard grounding wall outlets to minimize the possibility of electric shock.
- Plug your appliance into an exclusive, properly installed, grounding wall outlet. Do not under any circumstances; damage the grounding means of the plug. Any questions concerning power and/or grounding should be directed toward a certified electrician.
- This appliance requires a standard 110-120Volt, 60Hz electrical outlet.
HOW TO START THE UNIT
- Take out the drawer.

- Add drinking water, do not exceed the maximum scale.

- Put in the drawer and the drip tray in position.


CLEAN

When you plug in the power cord, the power indicator will turn on. Before operating the ice maker, follow these cleaning instructions:
It is highly recommended to run the self-cleaning function before first use.
- Check the drainpipe behind the appliance and make sure the water drain cap has been inserted into the drainpipe; otherwise, the appliance will not work properly.
- Press the "CLEAN" button. The power light will turn on for 5 seconds and then begin to flash. The cleaning procedure will last for 15 minutes. Once the cleaning cycle has ended, the power light will turn off. Press the "CLEAN" button again to turn of the function.
- Once the cleaning process has ended, drain the excess water by positioning the ice maker near a drainage source. Remove the drain plug from the back, pull out the plug from the drainpipe and let the water drain out completely. Then reinsert the plug.


 Note: Change water in the water reservoir every 24 hours to ensure the water you are using is clean. If the unit isn't going to be used for an extended period of time, drain all water & dry the water reservoir.
HOW TO MAKE ICE
- Check the drainpipe behind the appliance and make sure the water drain cap has been inserted into the drainpipe; otherwise, the appliance will not work properly.
- Press the "ICE" button. The power light will turn on for 5 seconds and then begin to flash. The ice maker will start to produce ice.
- Press the "ICE" button again and the ice maker will stop making ice.
- Check the ice maker periodically to see if the "Add water" indicator light has turned on. If the water level reaches below the sensor, the ice maker will stop automatically and the "Add water" indicator will turn on. Pour water into the water reservoir until you've reached the max line.
LIGHT ON/OFF
Press the "LIGHT" button and the light inside the ice maker will turn. Press the "LIGHT" button again and the light will off.
OPENING THE ICE DRAWER
Hold the drawer handle gently and pull it out in a straight line until the back of the drawer contacts the front panel and then gently hangs down. When you need to close the drawer, hold the drawer handle, and push the drawer in a straight line inwards. Then gently push it in to fully close it.

TAKING OUT THE ICE DRAWER
Hold the drawer handle gently and pull it out in a straight line until the back of the drawer contacts the front panel and then gently lifted it up so the front of the drawer is angled upwards, and the back becomes unhooked from the inner compartment. When you need to reinsert the drawer, tilt the drawer so the back is angled downwards. Place the drawer inside the compartment, straighten it, and then push in.

CLEANING & MAINTENANCE
CLEANING AND MAINTAINING YOUR ICE MAKER
Before using your ice maker, it is strongly recommended to clean it thoroughly. Unplug the unit before cleaning or making any maintenance.
- Take out the drawer.
- Clean the interior with diluted detergent, warm water, and a soft cloth.
- Use the water to rinse the inside and drain out the water by unplugging the drain cap on the back.
- The outside of the ice maker should be cleaned regularly with a mild detergent solution and warm water.
- Dry the interior and exterior with a soft dry cloth.
- When the ice maker is not in use for a long time, open water drain cap to drain out water completely from water reservoir.
TROUBLESHOOTING
| Problem | Possible Causes | Solution |
| "Add Water" indicator lights up | Lack of water. | Stop the ice maker, fill water, and press "ICE" button again to restart. |
| "Ice Full" indicator lights up or flash | There is too much ice. | Remove the ice from the ice drawer. |
| No ice cube inside. | Check for any obstacles blocking production. | |
| Press "ICE" button for 5 seconds. | ||
| LIGHT and ICE icon flashing | Ambient temperature or water temperature in inner tank is too high. | Please run the ice maker below 90 Fahrenheit degree ambient and pour colder water into tank. |
| Refrigerant liquid leakage. | Press the "ICE" button twice, wait for 50 minutes. If this problem happens up again, check with a qualified technician. | |
| Cover motor is broken. | ||
| Pipe in the cooling system is blocked. | ||
| Making Ice too slowly | Hot Air outlet is blocked by something. | Hot Air outlet must have more than 15 CM of ventilation distance on either side. |
| Water temperature in inner tank is too high. | Water temperature requirement between 7℃- 32℃. | |
| Refrigeration system malfunctions. | Check with a qualified technician. | |
| Water leakage | Drain plug not in place. | Put the drain plug in place. |
| Pipe Joint in the ice maker is loose. | Check with a qualified technician. | |
| The seal has reached service life. | Check with a qualified technician. |
Contact Us
Please reach out to our customer service team before making a return to your store of purchase. We are happy to help with any questions or concerns!
Mon-Fri from 8-4 PST at:
Call: 1-855-963-9247
Email: support@newair.com
Online: www.newair.com
A team member will respond to you within 24 hours.
![]() Facebook.com/newairusa
Facebook.com/newairusa
![]() Instagram.com/newairusa
Instagram.com/newairusa
![]() YouTube.com/newairusa
YouTube.com/newairusa
![]() Twitter.com/newairusa
Twitter.com/newairusa
SAFETY INFORMATION & WARNINGS
Your safety and the safety of others are very important.
We have provided many important safety messages in this manual and on your appliance. Always read and obey all safety messages.
This is the Safety Alert Symbol. All safety messages will follow the Safety Alert Symbol and either the words "DANGER" or "WARNING"
These words mean:
You can be killed or seriously injured if you don't immediate follow instructions.
All safety messages will tell you what the potential hazard is, tell you how to reduce the chance of injury, and tell you what can happen if the instructions are not followed.
When using electrical appliances, basic safety precautions should be followed to reduce the risk of fire, electric shock, and injury to persons or property. Read all instructions before using any appliance.
- Do not operate this, or any other appliance with a damaged cord.
- If the supply cord is damaged, it must be replaced by the manufacturer or its service agent or a similarly qualified person in order to avoid a hazard.
- This ice maker must be positioned so that the plug is accessible.
- Connect to properly polarized outlets only. No other appliance should be plugged into the same outlet. Be sure that the plug is fully inserted into the receptacle.
- Do not run the power cord over carpeting or other heat insulators. Do not cover the cord. Keep cord away from traffic areas, and do not submerge in water.
- We do not recommend the use of an extension cord, as it may overheat and become a risk of fire. If you must use an extension cord, use No.14AWG minimum size and rated no less than 1875 watts.
- Unplug the ice maker before cleaning or making any repairs or servicing.
- Exercise caution and use reasonable supervision when appliance is used near children.
- Do not use your ice maker outdoors. Place the ice maker away from direct sunlight and make sure that there is at least 6 inches of space between the back of your unit and wall. Keep a minimum distance of 6 inches on each side of your unit free.
- Do not use other liquid to make the ice-cube other than water.
- Do not clean your ice maker with flammable fluids. The fumes can create a fire hazard or explosion.
- Do not tip over.
- If the ice maker is brought in from outside in wintertime, give it a few hours to warm up to room temperature before plugging it in.
![]()
This appliance must be earthed.

The wires in this mains lead are colored in accordance with the following code:
Green or Green with a strip yellow: Grounding
White: Neutral
Black: Live
To avoid a hazard due to instability of the appliance, it must be placed at an even or flat surface.
Documents / Resources
References
![newair.com]() Product Registration – Newair
Product Registration – Newair![www.newair.com]() Newair | Best Compact Appliances for the Home, Office & More
Newair | Best Compact Appliances for the Home, Office & Morehttp://facebook.com/newairusa
![instagram.com]() Instagram
Instagram![youtube.com]() Newair - YouTube
Newair - YouTube![twitter.com]() x.com
x.com
Download manual
Here you can download full pdf version of manual, it may contain additional safety instructions, warranty information, FCC rules, etc.
Advertisement


Need help?
Do you have a question about the NIM044BS00 and is the answer not in the manual?
Questions and answers