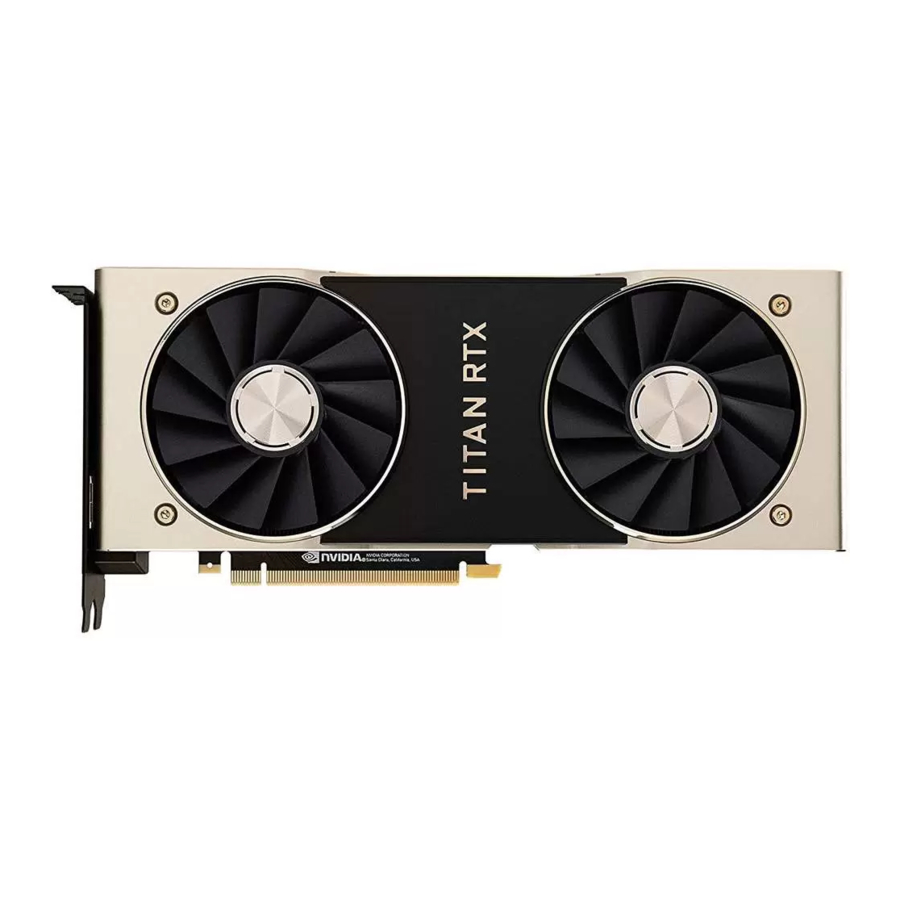
NVIDIA Titan RTX - Graphics Card Manual
- User manual (28 pages) ,
- User manual (31 pages)
Advertisement
Minimum System Requirements
- Motherboard
PCl Express® or up to PCl Express 3.0-compliant motherboard with one dualwidth x 16 graphics slot. - System Power Supply
Minimum 650 W or greater system power supply with two 8-pin PCl Express supplementary power connectors. - Operating System
- Microsoft Windows® 10, 64-bit (April 2018 update or later)
- Microsoft Windows 7, 64-bit
- Linux, 64-bit
- System Memory
24 GB system memory (48 GB recommended) - Internet connection for driver installation
- 1.5 GB of available hard disk space
UNPACKING
Prior to unpacking your new NVIDIA TITAN RTX graphics card, it is important to make sure you meet all the system requirements listed above for a smooth installation.
Be sure to inspect each piece of equipment shipped in the packing box. If anything is missing or damaged, contact your reseller.
Equipment
The following equipment and documentation are included in the TITAN RTX graphics card box.

HARDWARE INSTALLATION
Installing the NVIDIA graphics card hardware involves opening your computer. Follow all the safety instructions provided here to ensure that there is no damage to you, your computer, or the graphics board.
Before You Begin
The TITAN RTX graphics card is a PCl Express 3.0 x 16 graphics card. Your computer may already have a graphics card installed in the PCl Express slot. If so, you will need to remove that graphics card and replace it with the TITAN RTX graphics card.
If you do not have a graphics card, this means that your motherboard has onboard graphics (there is a graphics chip installed on your motherboard or integrated in the motherboard chipset). If this is the case, there is no action that needs to be taken before installing your new graphics card.
Use the TITAN RTX graphics card with UL Listed ITE Personal Computer (PC)/Server.
Installing the TITAN RTX Graphics Card
Because there are so many different computer systems on the market, the procedure to install the TITAN RTX graphics card can vary from system to system. Use the following instructions as a guideline and consult the documentation for your computer system for any further information on your individual system.
Note: It is important that all power to the computer be disconnected before you install the graphics card.
Discharge your body's static electricity by touching a grounded surface before touching the graphics card. A grounded surface is the computer chassis, or some other surface you know to be grounded.
 ATTENTION: If your system has been running for a while prior to opening the panels, it is very important that you wait until the graphics card in your system has cooled before taking the card out of the system. Graphics cards get very hot when they have been operating for any length of time.
Use the following procedure to install the TITAN RTX graphics card into your computer system.
- Turn off your computer and monitor and disconnect the power cord. Depending on your computer system, you may need to disconnect the cable going to the back of your system. Mark the cables so you can make sure you reconnect them properly.
- Open your computer by removing the cover/side panel. Refer to your computer documentation from the original manufacturer for assistance.
- Remove any existing graphics card (if there is one). Save hardware (such as screws and brackets) to use when installing the NVIDIA graphics card.
- Remove two adjacent slot covers if you do not have a graphics card installed.

Note: The TITAN RTX card is double-wide and requires removing two slot covers. - Plug the TITAN RTX graphics card into the Primary PCl Express x 16 slot on your motherboard. This is often the slot closest to the CPU but may be the second or third slot. Look for the slot labeled x 16. It will likely be the only PCl Express slot with a retention lever on the end of the slot or the one closest to the CPU.

Note: It is recommended that you install the graphics card into the primary PCl Express x16 slot. If you install the graphics card into the secondary slot, your system may not recognize the graphics card and there will be nothing displayed on the monitor.
Also note that on some motherboard SBIOS, the physical location of the primary slot can be configured when there are more than one PCl Express x16 slots.
If you are installing additional TITAN RTX graphics cards for an NVLink configuration, continue with step 6. If you are only installing one Graphics card, go on to step 7. - Install a second TITAN RTX graphic card (NVLink configuration). Install the second graphics card into the outer most PCl Express x 16 slot on the motherboard. Connect the two cards together using the TITAN RTX NVLink Bridge (3-Slot or 4-Slot).
Note: TITAN RTX NVLink Bridge can be found on www.nvidia.com.

- Connect two 8-pin power connectors from the power supply to the power connectors on the top edge of the TITAN RTX graphics card. Note that the connector and socket on the graphics card have a unique shape and connect one way only.

Reinstall the cover on your computer and reconnect any cables that you removed earlier in the installation.
![]()


SOFTWARE INSTALLATION
With the hardware installed, it is now time to install the GeForce Experience software and the graphics driver.
GeForce Experience Software Installation
- Download and install GeForce Experience software.
- Go to http://www.geforce.com/geforce-experience/download and click Download Now.
- Accept the NVIDIA software license agreement by selecting Agree and Continue. GeForce Experience software begins to install.
- Select Close to finish the installation.
- Optimize your installed games.
- Open GeForce Experience and click Scan for Games and click 0K to scan your installed games.
- Click on Optimize All to optimize your game settings.
- Install the latest drivers.
- Open GeForce Experience and select the Drivers tab.
- Select Download Driver. Your GPU driver begins to download.
- Select Express Installation when the download finishes. GeForce Experience begins to install the graphics driver.
Note: It may take several minutes for the installation to take place. Your screen may go blank for a few seconds one or more times during installation. This is normal. - Click CLOSE when the driver install completes.
Congratulations!
Your TITAN RTX graphics card is now ready to use!
Note: If you have any questions about your NVIDIA product you can Chat live with NVIDIA Customer Care at www.nvidia.com/support or call 1-800-493-4578 (US) or 0800-404-7747 (UK).
CONFIGURING SLI (NVLink)
SLI is a revolutionary technology developed by NVIDIA that allows you to connect identical TITAN RTX graphics cards together to deliver increased performance.
You can enable SLI by either clicking on the SLI-capable system balloon in the system tray or by going to the NVIDIA Control Panel.
Note: You must have an SLI-ready motherboard and two identical SLI-ready TITAN RTX graphics cards installed in your PC in order to enable SLI.
Accessing the NVIDIA Control Panel
To access the NVIDIA Control Panel, you can right-click the Windows desktop and select NVIDIA Control Panel from the menu. Other ways to access the NVIDIA Control Panel depends on the operating system.
Enabling / Disabling SLI
- Once you have the NVIDIA Control Panel open, click on Configure SLI, Surround, PhysX in the left task pane.
- Enable SLI by making sure the Disable SLI button is not checked.
![]()

CONFIGURING HDMI
Connecting HDTV via HDMI allows you to output both digital audio and video from your graphics card to an HDTV.
Enabling Audio Over HDMI
If you are connecting to your display over HDMI, you may need to set the HDMI output to be your default audio device.
- Select Start → Control Panel → Sound.
- On the Playback tab, select your HDMI display and select
- Set Default.
Congratulations! Your TITAN RTX graphics card(s) is now ready to use!
For detailed instructions on using the NVIDIA Control Panel, consult the Control Panel User's Guide found at www.geforce.com/drivers (select your driver, then click on Control Panel User's Guide to download the User's Guide).
FEATURES
- NVIDIA GeForce ExperienceTM: Capture and share videos, screenshots, and livestreams with friends. Keep your drivers up to date and optimize your game settings. GeForce Experience lets you do it all. It is the essential companion to your GeForce graphics card.
- Game Ready Drivers: Get the highest levels of performance, and the smoothest experience possible from the moment you start playing.
- NVIDIA ShadowPlayTM: Record and share high-quality gameplay videos, screenshots, and livestreams with your friends.
- NVIDIA Ansel: Turn your screenshots into art with this powerful in-game photo mode that captures 360, HDR, and super-resolution photos.
- NVIDIA G-SYNCTM-Ready: Get smooth, tear-free gameplay at refresh rates up to 240 Hz, plus HDR, and more.
- Microsoft® DirectX® 12Support: Power new visual effects and rendering techniques for more lifelike gaming.
- DisplayPort: Drive the latest DisplayPort panels with support for resolutions up to 40960160.
- HDMI: Support for HDMI includes 4K resolution at 60 Hz, GPU-accelerated Blu-ray 3D support, x.v. Color, HDMI Deep Color, and 7.1 digital surround sound.
Safety Instructions
To reduce the risk of fire, electric shock, or injury, always follow basic safety precautions.
Note: All hardware must be installed prior to installation of the drivers.
- Remove power from your computer by disconnecting the AC main source before installation.
- Do not operate this product near water or when your hands or body are wet.
- Do not place this product on soft surfaces that could block the ventilation slots and cause overheating.
- Do not place this product near a heating register or radiator.
- Place this product securely on a stable surface. Serious damage to this product may result if it falls.
- Do not allow anything to rest on the power cord. Do not place this product where a person can step or trip on the power cord.
NVIDIA G-SYNC requires an NVIDIA G-SYNC-ready monitor
Blu-ray 3D playback requires the purchase of a compatible software player from CyberLink or Corel.
Upgrade your GPU to full 3D capability with NVIDIA 3DTV Play software, enabling 3D gaming, picture viewing and 3D web video streaming. See www.nvidia.com/3dtv for more details.
Documents / Resources
References
World Leader in Artificial Intelligence Computing | NVIDIA
Update Drivers & Optimal Playable Settings | NVIDIA GeForce Experience
Access Customer Support | NVIDIA
Official GeForce Drivers | NVIDIA
Download manual
Here you can download full pdf version of manual, it may contain additional safety instructions, warranty information, FCC rules, etc.
Advertisement


Need help?
Do you have a question about the Titan RTX and is the answer not in the manual?
Questions and answers