Table of Contents
Advertisement
Quick Links
Advertisement
Table of Contents

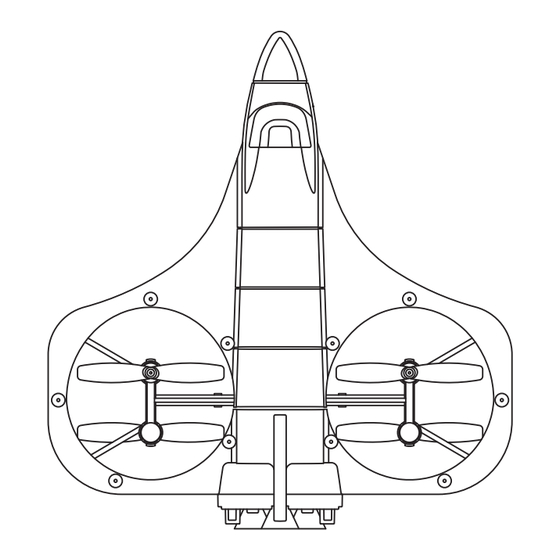
Summary of Contents for Odyssey Toys Smithsonian SPACE SHUTTLE
- Page 1 SPACE SHUTTLE MEDIUM INSTRUCTION MANUAL presents...
-
Page 2: Battery Information
Battery Information TRANSMITTER BATTERIES • Di erent types of batteries or new and used batteries cannot be mixed. • Batteries must be inserted with the correct polarity. • Exhausted batteries need to be removed from the toy. • The supply terminals cannot be short-circuited. -
Page 3: Important Instructions
Important Instructions 1. This toy combines precision mechanics and electronics, requiring aerodynamic and high-frequency transmission expertise. It must be properly assembled for safe use. We advise operating it cautiously and can't be held liable for any accidents, injuries, or property damage. Handle with care! 2. - Page 4 Taking Flight When you push Forward on the Forward/Backward Lever the Drone will fly Forward (please do this slowly at first until you learn the sensitivity). When you push Backwards on the Forward/Backward Lever the Drone will fly Backwards. When you push Left on the Bank Left/Bank Right Lever the Drone will start to Bank Left (please do this slowly at first...
- Page 5 Taking Flight Step 1 Slide open the battery cover on the drone. Insert the battery, and connect the battery cable into the drone plug point. Make sure it fits correctly, then slide the battery cover to close. Turn the switch on the drone to ON, and place it down onto a flat surface making sure the drone is facing AWAY from you.
- Page 6 Charging Charging time: about 70-90 minutes. Flying time: about 6-8 minutes! Note! Always charge the battery by using the USB port from your computer and not a telephone or tablet wall charger. Charging by using power socket can cause fire! Always keep watch while charging. CHARGING CAUTIONS 1.
-
Page 7: Flight Adjustment
Flight Adjustment When you lift your Drone into the air, without the use of any control levers, it should HOVER in one spot. If it doesn't, you can follow the instructions below to bring your Drone back to a perfect HOVER. If your Drone banks to the Left, keep pressing the Bank Righ Trim Button to the Right until the... - Page 8 Landing OPTION 1 After playing, control the drone to the ground and keep the throttle at the lowest position for 3-4 seconds or until the motor stops working. Finally switch o the transmitter and drone. OPTION 2 For a fast turn o , press the one key landing button, the product will slowly land on the ground and motor will shut down.
-
Page 9: Other Controls
Other Controls RESETTING THE DRONE Pull the left stick to lower left quarter, and pull the right stick to lower right quarter (as shown), you will hear a beeping sound and the LED lights will begin to flash and stay on, the drone will auto reset and keep better balance. -
Page 10: Headless Mode
Headless Mode When signal connection is finished as pictured (the directions of the drone and player are THE SAME), press the headless mode button for 3 seconds to enter headless mode. No matter what direction the head of the drone is facing, It will fly forward when you push the control stick forward. -
Page 11: Blade Replacement
Blade Replacement The Space Shuttle comes with replacement blades. If the originals are broken or badly damaged, it is extremely important to use the correct blade (A or B) for replacement. The marking can be found on the blades. Using the incorrect blade will make it impossible to control the Space Shuttle. -
Page 12: Cautions And Warnings
(1) This device may not cause harmful interference and (2) this device must accept any interference receiver, including interference that may cause undesirable operation. 60 DAY LIMITED WARRANTY Odyssey Marketing / Odyssey Toys Please contact Customer Service BEFORE warrants to the original purchaser, when returning any products or parts thereof.


Need help?
Do you have a question about the Smithsonian SPACE SHUTTLE and is the answer not in the manual?
Questions and answers