Advertisement
Quick Links
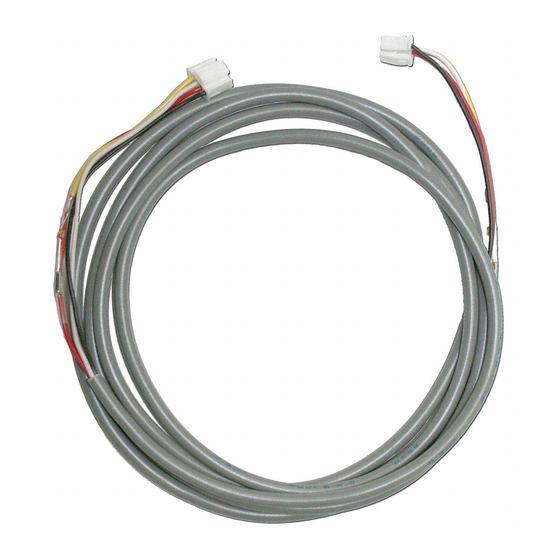
This kit contains:
1 - EZ-Link™ Cable, 2 - Cable Clamps, and 2 - Screws
Install two tankless water heaters of the same model together
in a parallel plumbing application (see Figure 2) and in
accordance with the instructions in the Use and Care Manual.
NOTICE:
A Remote Control Thermostat is included
with each water heater. When using the EZ-Link™
system, only one (1) Remote Control Thermostat is
needed. Connect only one (1) remote control to either
water heater following the instructions provided in
the Use and Care Manual. This water heater will
become the main unit. The installed Remote Control
Thermostat will control temperature and functionality
of both water heaters. Keep the unused remote control
as a spare.
1.
Make sure power is disconnected and turn off gas and
water to both water heaters, then remove the front cover
from each water heater.
2.
Feed one end of the EZ-Link™ cable through a
grommeted hole in the bottom of the first heater.
Control Board
- Figure 1
SW1
SW2
ON
Dip
SW3
1
2
3
4
1
2
3
4
Switch
Figure 1
inset
ON
4
2
3
1
4
1
2
3
Dip Switch
Position #4
Tankless Water Heater EZ-Link™ System
Installation Instructions
Connector
EZ-Link™
LED
Cable clamp
and screw
The EZ-Link™ System is designed for use with the following models:
RTG2-42PV
RTG-53 PV/X/DV
RUTG2-42PV RUTG-53 PV/X/DV
RMTG2-42PV RMTG-53 PV/X/DV
PTG2-42PV
PTG-53 PV/X/DV
It is very important that all persons who are expected to install, oper-
ate or adjust this EZ-Link™ system and/or water heater read these
instructions along with those instructions provided with the tankless
water heater.
Recognize this symbol as an indication of Important Safety
!
Information!
Refer to the Use and Care Manual provided with your tankless
water heater for the proper installation procedures.
3.
Plug the cable into the connector marked "F" in the upper
right-hand corner of the Control Board (see Figure 1). The
connector will only fit one way. Press until the connector
snaps into place.
4.
Secure the EZ-Link™ cable with the clamp and screw
provided to the bottom right of the Control Board (see
Figure 1).
5.
Change the #4 Dip Switch setting to the "ON" position
(see Figure 1 inset) on that water heater.
6.
Pass the other end of the EZ-Link™ cable through a
grommeted hole in the bottom of the second water heater.
7.
Plug the cable into the connector marked "F" in the upper
right-hand corner of the Control Board (see Figure 1). The
connector will only fit one way. Press until the connector
snaps into place.
8.
Secure the EZ-Link™ cable with the clamp and screw
provided to the bottom of the Control Board (see Figure 1).
9.
Change the #4 Dip Switch setting to the "ON" position
(see Figure 1 inset) on that water heater.
10.
Attach the front cover on each unit, and turn on the power,
"F"
gas, and water.
11.
Test the units by turning on a tub or shower fixture.
Cable
Notice:
The EZ-Link™ System is designed to electronically
control two tankless water heaters operating as one.
Depending upon the hot water demand, one or both units may
be in operation. To test both units, increase the hot water flow
by turning on more than one hot water appliance or fixture.
1
RTG-74 PV/X/DV-1
RUTG-74 PV/X/DV -1
RMTG-74 PV/X/DV -1
PTG-74 PV/X/DV -1
31-51791
(06/06) AP14029
Advertisement

Related Manuals for Rheem EZ-Link System


Summary of Contents for Rheem EZ-Link System
- Page 1 Tankless Water Heater EZ-Link™ System Installation Instructions The EZ-Link™ System is designed for use with the following models: RTG2-42PV RTG-53 PV/X/DV RTG-74 PV/X/DV-1 RUTG2-42PV RUTG-53 PV/X/DV RUTG-74 PV/X/DV -1 RMTG2-42PV RMTG-53 PV/X/DV RMTG-74 PV/X/DV -1 PTG2-42PV PTG-53 PV/X/DV PTG-74 PV/X/DV -1 It is very important that all persons who are expected to install, oper- ate or adjust this EZ-Link™...
- Page 2 Typical Two Unit Manifold - Figure 2 While the LED on the Control Board and the “dash” on the Remote Control Thermostat are blinking, push and Review the Use and Care Manual provided with the water hold the “SW2” button (see Figure 3) for three seconds. heater for complete information and installation instructions.
Need help?
Do you have a question about the EZ-Link System and is the answer not in the manual?
Questions and answers