Table of Contents
Advertisement
Quick Links
Advertisement
Table of Contents

Related Manuals for POWEROLOGY PUSHDLP


Summary of Contents for POWEROLOGY PUSHDLP
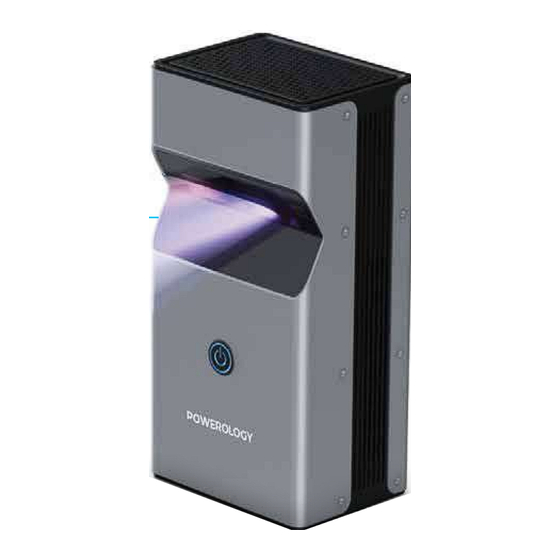
- Page 1 Powerology 4K Ultra Short Throw DLP Projector 2+16GB SKU: PUSHDLP...
-
Page 2: Table Of Contents
Table of Contents Disclaimer General Precautions Usage Safety Precautions Maintenance Precautions Abnormal Function Disposal Notes Package Contents Product Overview Remote Control Overview Operation Instructions 1. Voice Control Feature 2. Power ON 3. Focus 4. Power OFF Image Input Options A. Input with HDMI Cable B. -
Page 4: Disclaimer
Before installing and using the product, please carefully read this User Manual to guarantee correct usage and keep it secure for future reference. Disclaimer The company is not liable for any damage resulting from fire, earthquakes, other natural disasters, third-party actions, accidents, intentional or negligent conduct by guests, misuse, or usage not recommended by the company. -
Page 5: Usage Safety Precautions
Use only the accessories, AC adapters, and power cords specified for this product to avoid malfunction, electric shock, or fire. Ensure the power cord and AC adapter are connected directly and securely to a wall socket or connector within the specified voltage range (100V to 240V). - Page 6 contact authorized service professionals for further assistance. If the product is damaged, turn off the power and unplug the AC adapter immediately to prevent risks of electric shock and fire. Do not insert or allow foreign objects such as metals and inflam- mables to enter the product through openings (vents, etc.).
-
Page 7: Maintenance Precautions
plug rather than the cable to prevent damage that could result in electric shock or fire. Notice: Avoid exposing the lens during use, as the strong light emitted can cause eye discomfort. Do not place heavy objects, such as iron blocks, on this product, as it may lead to malfunction or damage. -
Page 8: Abnormal Function
Notice: Please ensure the projector lens remains clean and free from dirt or scratches, as these can impair the quality of projection. If the lens becomes dirty, gently wipe it with a soft, dry cloth while the power is turned off. Abnormal Function Warning: Liquid and Foreign Objects: If water or metallic objects are detected... -
Page 9: Disposal Notes
Disposal Notes If the product is not in use for an extended period, please unplug the AC adapter from the outlet and store the device properly. This is necessary to prevent malfunction and reduce the risk of fire. This product is governed by the "Law on Disposal and Cleaning of Waste"... - Page 10 Cooling Vent Headphone Jack HDMI Interface Ensure the cooling vents are Allows for private listening Use an HDMI cable to connect not blocked during use to via headphones. to HDMI-compatible devices. prevent overheating. USB Interface Power Interface Supports connection of exte- Connect the DC plug of the rnal media, such as USB included power adapter...
-
Page 11: Remote Control Overview
Remote Control Overview Power Switch Button Mute button Press to mute the audio of Press and hold to turn the the currently playing video power on or off. or music. Directional Buttons Return Key OK Button Use this button to return to the previous page. - Page 12 Press the voice control button on the remote control to access the corresponding screen. Follow the method shown on the right side of the screen. Press and hold the button for 5-3 seconds until the indicator light of the remote control begins to flash.
- Page 13 Note: Extra Function: Once the pairing is successful, the remote control ※ enters Bluetooth mode. This allows you to control the projector within the Bluetooth signal's range without needing to directly aim at the screen. Sign In After a successful pairing and connection, pressing the voice control button for the first time will direct you to a login page.
-
Page 14: Power On
Power ON Press and hold the power switch button for approximately 5 to 10 seconds. After this, the main page will be displayed. Focus After pressing the focus button on the remote control, a screen will appear allowing you to manually adjust the focus. You can either hold the focus button for continuous adjustment or click to fine-tune the focus incrementally. -
Page 15: Power Off
Power OFF Method 1: After pressing the power button, the "Power off" option will appear on the right side of the projection screen. To turn off the power, select this option using the "OK" button on the remote control. Method 2: Long press the power button to turn off the power directly. -
Page 16: Input With Hdmi Cable
Input with HDMI Cable HDMI Cable Connection Connect one end of the HDMI cable to the projector and the other end to the corresponding device. HDMI Compatible Devices Set to HDMI Insert Mode On the projector's home page, press the up button on the arrow keys twice to display a dropdown menu at the top of the screen. -
Page 17: Input Via Smart Device
Input via Smart Device Wi-Fi Connection To project the screen of a smart device, such as a smartphone or tablet, onto this product, both the product and the smart device must be connected to the same Wi-Fi network. To connect this product to Wi-Fi, follow these steps: Projector Homepage >... - Page 18 The smart device should also confirm its connection to the Wi-Fi ※ network mentioned above. Note: ※ For information on the network name and password, please refer to the instruction manual of the Wi-Fi router and the device description. For details on the Wi-Fi connection method for smart devices such as smartphones and tablets, please consult the instruction manual of the smart device.
- Page 19 On an Android phone, swipe down from the top of the screen to access the quick settings panel. Keep swiping down to unveil all icons, then tap the "Screen Sharing" icon. A dialog box for "Screen Sharing" appears. Choose the "Device Name" shown in the lower-left corner of the product.
- Page 20 Select the projector named 'EShare-xxxx' from the list. After a short period, this device will mirror and project the screen of your mobile phone. Using EShareServer app From the dropdown menu at the top of the projector's homepage, select the 'Eshare' application. The following screen will appear. You can scan the QR code displayed on the screen with your smartphone, or visit the URL provided.
-
Page 21: Input Via External Media Device
If you select "Share Screen ," a confirmation page will appear. Then, select "Start Broadcast" . After a few seconds, the phone screen will be projected onto the projection screen. Input via external media device C.1. Connecting external media Connect the USB storage device to the projector. - Page 22 C.2. Open [File] On the home page of the projector, navigate by pressing the down arrow key until you reach the menu bar at the bottom. Then, choose and open "My File" located on the far right. The connected media's name will be listed, and upon selection, the folder containing the content will be displayed.
-
Page 23: Multi-Device Connection
Multi-device Connection This product is capable of connecting to external devices such as speakers, keyboards, mice, and more. The connection methods include USB and Bluetooth wireless connections. Note: Keyboards and mice can be used directly by plugging them into the USB port. USB Connection Connect external devices to the product's USB port. - Page 24 Toggle the switch located in the upper left corner of the screen to "ON" to activate pairing mode for the external device you are using. The device name will then appear in the list of available devices. Select the desired device from the list. Once the connection is established, the device name will appear in the paired device list.
-
Page 25: Specifications
Specifications Projection Technology DLP 0.23 inch DMD Display Chip RGB LED OSRAM Q6 Light Luminance 350 ANSI Lumens Standard Resolution 1920×1080P (Full HD) Projection Distance 0.26 M~1.2 M Projection Area 30-200 inch Light Life Up to 20,000 hours Contrast 500:1 Throw Ratio 0.26:1 Distortion... -
Page 26: Faq
Can the device be put on a tripod? Yes, other tripods can be used as the projector bracket hole matches the standard camera bracket size (compatible with 1/4 inch screws). How do I set up invert and rotate the display? Select your desired display method from the projector's "Settings ->... - Page 27 Can other chargers be used? As long as the output voltage is 19V, the charger can be used. Note: The output voltage cannot be higher than 19V, otherwise, it is easy to burn out the projector. And it cannot be lower than 19V, and the output current cannot be lower than 4.73A, otherwise, the voltage and current are too low and the projector cannot be started.
-
Page 28: Warranty
Warranty Products that you buy directly from our Powerology website or shop come with a 24-month warranty. The 24-month warranty applies to products purchased directly from our Powerology website or store. If Powerology products are bought from any of our verified retailers, then the product is eligible for only a 12-month warranty.
Need help?
Do you have a question about the PUSHDLP and is the answer not in the manual?
Questions and answers