Table of Contents
Advertisement
Quick Links
Advertisement
Table of Contents

Related Manuals for Finlux ROBOT PRO-888 WIFI


Summary of Contents for Finlux ROBOT PRO-888 WIFI
- Page 1 User Guide ROBOT PRO- 888 WIFI Intelligent Fully Automatic Floor Vacuum Robot...
- Page 2 Welcome Dear Users: Thank you for purchasing this robot vacuum cleaner. Hope you can enjoy it. Please read this guide and safety instruction(Page 2) carefully before using this robot and keep it for further reference. Thank again for your choice. Download “Smart Life”...
-
Page 3: Table Of Contents
Content 1 .Safety Instruction 2.Product Overview 2.1 Accessories List 2.2 Basic Parameter 2.3 Product Introduction 3.Operation 3.1 Quick operation 3.2 Modes selection 3.3 Operation of Water Tank and Mop 4.Maintenance 4.1 Clean Dust Bin and Filter 4.2 Clean Components of Mop 4.3 Check and Clean up Side Brush 4.4 Driving Wheel Checking 4.5 Other Components... -
Page 4: Safety Information
01 Safety Information Warnings The product should not be used by children under 8 years of age or persons with mental disabilities. If those people need to use it, please use it under the supervision. Please do not let children ride on the product or play with the product as a toy. For the problems that may occur in the cleaning process, it should be eliminated in time. - Page 5 01 Safety Information It is prohibited to wipe the product with a mop. It is prohibited to use the product on the ground with water. 1 1. It is prohibited to use the product in an environment with spark or fragile objects. It is prohibited to use the product in extremely hot (above 40°C) or extremely cold (below -5°C) environments.
- Page 6 01 Safety Information Before using the product, please make sure that the dustbin 2 1. Do not use the product in the room where the baby is sleeping. Do not charge from a damaged power cord or outlet. Do not use the product when it does not work properly due to drop, damage, the product should be repaired by the manufacturer or its after-sales service.
-
Page 7: Product Overview
02 Product Overview 2.1 Accessories List Robot Vaccum Cleaner Filter Side Brush Docking Station Cleaning Brush Adapter User Guide... -
Page 8: Basic Parameter
02 Product Overview 2.2 Basic Parameter Robot Vaccum Cleaner Dimensions 335x335x94mm Item Weight 3.0kg 14.8V Working Voltage Rated Power Battery Li-thium 3200 mAh Docking Station K12V190060G Adapter Model K12V190060C K12V190060U Input 100-240V 0.35A Max 50/60Hz Output 0.6A Cautions: notice. -
Page 9: Product Introduction
02 Product Overview 2.3 Product Introduction On/Off Recharging Product Buttons Operation Function Information Press and hold for Power off Power on 3 seconds Short press Start Cleaning On/Off one time /Stop Cleaning Power on Press and hold for Power off 3 seconds Short press Automatical... -
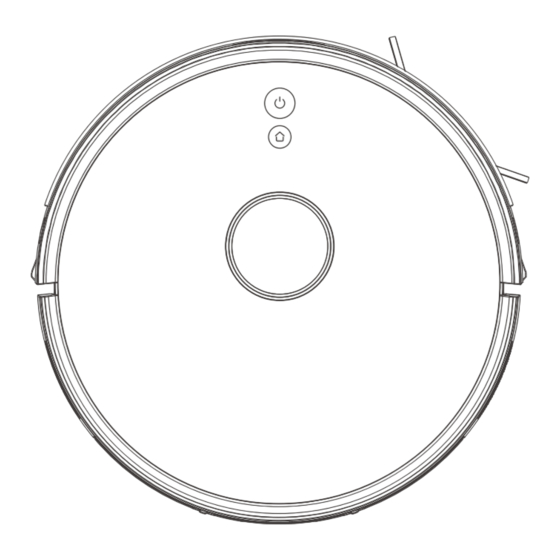
Page 10: Name Of Parts
02 Product Overview Name of parts Docking Sensor Universal Wheel Side Brush Battery Cover Driving Wheel Roller Brush 2 in 1 Water Tank On/Off Recharging Bumper Strip Laser LiDAR Water Tank Button Water Tank Cleaning Scraper... - Page 11 02 Product Overview Mop Holder 2 in 1 Water Tank Cautions: of obstacle crossing and climbing. Docking Station Adapter Port Indicator Light Adapter Charging Connector...
-
Page 12: Operation
03 Operation 3.1 Quick operation Charging Connect the adapter and docking station. Put the docking station onto the ground against the wall and remove all objects around the station (1 meter radius, Connect Power Supply. Cautions: The top indicator light of the docking station turns on and last all the time after the docking station connected the adapter. - Page 13 03 Operation Cautions: Please keep cleaning of the charging connector to keep the best performance. Please place the robot onto docking station, and ensure the docking station plug in power supply. If the robot will not be used for a long time, please charge it fully. Press and hold the on/off button for 3 seconds to power off and keep it in a dry and ventilated place.
-
Page 14: Cleaning Mode
03 Operation Cleaning Mode Power the robot on, and then short press the on/off button , the robot get started with auto cleaning mode. Cautions: Before starting cleaning, ensure the indicator light of on/off button in green is on all the time. If the robot is sleeping, please short press on/off button to wake it up. -
Page 15: Modes Selection
03 Operation Pause Press on/off button or tap the “Pause” by APP to pause the robot during working. Cautions: If there is no operation for 10 min, the robot will turn into sleep mode. After waking up, it will re-plan the route for cleaned area, and cannot continue to the last cleaning route. - Page 16 03 Operation Cautions: The robot has auto plan route function during working. If user moves the robot or operate via APP (except for pausing), it will re-plan the route, and may clean the area already cleaned again. during working (If the robot is moved, it will alarm and stop working, you need to press the on/off button or operate via APP to restart working).
-
Page 17: Operation Of Water Tank And Mop
03 Operation 3.3 Operation of Water Tank and Mop water tank with water and intall the mop, and then start to mop how to maintain it. Cautions: It is prohibited to use the mop on carpet. Please keep away the mop from the robot during charging. Disassemble the 2 in 1 Fill the Water Tank water tank... -
Page 18: Maintenance
04 Maintenance 4.1 Clean Dust Bin and Filter Please power the robot off and keep it away from power supply when you clean up the robot or other components. Disassemble the 2 in 1 water tank, open the cover of dust bag, take out the trash, and then clean it up. -
Page 19: Clean Components Of Mop
04 Maintenance 4.2 Clean Components of Mop Clean up mop Disassemble:remove out the M a i n t e n a n c e: w a s h a n d whole component of mop from hang the mop out. the robot, and disassemble the mop. -
Page 20: Check And Clean Up Side Brush
04 Maintenance 4.3 Check and Clean up Side Brush Power the robot off and then remove out the side brush. Clean it with a tool. 4.4 Driving Wheel Checking Please power the robot off and then clean the driving wheel. -
Page 21: Other Components
04 Maintenance 4.5 Other Components Clean universal wheel. Cleaning of sensor.Keep the Clean the tangled hair. sensor work at its most sen- sitive situation. Clean charging conenctor, please clean the bottom of robot and charging connector of dock station with dry mop. Cautions: If the robot will not be used for a long time or discharge fully. -
Page 22: Important Notices
04 Maintenance 4.6 Important Notices Due to the complexity of the environment, the robot may miss out a cleaning area, in order to get a better experience, it is rec- ommended that you insist on using every day, and remove all objects before cleaning. - Page 23 04 Maintenance Re m ove o r cove r th e we i g ht doors, so that the robot is able to base, and other low objects that d e t e c t t h e w h o l e h o u s e a n d m a y a f fe ct o p e ra ti o n of th e create a map.
-
Page 24: After-Sales Service
05 After-sales Service Dear Users: In order to you can get the best after-sales service, please keep the purchase invoice properly, and it is repruired for any service request. Notes for after-sales service Guarantee Period Series Warranty Coverage Guarantee Period Main Components 1 year Accessory Guarantee Time...
Need help?
Do you have a question about the ROBOT PRO-888 WIFI and is the answer not in the manual?
Questions and answers