Table of Contents
Advertisement
Quick Links
WARNING
Improper installation, adjustment, alteration,
service or maintenance can cause property
damage, injury or death. Read the installation,
operating and maintenance instructions
thoroughly before installing or servicing this
equipment.
IMPORTANT
The use of this manual is specifically intended
for a qualified installation and service agency. A
qualified installation and service agency must
perform all installation and service of these
appliances.
General Information
Installation and service instructions in this manual are
applicable to model HHD, low profile hot water unit heaters,
which should be installed in their proper applications for their
most effective function as heating units.
The water coils are warranted for operation at water pressures
up to 150 psi and temperatures up to 200° F.
Motors are designed for continuous duty. They can operate in
a maximum ambient temperature of 104° F (40° C).
The unit heaters are listed by ETL as certified. Units not
approved for use in potable water systems.
PLEASE BE SURE TO LEAVE IT WITH THE OWNER WHEN YOU LEAVE THE JOB.
INSTALLATION AND SERVICE MANUAL
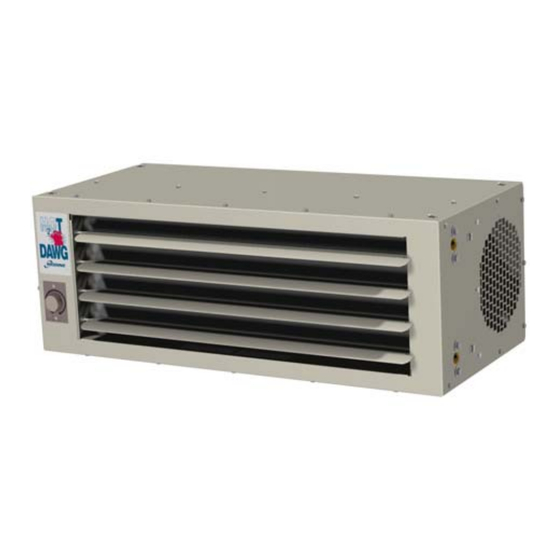
HOT DAWG H
THIS MANUAL IS THE PROPERTY OF THE OWNER.
®
O
- Low Profile Hot Water Unit Heater
2
Table of Contents
General Information...........................................
Inspection on Arrival...........................................
Special Precautions............................................
SI (Metric) Conversion Factors..............................
Unit Location................................................
Unit Mounting...............................................
Hot Water Piping...........................................
Electrical Connections....................................
Prior to Operation..........................................
Initial Start-Up...............................................
Typical Sequence of Operation........................
Troubleshooting............................................
Blower Removal Instructions............................
Unit Data
Dimensions..................................................
Electrical Data..............................................
Mechanical Data...........................................
Performance Data..........................................
Maintenance/Replacement Parts...........................
Inspection upon Arrival
1.
Inspect unit upon arrival. In case of damage, report
immediately to transportation company and your local
factory sales representative.
2.
Check rating plate on unit to verify that the power supply
meets available electric power at the point of installation.
3.
Inspect unit received for conformance with description of
product ordered (including specifications where
applicable).
Note: Modine Manufacturing Company has a continuous
product improvement program, and therefore reserves the right
to change design and specifications without notice.
1-500.3
5H0815010000
April, 2018
Model HHD
1
1
2
2
3
4-5
6
6
7
7
7
7
8-10
11
11
11
12
13
Advertisement
Table of Contents

Related Manuals for Modine Manufacturing HHD Series


Summary of Contents for Modine Manufacturing HHD Series
-
Page 1: Table Of Contents
Motors are designed for continuous duty. They can operate in a maximum ambient temperature of 104° F (40° C). Note: Modine Manufacturing Company has a continuous product improvement program, and therefore reserves the right The unit heaters are listed by ETL as certified. Units not to change design and specifications without notice. -
Page 2: Special Precautions
Table 7.1, refer to the complete replacement parts list may be obtained by applicable sections of the manual. contacting Modine Manufacturing Company. Refer to the rating plate on the unit for complete model and serial Table 2.1 – SI (Metric) Conversion Factors number and Company address. -
Page 3: Installation Unit Location
INSTALLATION – UNIT LOCATION the unit can be flipped 180° from the way it was received DANGER from the factory. By doing so, the sides become opposite but the front and back remain in the same relative position. The bottom panel now becomes the top panel and vice- versa. -
Page 4: Unit Mounting
INSTALLATION – UNIT MOUNTING With the brackets installed on the unit, the unit can be CAUTION installed to the ceiling joists or trusses as follows (refer to Figure 5.2): The bracket mounting hole locations accommodate joists on 16" centerlines. Do not install units below 7' measured from the bottom of the ... - Page 5 START UP PROCEDURE / TROUBLESHOOTING Figure 5.1 Figure 5.2 Bracket Installation for Vertical Air Delivery Model HHD Mounting Orientations Bracket Orientation for 10” or 12” Deep Joists 16" O.C. 16" O.C. For 10” or 12” Deep Joists 11.98 Speed Control (Model Size 45 Only) ...
-
Page 6: Hot Water Piping
INSTALLATION – HOT WATER PIPING / ELECTRICAL CONNECTIONS HOT WATER PIPING ELECTRICAL CONNECTIONS CAUTION WARNING Units are designed for use in heating applications with Disconnect power supply before making wiring ambient temperatures between 40° F and 100° F. connections to prevent electrical shock and Heaters should not be used in applications where the equipment damage. -
Page 7: Start-Up Procedure
INSTALLATION – HOT WATER PIPING / ELECTRICAL CONNECTIONS START-UP PROCEDURE INITIAL START-UP Set thermostat to lowest position. IMPORTANT Turn on power supply to unit. Open field installed supply and return shut-off valves. Raise thermostat setting to desired position. Start-up and adjustment procedures should be Check for correct fan operation, no excessive noise or performed by a qualified service agency. -
Page 8: Blower Removal Instructions
START UP PROCEDURE / TROUBLESHOOTING Figure 8.1 Remove sheet metal screws, Size #10 X 1/2", Qty-4 From the Access Panel as shown in Fig 8.1 Figure 8.2 Remove the tilted Access Panel by moving it towards back by 1” as shown in Fig 8.2 1-500.3... - Page 9 START UP PROCEDURE / TROUBLESHOOTING Figure 9.1 Remove the 2 inside screws, Size #10 X 1/2", Qty-2 from Fan Board Assembly as shown in Fig 9.1 Steps 1 to 3 needs to be repeated on the Control Panel Side. Figure 9.2 Remove Plug to separate Motor &...
- Page 10 START UP PROCEDURE / TROUBLESHOOTING Figure 10.1 Now the Fan Board Assembly will slide out from either side of the casing as shown in fig 10.1. Caution: - Weight of Fan Board Assembly is approximately 27 lbs. 1-500.3...
-
Page 11: Dimensions
Figure 11.1 – Dimensions (inches) Note: Mounting point spacing on brackets based on joist spacing 16” on-center. Table 8.1 – Unit Mechanical/Electrical Data Unit Size Coil High Capacity – 2 Row Face Area, ft 1.625 1.625 Standard Coil Connections ½ ” NPT ½... -
Page 12: Performance Data
PERFORMANCE DATA Table 9.1 – Performance Data Entering Water Temperature (60°F Entering Air Temperature) 120°F 140°F 160°F 180°F 200°F Model Airflow Size (ft. Water) Btu/Hr Btu/Hr Btu/Hr Btu/Hr Btu/Hr 11,900 15,800 19,800 23,700 27,700 15,500 20,600 25,800 30,900 36,100 (High 17,200 22,900... -
Page 13: Maintenance/Replacement Parts
A complete Figure 10.2). replacement parts list may be obtained by contacting Modine Manufacturing Company. Refer to the rating plate When a component part fails, a replacement part should be on the unit for complete model and serial number and obtained through our Parts Department. - Page 14 THIS PAGE INTENTIONALLY LEFT BLANK...
- Page 15 THIS PAGE INTENTIONALLY LEFT BLANK 1-500.3...
- Page 16 ONE YEAR FROM DATE OF RESALE BY BUYER IN ANY UNCHANGED CONDITION, OR WITHIN High Intensity Infrared Units EIGHTEEN MONTHS FROM DATE OF SHIPMENT FROM SELLER, WHICHEVER OCCURS FIRST Sheet Metal Parts All Products Modine Manufacturing Company 1500 DeKoven Avenue Racine, WI 53403 Phone: 1.800.828.4328 (HEAT) www.modine.com Modine Manufacturing Company 2018...
Need help?
Do you have a question about the HHD Series and is the answer not in the manual?
Questions and answers