Table of Contents
Advertisement
Quick Links
Advertisement
Table of Contents

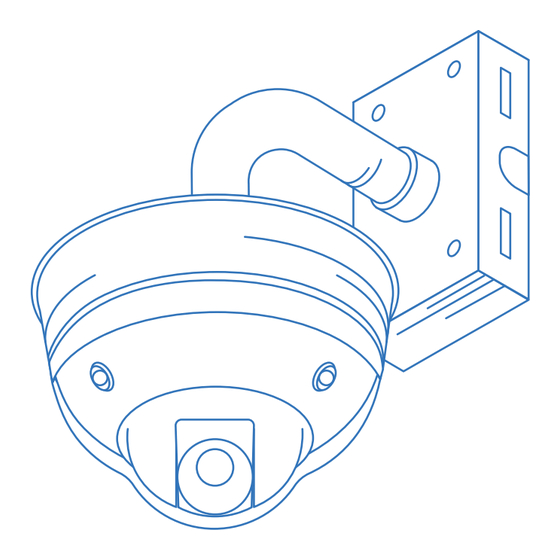
Summary of Contents for TRUELOOK Interior Multi-Camera
- Page 1 Interior Multi-Camera Installation Manual...
- Page 2 Getting Started Assembled Unit Tripod not included.
-
Page 3: Online Resources
Getting Started Unlimited Support If you have any questions or issues with your TrueLook system, please don’t hesitate to contact our Customer Support team. Phone 833-878-3566 (Option 2) Email support@truelook.com You can also submit a support request online at: support.truelook.com/contact-support... -
Page 4: Hardware Packing List
Getting Started Hardware Packing List Camera and Pendant Mount [1x] 40” Steel Straps [2x] 20’ 110V Power Cord [1x] Assorted Hardware Zip Ties [4x]... - Page 5 Getting Started Tripod Mount Kit [1x] Only included with tripod order. Tripod [1x] Bolts [6x] Square Nuts [6x] Hex Nuts [6x] Ceiling Mount Kit [1x] Only included with ceiling mount order.
-
Page 6: Preparing For Installation
Getting Started Preparing for Installation Warning: A correctly assembled interior camera will have a gap around the top rim. Do not attempt to close or otherwise tamper with the gap. Determine Mounting Hardware Wall Mounting Your mounting kit does not include hardware for wall mounting. Choose appropriate mounting hardware for your surface. -
Page 7: Pole Mounting
Installation Pole Mounting Step 1 Thread steel straps through top and bottom of pendant mount. Step 2 Tighten each strap around pole using a drill with a 5/16 hex head driver bit (not included). - Page 8 Installation Step 3 Trim steel straps to desired length using tin snips (not included).
-
Page 9: Wall Mounting
Installation Wall Mounting Step 1 Using chosen hardware (see “Preparing for Installation” section), secure pendant mount to wall. -
Page 10: Tripod Mounting
Installation Tripod Mounting Step 1 Extend legs of tripod and remove protective wrapping. Step 2 Thread hex nut onto bolt, then hand thread hardware into upper center circle of tripod. Thread square nut onto bolt end on inside of circle. Step 3 Repeat step 2 with other two sets of hardware, then repeat with lower center circle. - Page 11 Installation Step 7 Tighten bolts to clamp down on pole evenly using a ½” wrench or socket (not included). Step 8 Move tripod to desired area and secure feet. Warning: It is your responsibility to secure the tripod properly to ensure it does not fall over. We suggest securing the feet to the floor or a pallet with lag bolts (not included) or weighing them down with ballast material like sandbags or cinder blocks.
-
Page 12: Powering The System
Powering Powering the System Step 1 Locate yellow connector port on top of camera. Step 2 Align notches and plug end of 110V cable into port. - Page 13 Powering Step 3 Gently hand tighten silver collar to secure cable end into input. Step 4 Plug other end of 110V cable into power outlet. Cable end will light up green when supplied with power.
- Page 14 Powering Step 5 Remove protective covering from camera. Your camera will be online and ready to use within 10 minutes. Optional: Secure power box on 110V cable to pole using zip ties (included) or to wall using appropriate hardware for your surface.
-
Page 15: Verifying Camera Operation
Then, use the link on the back of the manual to view the camera and verify its functionality. If you don’t see the camera in the TrueLook Platform, contact Customer Support for assistance. Maintenance Tips Camera is interior use only. -
Page 16: Troubleshooting
Final Setup Troubleshooting Camera Not Operating Properly Check that the power cable connector is securely fastened into input. Check that the power source is supplying power. The power cable end will light up green when power is supplied. If your system is still not functioning properly, please contact Customer Support for further assistance. - Page 17 For the most efficient response from our team, include the following in your email: Company name Project name Contact person for installation issues The following photographs: A. Your whole TrueLook solution: the camera, what it’s mounted to, and any accessories B. Close-ups of mounting C. Close-ups of connections...
- Page 18 Notes...
- Page 19 Notes...
-
Page 20: Accessing Your Camera
Accessing Your Camera © TrueLook Construction Cameras MAN100623 Manual - Interior Multi-Camera Manual TRU 24019-09 D5...


Need help?
Do you have a question about the Interior Multi-Camera and is the answer not in the manual?
Questions and answers