
Related Manuals for Kind E-3000

Summary of Contents for Kind E-3000
- Page 1 Installation Manual E-3000/E-3000 UV Whole House Filter & Water Softener Alternative Combo KIND WATER kindwater.com Have questions? Call us: 888-614-5559 EDUCATION E-3000-REV-B-JY24...
-
Page 2: Product Specifications
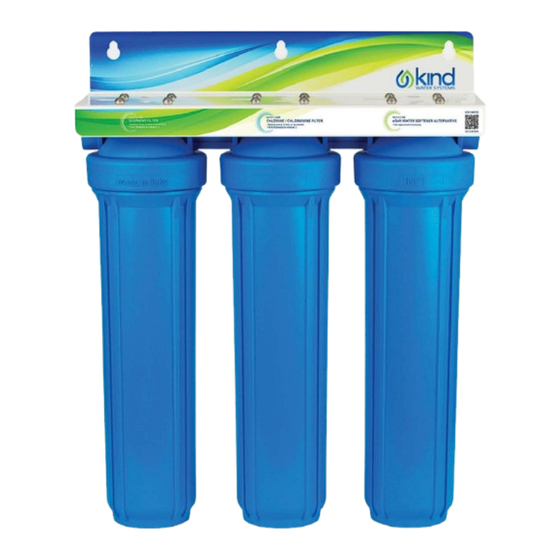
Product Specifications Congratulations your purchase of the Kind Water Systems E-3000/E-3000 UV Salt-Free Water Filtration-Certified Descaler Combo! Please visit kindwater.com/educationcenter if you have any questions about your system. Our friendly water filtration specialists are also available by calling 888-614-5559 during normal business hours! Kind E-3000 Dimensions 29”... -
Page 3: Items Included
Plumbing a shutoff valve prior to system and a bypass is recommended, see Typical Installation Diagram Note: If you purchased the E-3000 UV system, please skip ahead to page 3 of the UV Quick Reference Guide for installation instructions. Slowly turn on the main water supply to fill housings. - Page 4 WARNING! WARNING! DO NOT OVERTIGHTEN DO NOT OVERTIGHTEN FITTINGS INTO MANIFOLD! FITTINGS INTO MANIFOLD! • Per the manual (page 3), we recommend using Teflon tape and thread sealant (we recommend Rectorseal TRU-BLU). • Overtightening can cause the manifold to split, rendering it useless. Note that fittings do not need to be fully seated into the manifold when using tape and sealant.
- Page 5 Typical Installations - E-3000 Option #1 Bypass (Optional) Shutoff Valves WATER FLOW OUTLET Sediment Filter Chlorine / Chloramine Filter Optional eSoft Cartridge Hose Spigots ® Option #2 Shutoff Valves SedimentFilter Chlorine / Chloramine Filter eSoft Cartridge ® Optional Hose Spigots...
- Page 6 Typical Installations - E-3000 UV Option #1 Bypass (Optional) Shutoff Valves WATER FLOW OUTLET Sediment Filter Chlorine / Chloramine Filter UV System eSoft Cartridge Optional ® Hose Spigots Option #2 UV System Shutoff Valves Sediment Filter Chlorine / Chloramine Filter...
-
Page 7: Regular Maintenance
Note: Depending on water quality The eSoft cartridge will not need to be replaced. ® Join our convenient Kind AutoShip program at kindwater.com/autoship. Product Numbers: E-100 R / E-200R Filter Replacement Turn off main water supply. Open the nearest cold water faucet and leave open. -
Page 8: Warranty Information
Warranty Information Visit kindwater.com/store-policy for all up to date warranty information. Warranty Registrations All Kind Water Systems are automatically registered for full warranty upon checkout. There is no additional action needed by the consumer. 888-614-5559 480 Fentress Blvd. Suite F, Daytona Beach, FL 32114... - Page 9 UV Quick Reference Guide KINDC5-151 UV Water Purification System kindwater.com Have questions? Call us: 888-614-5559...
- Page 10 Assembly Unpack the system and ensure all the components are included with the system. Your system is shipped with the following components: LAMP KEY GLAND NUT CONTROLLER O-RING UV LAMP SLEEVE SPRING QUARTZ SLEEVE CHAMBER POWER CORD...
-
Page 11: Installation
Caution: Be sure to use metal connections on the inlet/outlet of the to facilitate UV chamber lamp and sleeve removal Figure 2a. Install chamber into clamps Figure 2b. Install chamber into clamps Note: Installation of your Kind Water Systems UV Disinfection System shall comply with applicable provincial/state & local regulations. - Page 12 Installation Step 4: Once the system has been plumbed in, gently remove the quartz sleeve from its packaging being careful not to touch the length with your hands. The use of cotton gloves is recommended for this procedure as oils from the hands can leave residue on the sleeve and lamp which can ultimately block the UV light from getting to the water.
- Page 13 Installation Step 8: Always hold UV lamps by their ceramic ends, not by the lamp quartz. Remove the lamp from its packaging. Again, the use of cotton gloves is recommended. Remove the lamp key from the lamp’s connector and set it aside for the next step. Be careful to not touch the key’s exposed contacts.
Need help?
Do you have a question about the E-3000 and is the answer not in the manual?
Questions and answers
Why use metal connectors at UV connections?