Advertisement
CM40FS
Network eyeball cameras
INSTALLATION GUIDE
Rev.100
Inim Electronics S.r.l.
ISO 9001 Quality Management
certified by BSI with certificate number FM530352
Via dei Lavoratori 10, Centobuchi
63076 Monteprandone (AP) - Italy
Tel. +39 0735 705007_Fax +39 0735 704912
info@inim.it
_www.inim.it
DCMIINE0CM40FS-100-20240508
Advertisement
Table of Contents

Related Manuals for INIM InVista CM40FS


Summary of Contents for INIM InVista CM40FS
- Page 1 CM40FS Network eyeball cameras INSTALLATION GUIDE Rev.100 Inim Electronics S.r.l. ISO 9001 Quality Management certified by BSI with certificate number FM530352 Via dei Lavoratori 10, Centobuchi 63076 Monteprandone (AP) - Italy Tel. +39 0735 705007_Fax +39 0735 704912 info@inim.it _www.inim.it...
- Page 2 Waterproof Requirements Please waterproof cables in accordance with the following instructions. User shall assume all responsibility for device damage caused by water due to improper waterproof measures. NOTE! • Before you start, connect all the needed cables and cut off the copper wires for the cables that you don't use.
-
Page 3: Packing List
DC interface Plug 5. (Optional) After the waterproof treatment is completed, put the cables into a waterproof junction box (purchased separately). CAUTION! • The cable connector must not be exposed and must be kept away from water. • Restore and fasten the device after dismounting. •... - Page 4 abnormally. If it is required to lengthen the power cable, lengthen the cable between the power adapter and the mains. Do not overbend or drag cables during installation; otherwise, poor cable contact may cause malfunction. When connecting to an external interface, use an existing connection terminal, and ensure that the cable terminal (latch or clamp) is in good condition and properly fastened.
-
Page 5: Mount Your Camera
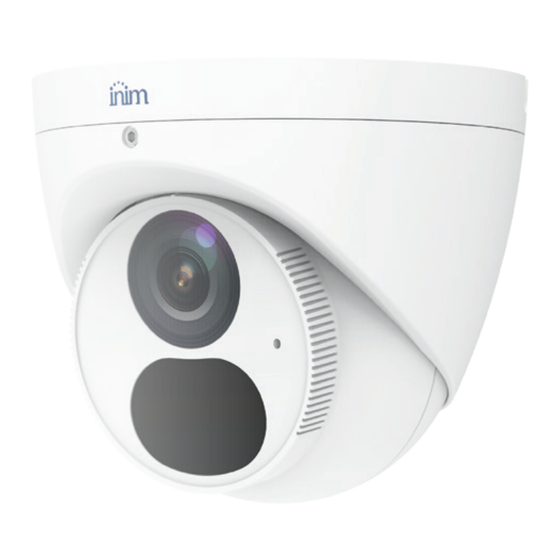
1. Bottom ring 2. Housing 3. Mic 4. Lens 5. Power interface(12 VDC) 6. Ethernet interface 7. (Optional) Alarm 8. (Optional) Audio Mount Your Camera (Optional) Insert Micro SD Card For cameras that support Micro SD, you need to insert the Micro SD card after opening the bottom cover of camera. -
Page 6: Access Your Camera
5. Adjust the monitoring direction. Adjust the monitoring direction, then tighten the screw. Type B 1. Attach the sticker to ceiling, Insert the plastic 2. Detach the housing from the base plate with anchors. the marks aligned. 3. Install the base plate and the camera. 4. - Page 7 NOTE! • DHCP is enabled by default. If a DHCP server is used in your network, your camera may be assigned an IP address, and you need to use the assigned IP address to log in. • You may need to install a plug-in at your first login. Please follow the on-screen instructions to complete the installation and then open the browser again to log in.
- Page 8 Disclaimer and Safety Warnings Copyright Statement No part of this manual may be copied, reproduced, translated or distributed in any form or by any means without prior consent in writing from our company (referred to as us hereafter). The product described in this manual may contain proprietary software owned by our company and its possible licensors.
- Page 9 interruption, loss of business information, or any special, direct, indirect, incidental, consequential, pecuniary, coverage, exemplary, subsidiary losses, however caused and on any theory of liability, whether in contract, strict liability or tort (including negligence or otherwise) in any way out of the use of the product, even if our company has been advised of the possibility of such damages (other than as may be required by applicable law in cases involving personal injury, incidental or subsidiary damage).
- Page 10 Store or use the device in a proper environment that meets environmental requirements, including and not limited to, temperature, humidity, dust, corrosive gases, electromagnetic radiation, etc. Make sure the device is securely installed or placed on a flat surface to prevent falling. ...
- Page 11 Regulatory Compliance FCC Statements This device complies with Part 15 of the FCC Rules. Operation is subject to the following two conditions: (1) this device may not cause harmful interference, and (2) this device must accept any interference received, including interference that may cause undesired operation. Caution: The user is cautioned that changes or modifications not expressly approved by the party responsible for compliance could void the user's authority to operate the equipment.
Need help?
Do you have a question about the InVista CM40FS and is the answer not in the manual?
Questions and answers