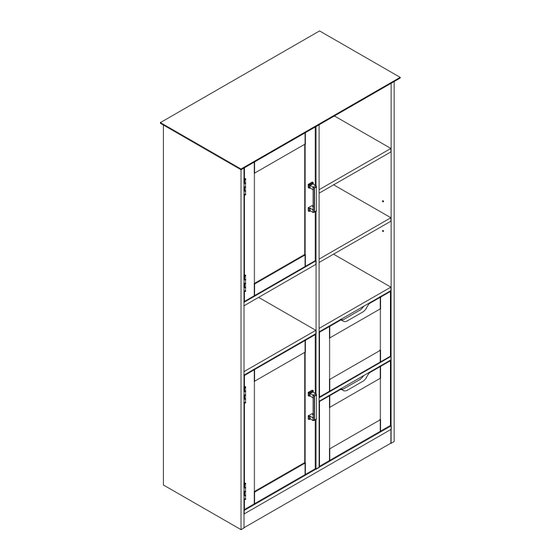
Summary of Contents for ZNTS WF530559AAK
- Page 1 BATHROOM CABINET WF530559AAK Assembly Instructions - Please keep for future reference Two people are required to assemble and move this model. Important – Please read these instructions fully before starting assembly...
- Page 2 Safety and Care Advice Important – Please read these instructions fully before starting assembly • To reduce the likelihood • Do not stand or apply weight to • Check you have all the of damage to your product, the product during assembly. components and tools listed on make sure your power drill This may cause damage.
- Page 3 Using Camlocks Step 2 Step 1 DO NOT OVER TIGHTEN. Connect the male Push the male camlock camlock as diected in into the entry hole. the assembly instructions using a scewdriver . Step 3 Step 4 Insert the femle Turn the female camlock camlock as shown in the clockwise with a instruction .
- Page 4 Assembly Instructions...
- Page 5 Part List : WF530559AAK 1 PCS 2 PCS 1 PCS 1 PCS 1 PCS 2 PCS 1 PCS 1 PCS 1 PCS 1 PCS 1 PCS 2 PCS 1 PCS 1 PCS 1 PCS 1 PCS 1 PCS 2 PCS...
- Page 6 Hardware list : WF530559AAK Please check you have all the panels listed below Note: The quantitie below are the correcet amount to complete the assembly. In some cases more fittings may be supplied than are required. Dowel (8x30) x 39...
- Page 7 Assembly Instructions Step 1 D x 2 Step 2 H x 8...
- Page 8 Assembly Instructions Step 3 180° A x 10 C x 4 Step 4 A x 16 C x 4...
- Page 9 Assembly Instructions Step 5 C x 16 J x 2 O x 1 Step 6 B x 6...
- Page 10 Assembly Instructions Step 7 B x 4 Step 8 A x 5 C x 11...
- Page 11 Assembly Instructions Step 9 E x 2 Q x 1 Step 10 B x 1...
- Page 12 Assembly Instructions Step 11 B x 4 Step 12...
- Page 13 Assembly Instructions Step 13 B x 9 Step 14 B x 7...
- Page 14 Assembly Instructions Step 15 Two people are required to assemble and move this model. Step 16 A x 6 J x 2 O x 1...
- Page 15 Assembly Instructions Step 17 B x 6 Step 18 I x 16 J x 16...
- Page 16 Assembly Instructions Step 19 A x 4 H x 4 O x 2 K x 1 Step 20 A x 8 C x 4...
- Page 17 Assembly Instructions Step 21 B x 8 G x 2 Step 22 B x 4 K x 1...
- Page 18 Assembly Instructions Step 23 F x 4 H x 24 Step 24 M x 4...
- Page 19 Assembly Instructions Step 25 A x 8 Step 26 B x 8...
- Page 20 Assembly Instructions Step 27 Step 28 P x 8...
- Page 21 Assembly Instructions Step 29 D x 2 H x 8 Step 30 N x 24...
- Page 22 Assembly Instructions Step 31 L x 2 DANGER - To prevent furniturefrom toppling attach, mount, boltor otherwise secure to walls andfloors. Do not put heavy items ontop shelves. Do not place unstablefurniture near where children play. An anchor kit suitable for plasterwalls is included with this item, if you require a different kit consultyour nearest hardware store.


Need help?
Do you have a question about the WF530559AAK and is the answer not in the manual?
Questions and answers