Advertisement
Quick Links
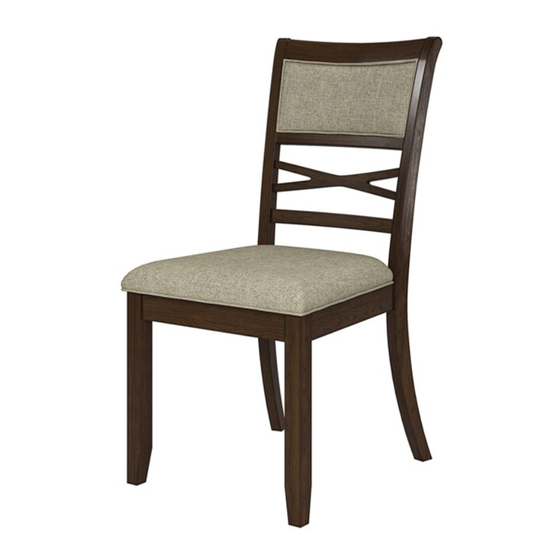
Thank you for purchasing the Dining Chair.
Please read the instructions and warnings carefully before use, to ensure safe and satisfactory
operation of this product. At HULALA home we are committed to making great products
possible. From our in-house Design Team, to our Buyers, we work together to bring great
designs to life. Our expert Product Technologists work collaboratively with our buyers and
suppliers to assure the legality, safety and quality of the product we sell. We are all committed to
designing and developing products to the highest industry standards. We hope you are happy
with your product and welcome any feedback or comments you may have.
ITEM NO. Z6DCJY0475
1
Advertisement

Related Manuals for HULALA HOME Z6DCJY0475


Summary of Contents for HULALA HOME Z6DCJY0475
- Page 1 Please read the instructions and warnings carefully before use, to ensure safe and satisfactory operation of this product. At HULALA home we are committed to making great products possible. From our in-house Design Team, to our Buyers, we work together to bring great designs to life.
-
Page 2: Explosive View
EXPLOSIVE VIEW Z6DCJY0475 Dining Chair... - Page 3 PARTS LIST Chair Back Seat Front Leg HARDWARE LIST 1/4" * 2-3/8"L 1/4" * 3-1/8"L 1/4" * 1-1/2"L Bolt Ø Bolt Ø Bolt Ø x 10 x 10 Flat Washer Allen Wrench Spring Washer Be sure to check all packing material carefully for small parts, which may have come loose inside the carton during shipment.
- Page 4 ASSEMBLY INSTRUCTION STEP 1 Don't tighten bolt until at step 3. Attach the Front Leg (C) to Seat Frame (B), use the Bolt (2), Spring Washer (4) and Flat Washer (5), tight Bolt (2) with Allen Wrench (6) as shown. STEP 2 Attach the Seat Frame (B) to Chair Back (A), use the Bolt (3), Spring Washer(4) and Flat Washer (5), tighten Bolt (3) by Allen Wrench (6).
- Page 5 STEP 3 Use Bolt (1), Spring Washer (4) and Flat Washer (5), tighten Bolt (1) by Allen Wrench (6) as shown. STEP 4 After installation, Please keep the chair balanced, tighten all bolt. Put upright the Chair, Now your dining chair is ready for use.
-
Page 6: Warranty
MAINTAINANCE AND WARNING · Keep furniture away from heat. · Do not clean furniture with harsh cleansers or polish. Do not use detergents, Solvents, abrasives, spray packs or leather cleaner. Use non-color mild soap with warm water clean spills(Mix 1:10 soap to water) ·...
Need help?
Do you have a question about the Z6DCJY0475 and is the answer not in the manual?
Questions and answers