Table of Contents
Advertisement
Quick Links
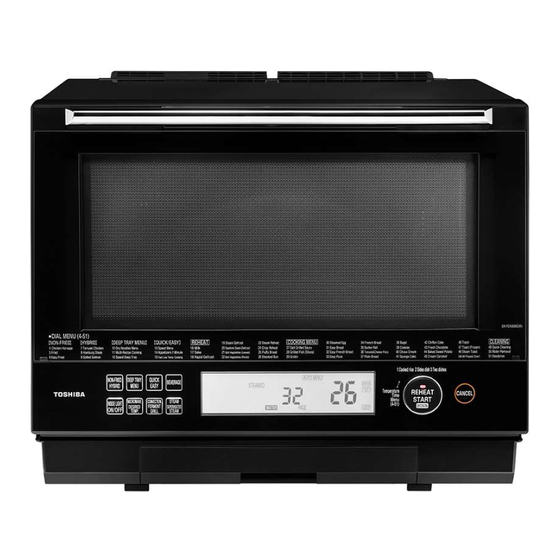
TOSHIBA SUPERHEATED STEAM OVEN
Instruction manual
Model name
ER-TD5000HK
ER-TD5000C
ER-TD5000SG
Thank you for purchasing Toshiba microwave oven with superheated steam oven.
In order to use the product safely, please read and understand all the instructions manual and Cooking book, before using the unit.
After reading, please keep the instruction manual handy.
Please ensure you obtain the warranty card for this product.
For Household Appliances
Advertisement
Table of Contents


Need help?
Do you have a question about the ER-TD5000C and is the answer not in the manual?
Questions and answers