
Related Manuals for DeLonghi DEN500P


Summary of Contents for DeLonghi DEN500P
- Page 1 This Owner's Manual is provided and hosted by Appliance Factory Parts. DELONGHI DEN500P Owner's Manual Shop genuine replacement parts for DELONGHI DEN500P Find Your DELONGHI Dehumidifier Parts - Select From 55 Models -------- Manual continues below --------...
- Page 2 I n t r o d u c t i o n a n d Wa r n i n g hank you for choosing this appliance. This Owner's Manual will provide you with valuable information necessary for the proper care and maintenance of your new appliance. If pro- perly maintained, your appliance will give you many years of trouble-free operation.
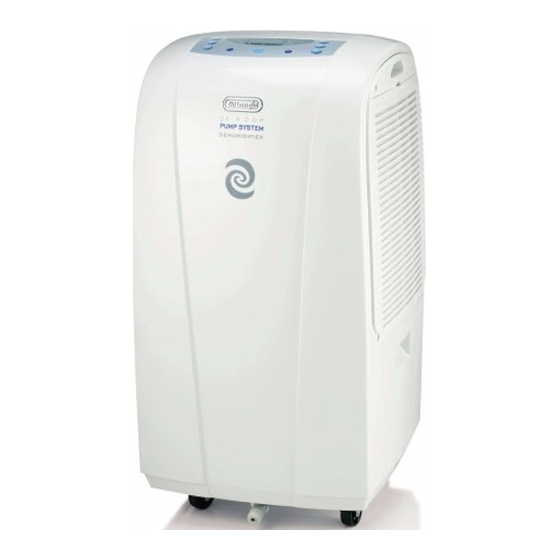
- Page 3 Description escription of the appliance 1. Control panel 5. Water Tank 2. Cabinet 6. Power Cord Wheels 7. Continuous Draining Outlet 8. Pump connection (only on some 4. Air Filter models) escription of the control panel Room MODE Display temperature button button °F/°C...
- Page 4 C o n t r o l p a n e l TAND-BY button Press this button to start /stop the appliance. To turn the appliance completely off, remo- ve the plug from the outlet. oom temperature button Press this button to display the Temperature on the LCD display. If you press the button once the display will show the °F .
- Page 5 D i s p l a y l i g h t s N light When the STAND-BY button is pressed to start the unit, the ON light will come on automati- cally. The light will go off again when the unit is switched off. NOTE: After a power outage, the unit will not switch itself on again automatically.
- Page 6 I n s t a l l a t i o n I n s t r u c t i o n s 1. Allow at least 12 inches (30cm) of space on all sides of the unit for good air circulation. 2.
- Page 7 D i s p o s i n g o f t h e c o l l e c t e d w a t e r A) Empty the tank manually. When the tank is full, remove (fig.1) and empty it into a sink.
- Page 8 S e l e c t i n g t h e o p e r a t i o n s tand-by position Once the power outlet is plugged in, the display will show on the left side the degree of humi- dity you want to reach (the default data is 60) and on the right side the display will show (for a minute) two dots, followed by the room humidity level.
- Page 9 S e l e c t i n g t h e o p e r a t i o n s ow to Program the delayed stop function: From the ON Position 1) Press the button and use the + or - button to set the number of hours after which the appliance should stop functioning.
- Page 10 C a r e a n d M a i n t e n a n c e WARNING Electrical Shock Hazard Always disconnect power supply cord from outlet before performing any maintenance. Failure to follow the below precautions could result in the electrical shock or personal injuries.
- Page 11 Tr o u b l e s h o o t i n g t i p s Often times, a problem is minor and a service call may not be necessary. Use this trouble- shooting guide to identify possible problems you may be experiencing. Problem Possible cause Remedy...
- Page 12 For all accessories, spare parts or replacement parts, please contact our parts division at 1- 800-865-6330. Residents of Canada: Please contact our toll free hotline at 1-888-335-6644 or log onto our website at www.delon- ghi.com. Other countries: Please visit: www.delonghi.com.
Need help?
Do you have a question about the DEN500P and is the answer not in the manual?
Questions and answers