Advertisement
Advertisement
Table of Contents

Related Manuals for JetDryer Protect JDPROTECT-S


Summary of Contents for JetDryer Protect JDPROTECT-S
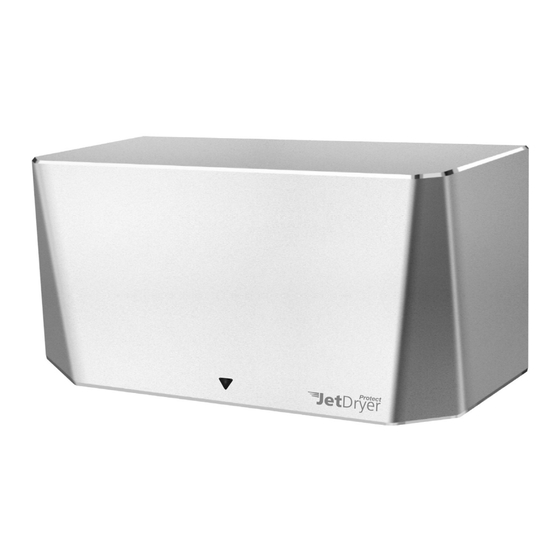
- Page 1 PROTECT Instruction Manual Model No: JDPROTECT-S...
-
Page 2: Table Of Contents
CONTENTS IMPORTANT SAFETY INSTRUCTIONS ...............3 UNPACKING........................4 INSTALLATION .......................4-8 USE..........................9 CLEANING & MAINTENANCE..................9 TECHNICAL SPECIFICATIONS...................10 WARRANTY INFORMATION ..................12... -
Page 3: Important Safety Instructions
IMPORTANT SAFETY INSTRUCTIONS WARNING! TO REDUCE THE RISK OF FIRE, ELECTRIC SHOCK, OR INJURY TO PERSONS OBSERVE THE FOLLOWING: • The instructions contained here must be followed carefully when installing this unit. Failure to accurately follow the instructions may result in the incorrect operation of this unit, damage to property and/or personal injury. -
Page 4: Unpacking
UNPACKING 1. Remove all packing material. 2. Carefully remove the hand dryer from the carton. 3. Inspect for any damage that may have occurred during transit. Check for any loose, missing or damaged parts. If the hand dryer is damaged, promptly inform the shipper or dealer where you purchased it. Standard items with the hand dryer are shown in Fig.1 together with the tools needed by the installer. - Page 5 2. Positioning CAUTION: Before installation decide if the cable entry is to be from the rear or from above. Follow the relevant instructions. Do not use the backplate as a guide when drilling. 2.1 Mark the location on the wall with a pencil. Use the Installation Template to mark the locations for the four fixing points (fig.
- Page 6 3. Installing Power cable & Connection terminal block WARNING: ENSURE POWER NOT CONNECTED 3.1 Pull the cable through the grommet (fig 7). 3.2 The cable must sit in the dedicated channel. 3.3 As shown, connect cable to terminal block and screw in terminal block. 3.4 Fix the cable clamp with screw in the backplate (fig 7A).
- Page 7 Note: Ensure the LED light on the front of the unit is OFF before opening the front cover, if the LED light is still ON, wait until the light goes off. The unit has a built in UV-C lamp, avoid exposure to direct germicidal UV rays.
- Page 8 CLOSE OPEN Filter Cover Filter WARNING - If the dryer has been fitted with a filter, it will need to be replaced after 60,000 operations but will continue working for a further 15,000 operations but without the benefits of the HEPA filter. At approximately 75,000 operations the red LED will be flashing on the window positioned at the front of the cover and the unit will stop working until a replacement filter is fitted.
-
Page 9: Use
1. No touch operation. 2. Shake excess water from hands. 3. Place hands under the unit to start operation (fig. 13). 4. Slowly move hands back and forth under the unit until hands are dry. 5. The blue hand location LED light situated by the dryer outlet illuminates with the drying operation. -
Page 10: Technical Specifications
TECHNICAL SPECIFICATIONS Item Category Performance Data Operating Voltage AC 220~240V, 50Hz Power: Standard Mode 220~240V AC 320 W (Heater off)/ 720 W (Heater on) Power: Quiet Mode 220~240V AC Q mode 'ON' 130W (Heater off) /530W (Heater on) Power Sterlilization mode Operating cycle 1 hour on, 1 hour off Air speed... -
Page 11: Warranty Information
JetDryer. All work will be carried out by JetDryer or its authorised agents. Please note that the decision to repair or replace your machine is at the sole discretion of JetDryer. If any part is no longer available or out of manufacture, JetDryer will replace it with a functional replacement part. - Page 12 Repelec (Aust) Proudly Distributed by Locked Bag 45 Plumpton NSW 2761 Ph: 1300 555 586 Fax: 1300 666 066 Email: info@housewatch.com.au...
Need help?
Do you have a question about the Protect JDPROTECT-S and is the answer not in the manual?
Questions and answers