Advertisement
Advertisement
Table of Contents

Related Manuals for Sauder NATE + JEREMIAH 436615


Summary of Contents for Sauder NATE + JEREMIAH 436615
- Page 1 Lot # 597845 IN STRUCTION M AN UA L If you have assembly questions or need a replacement part, please contact Sauder directly at www.sauder.com/service or 800-445-1527. Customer Service is available Monday-Friday - 8:30 a.m. to 5 p.m. EST (except holidays)
-
Page 2: Table Of Contents
Screws are shown actual size. You may receive extra hardware with your unit. HIDDEN CAM - 14 CAM SCREW - 14 WOOD DOWEL - 20 CROSS SLOTTED APPLIQUE CARD - 2 L-WRENCH - 1 DOWEL - 14 3" HEX HEAD SCREW - 14 1/2" MACHINE SCREW - 4 Page 2 www.sauder.com/service 436615... -
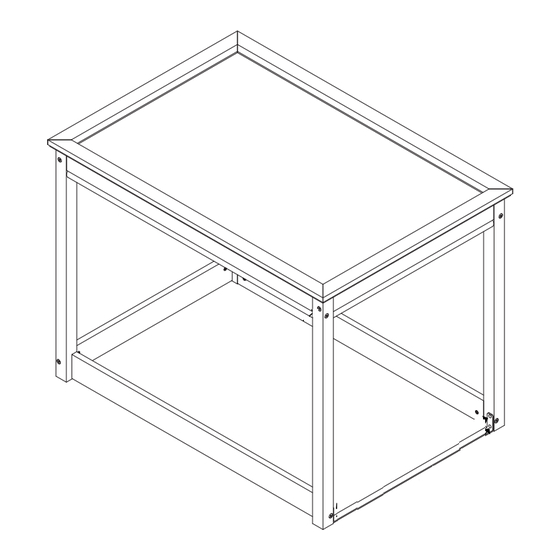
Page 3: Part Identifi Cation
TOP (1) LEFT FRONT LEG (1) SIDE BRACE (2) LEFT REAR LEG (1) SIDE MOLDING (2) BACK BRACE (1) RIGHT REAR LEG (1) TOP MOLDING (2) LEG BRACE (1) RIGHT FRONT LEG (1) CENTER BRACE (2) 436615 www.sauder.com/service Page 3... -
Page 4: Hardware Usage Guide
The arrow in the HIDDEN CAM must point Arrow toward the hole in the edge of the board. Hidden Cam Hole Insert the CAM SCREW or CAM DOWEL into the HIDDEN CAM. Tighten the HIDDEN CAM. Page 4 www.sauder.com/service 436615... - Page 5 Look for this icon. It means a video assembly tip is Step 1 available at www.sauder.com/service/tips Find the numbered video or scan the QR code. Assemble your unit on a carpeted fl oor or on the empty å carton to avoid scratching your unit or the fl oor.
- Page 6 (4 used) The holes must be closer to this edge. For support, place packing material or books here. Edge with holes The small holes must be closer to this edge. Page 6 www.sauder.com/service 436615...
- Page 7 Step 3 Push six HIDDEN CAMS (F12) into the CENTER BRACES (H). å Arrow Arrow Arrow 436615 www.sauder.com/service Page 7...
- Page 8 Fasten the CENTER BRACES (H) to the SIDE MOLDING (F). å Tighten two HIDDEN CAMS. NOTE: Be sure the WOOD DOWELS in the MOLDING insert å into the BRACES. Surface without HIDDEN CAMS Surface without HIDDEN CAMS Page 8 www.sauder.com/service 436615...
- Page 9 Push four HIDDEN CAMS (F12) into the TOP MOLDINGS (G). å NOTE: Be sure to fully insert the HIDDEN CAMS into the holes. You may need å to use your screwdriver to completely insert the HIDDEN CAMS. Arrow (4 used) 436615 www.sauder.com/service Page 9...
- Page 10 (2 used in this step) Rounded edge i t h f a c S u r D E N H I D I D D u t H i t h o Rounded edge f a c S u r Page 10 www.sauder.com/service 436615...
- Page 11 Insert one WOOD DOWEL (F14) into the RIGHT REAR LEG (C). å Fasten the BACK BRACE (K) to the RIGHT REAR LEG (C). Tighten one 3" HEX HEAD SCREW (S80) using the å L-WRENCH (M30). 3" HEX HEAD SCREW (1 used in this step) 436615 www.sauder.com/service Page 11...
- Page 12 Push two HIDDEN CAMS (F12) into the å recommended.) SIDE MOLDING (F). NOTE: Be sure to fully insert the HIDDEN CAMS into the holes. å You may need to use your screwdriver to completely insert the HIDDEN CAMS. Arrow Page 12 www.sauder.com/service 436615...
- Page 13 (4 used) Tack Glide Edge with holes The holes must be closer to this edge. For support, place packing material or books here. Tack Glide The small holes must be closer to this edge. 436615 www.sauder.com/service Page 13...
- Page 14 NOTE: You should start each SCREW a few turns before completely tightening any of them. å NOTE: Be sure the WOOD DOWELS in the LEGS and SIDE MOLDING insert into å the MOLDINGS and BRACES. (5 used) 3" HEX HEAD SCREW (3 used in this step) Page 14 www.sauder.com/service 436615...
- Page 15 Step 11 Turn ten CAM SCREWS (F13) into the exact holes shown å in the TOP (A). (10 used) 436615 www.sauder.com/service Page 15...
- Page 16 Fasten the TOP (A) to the MOLDINGS (F and G) and å CENTER BRACES (H). Tighten ten HIDDEN CAMS. NOTE: Be sure the WOOD DOWELS in the TOP insert å into the SIDE MOLDINGS. (2 used) For support, place packing material or books here. Page 16 www.sauder.com/service 436615...
- Page 17 NOTE: Please read the back pages of the instruction booklet for important safety information. å This completes assembly. Clean with a damp cloth. Wipe dry. å And to celebrate, why not share your success story at sauder.com or 1/2" MACHINE SCREW (4 used in this step) 436615 www.sauder.com/service...
- Page 18 DESCRIPTION QUANTITÉ REFERENCE DESCRIPTION QUANTITÉ conserver le livret pour future référence. Pour contacter Sauder en ce qui concerne cet élément, faire référence au numéro de lot et numéro de modèle en appelant notre numéro sans frais. Lot nº : ____________...
- Page 19 ÉTAPE 5 3 Insérer la VIS D'EXCENTRIQUE ou la CHEVILLE D’EXCENTRIQUE dans l’EXCENTRIQUE ESCAMOTABLE. Serrer l’EXCENTRIQUE ESCAMOTABLE. ÉTAPE 1 ÉTAPE 6 ÉTAPE 2 ÉTAPE 7 ÉTAPE 3 ÉTAPE 8 436615 www.sauder.com/service Page 19...
- Page 20 CANTIDAD comprar esta unidad y guarde el folleto para su referencia futura. Si necesita ponerse en contacto con Sauder en cuanto a esta unidad, refi érase al número de lote y al número de modelo cuando llame a nuestro número gratis.
- Page 21 3 Inserte la BIELA DE EXCÉNTRICO o el PASADOR DE EXCÉNTRICO en el EXCÉNTRICO ESCONDIDO. Apriete el EXCÉNTRICO ESCONDIDO. PASO 1 PASO 6 PASO 2 PASO 7 PASO 8 PASO 3 436615 www.sauder.com/service Page 21...
- Page 22 • La inclinación o rotura del mobiliario es • No empuje la unidad, especialmente sobre no está diseñado y provisto con ruedecitas. posible si se mueve de manera inadecuada. un piso alfombrado. • Lesión física. El mobiliario puede ser muy pesado. Page 22 www.sauder.com/service 436615...
- Page 23 à compter de la date d'achat la première fois et qui sont signalés à Sauder dans les limites de couverture de la contre tout défaut de matériaux ou de fabrication des composantes de mobilier Sauder.
- Page 24 Monday-Friday - 8:30 a.m. to 5 p.m. EST (except holidays) or at General Conformity Certifi cate 1. This certifi cate applies to the Sauder Global Sourcing Register your new Product identifi ed by this Instruction Book. product online 2.
Need help?
Do you have a question about the NATE + JEREMIAH 436615 and is the answer not in the manual?
Questions and answers