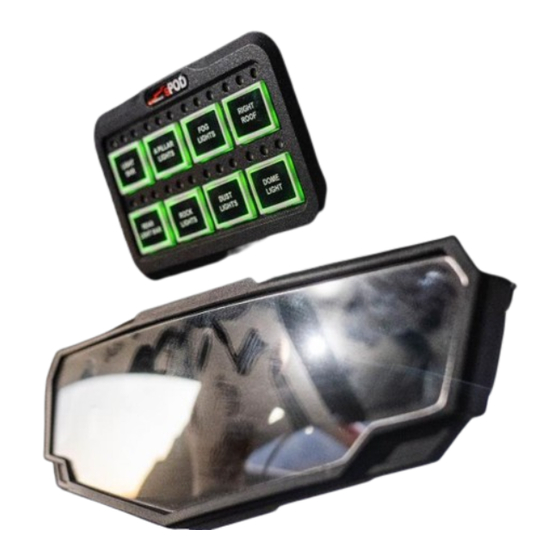
Summary of Contents for Spod 87-0092
- Page 1 Polaris Pro-R, Turbo-R, Pro-XP BantamX Roof Mount Kit (87-0092) 2950 Norman Strasse • San Marcos • CA • 92069 Phone: 661-775-7799 • Fax: 760-560-0383 tech@4x4s-pod.com • www.4x4spod.com...
-
Page 2: Limited Lifetime Warranty
90 days old, otherwise defective products must be returned to sPOD, Inc., freight prepaid. At our option, we will repair or replace items in question and return them at no charge. -
Page 3: Tools Required
**For a color copy of instructions, visit your vehicle specific application on BajaDesigns.com ** Tools Required *T-40 Torx * 7/16”, 10mm wrench *Trim removal tool *Phillips head screwdriver To begin, make sure the vehicle is in park, on level ground and the parking brake is engaged. Cover 1. - Page 4 7. Remove the rear upper close-off panel by turning the 4 quarter-turn latches counter-clockwise until they release. Using a trim removal tool, remove the cupholder insert (circled) from the center console. 8. Using the T40 Torx, remove the 4 bolts located near the back of the center console container.
- Page 5 13. Route the power cords from the PCM through the grommet on the front of the center console panel. Run the wires through the center console and to the batteries underneath the driver’s seat. 14. Using a 10mm wrench, connect the positive (red) ring terminal to the positive post of the battery.
- Page 6 19. Reinstall the upper block-off panel and secure using the 4 quarter-turn latches released in step 7. 20. Reinstall the driver and passenger seats by hooking the front of the seat base and pivoting them into place. Make sure the harnesses do not become stuck behind the seats.


Need help?
Do you have a question about the 87-0092 and is the answer not in the manual?
Questions and answers