Sign In
Upload
Download
Table of Contents
Contents
Add to my manuals
Delete from my manuals
Share
URL of this page:
HTML Link:
Bookmark this page
Add
Manual will be automatically added to "My Manuals"
Print this page
×
Bookmark added
×
Added to my manuals
Manuals
Brands
MSI Manuals
Desktop
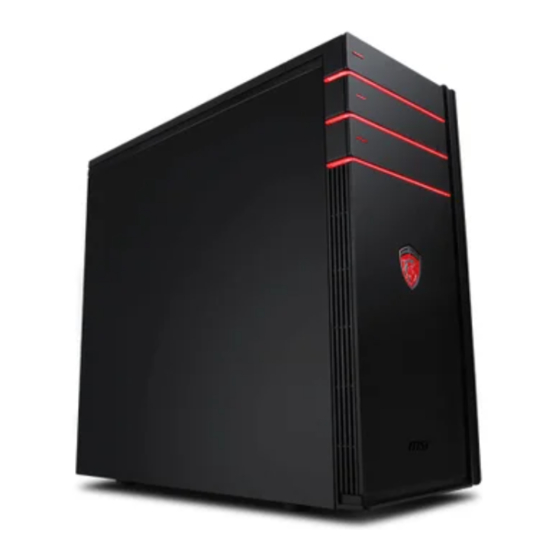
Codex B905X
Instruction manual
MSI Codex B905X Instruction Manual
Hide thumbs
1
Table Of Contents
2
3
4
5
6
7
8
9
10
11
12
13
14
15
16
17
18
19
20
21
22
23
24
25
26
27
28
29
30
31
32
33
34
35
36
37
38
39
40
41
42
43
44
page
of
44
Go
/
44
Contents
Table of Contents
Bookmarks
Table of Contents
Table of Contents
Copyright Notice
Trademarks
Revision
Upgrade and Warranty
Acquisition of Replaceable Parts
Technical Support
Green Product Features
Environmental Policy
Chemical Substances Information
Battery Information
Safety Instructions
CE Conformity
FCC-B Radio Frequency Interference Statement
WEEE Statement
1 Overview
Packing Contents
System Overview
Component Replacement & Upgrade
2 Getting Started
Safety & Comfort Tips
Connecting Peripheral Devices
Hardware Setup
3 System Operations
Power Management
Network Connection (Windows 10)
System Recovery (Windows 10)
Advertisement
Quick Links
1
Packing Contents
2
System Overview
3
Component Replacement & Upgrade
4
Connecting Peripheral Devices
5
Hardware Setup
Download this manual
Codex Series
Personal Computer
MS-B905 System
G52-B9051X5
Table of
Contents
Previous
Page
Next
Page
1
2
3
4
5
Advertisement
Table of Contents
Need help?
Do you have a question about the Codex B905X and is the answer not in the manual?
Ask a question
Questions and answers
Related Manuals for MSI Codex B905X
Desktop MSI Aegis B907 Instructions Manual
(36 pages)
Desktop MSI Aegis 3 Manual
(34 pages)
Desktop MSI Aegis B901 Manual
(32 pages)
Desktop MSI Aegis B902 Manual
(32 pages)
Desktop MSI MPG Infinite Series User Manual
(31 pages)
Desktop MSI Infinite Series Manual
(21 pages)
Desktop MSI Trident Series Manual
(26 pages)
Desktop MSI Trident Series Manual
(34 pages)
Desktop MSI Trident Series Service Manual
(14 pages)
Desktop MSI Creator Series User Manual
(24 pages)
Desktop MSI Codex Series User Manual
(36 pages)
Desktop MSI Infinite B916 Manual
(34 pages)
Desktop MSI Infinite Series User Manual
(24 pages)
Desktop MSI Infinite X Manual
(34 pages)
Desktop MSI Trident B941 User Manual
(30 pages)
Desktop MSI MAG Codex X5 Manual
(40 pages)
This manual is also suitable for:
Codex b905
Codex b905b
Codex ms-b905
Table of Contents
Print
Rename the bookmark
Delete bookmark?
Delete from my manuals?
Login
Sign In
OR
Sign in with Facebook
Sign in with Google
Upload manual
Upload from disk
Upload from URL


Need help?
Do you have a question about the Codex B905X and is the answer not in the manual?
Questions and answers